Ingredients
Equipment
Method
Instructions
- Step 1: Prepare Your Workspace - Start by lining a baking sheet with parchment paper. This will prevent the candy from sticking and make cleanup a breeze.
- Step 2: Melt the White Candy Melts - In a microwave-safe bowl, add the 12 ounces of white candy melts. Microwave in 30-second intervals, stirring in between until the candy is fully melted and smooth. Be careful not to overheat it.
- Step 3: Spread the White Chocolate - Pour the melted white candy onto the prepared baking sheet. Using a spatula, spread it evenly to form a rectangle about ¼ inch thick.
- Step 4: Melt the Red and Green Candy Melts - In separate bowls, melt the 4 ounces of red candy melts and the 4 ounces of green candy melts, using the same microwave method as before. Stir until smooth.
- Step 5: Drizzle the Red and Green Candy - Using a spoon or a piping bag, drizzle the melted red and green candy over the white chocolate layer. You can create fun patterns or simply swirl them together for a marbled effect.
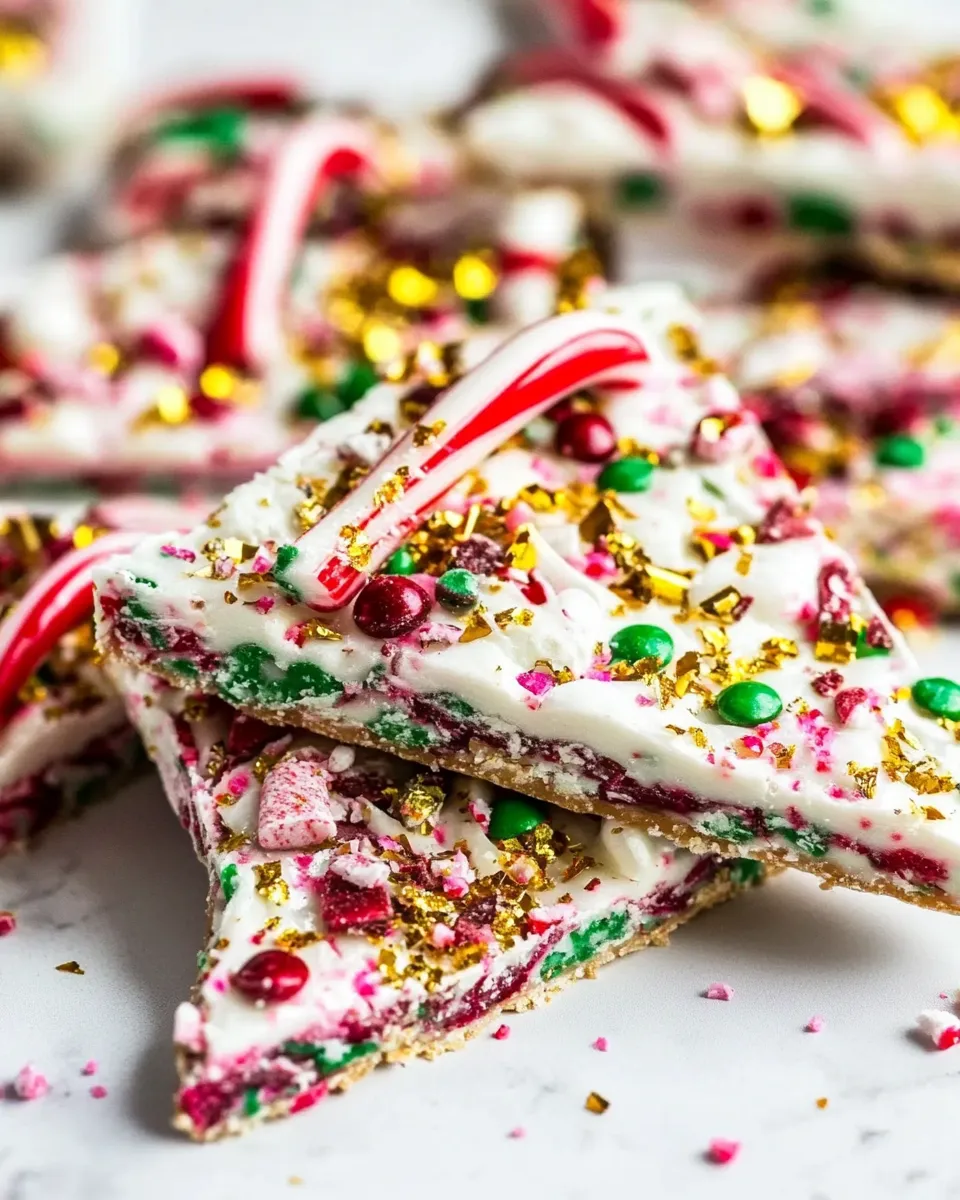
- Step 6: Add the Toppings - Sprinkle the chopped pistachios, dried cranberries, and crushed candy cane pieces evenly over the top. This adds a festive crunch and makes your bark look even more beautiful.
- Step 7: Set the Bark - Allow the bark to set at room temperature for about 1-2 hours, or you can place it in the refrigerator for about 30 minutes if you’re in a hurry.
- Step 8: Break into Pieces - Once the bark is fully set, use your hands to break it into irregular pieces. This adds to the rustic charm of your Christmas Candy Cane Bark.
Notes
- Store in an airtight container at room temperature for up to two weeks.
- For warmer climates, refrigerate to prevent melting.
- To reheat, microwave gently at low power to soften slightly.