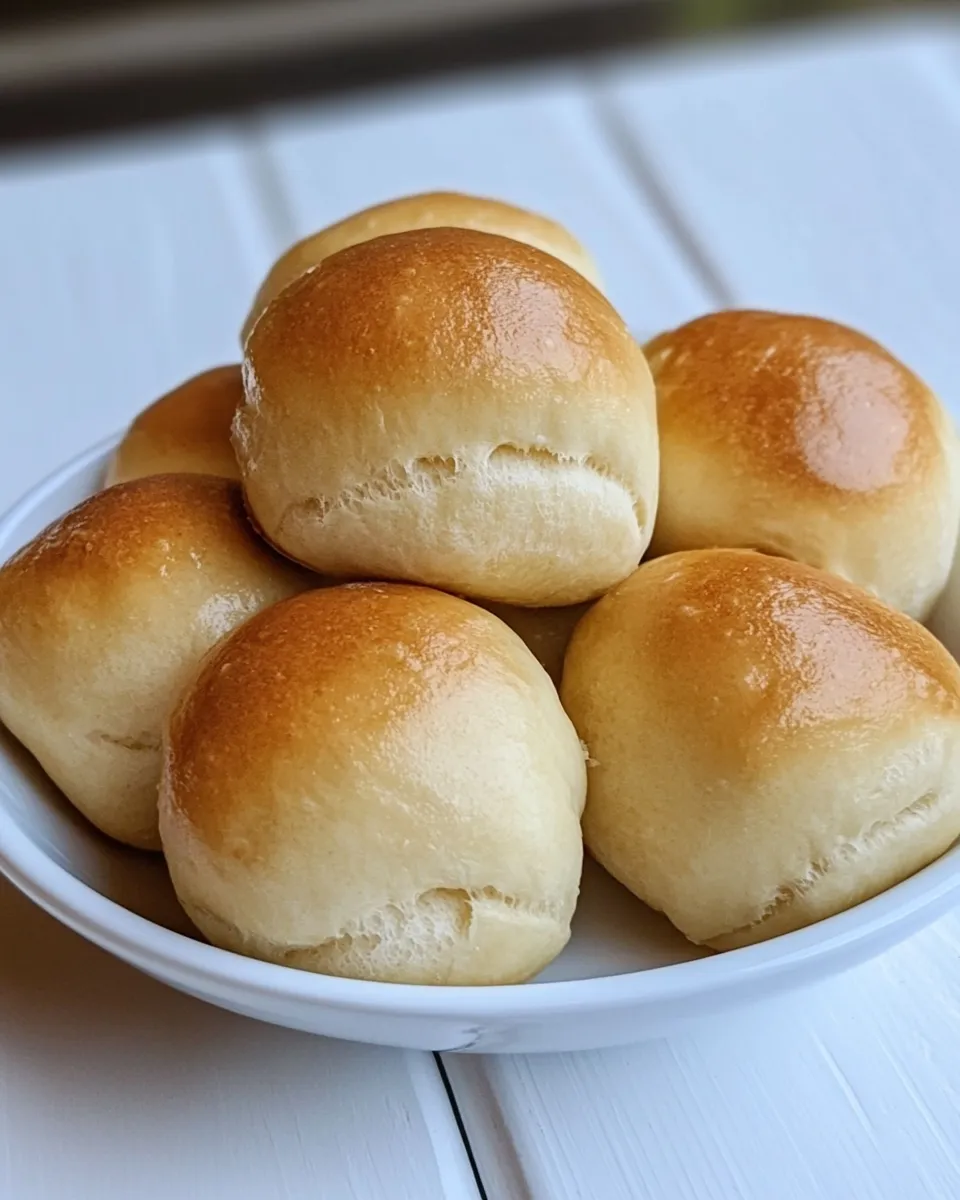
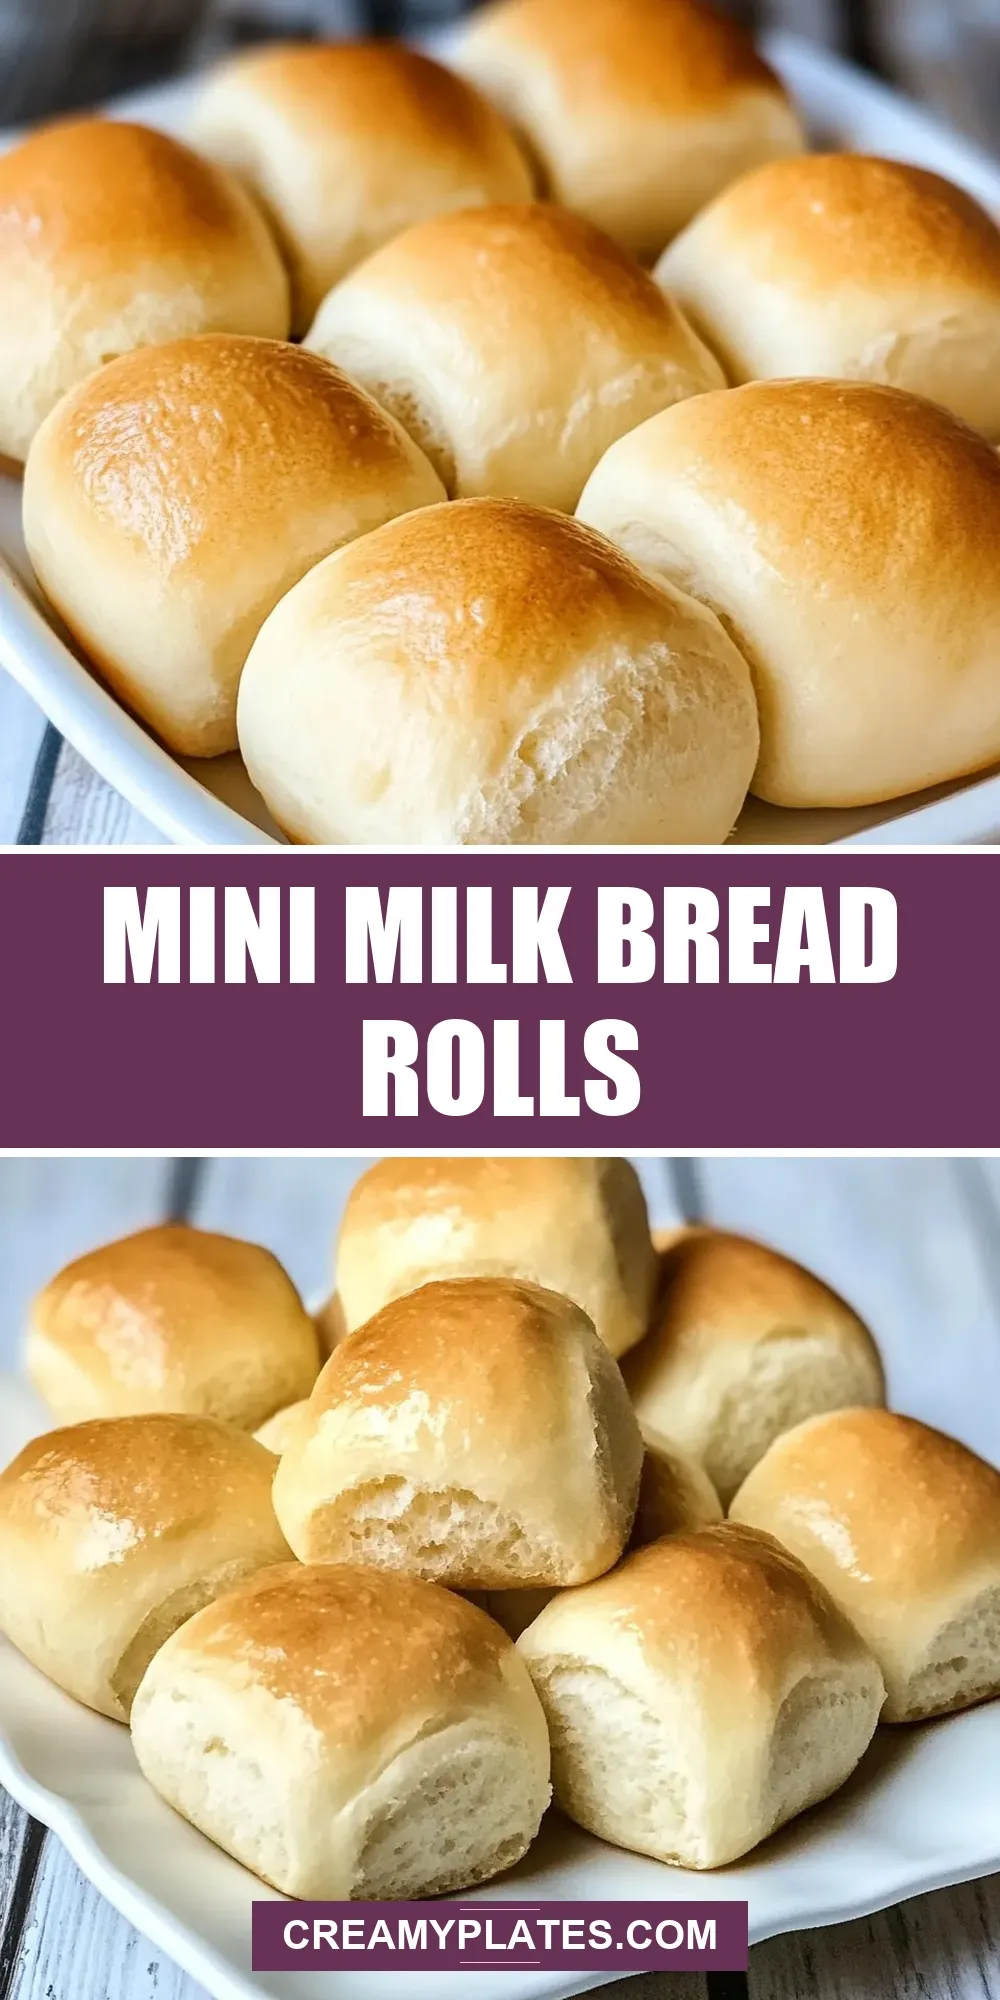
Mini Milk Bread Rolls
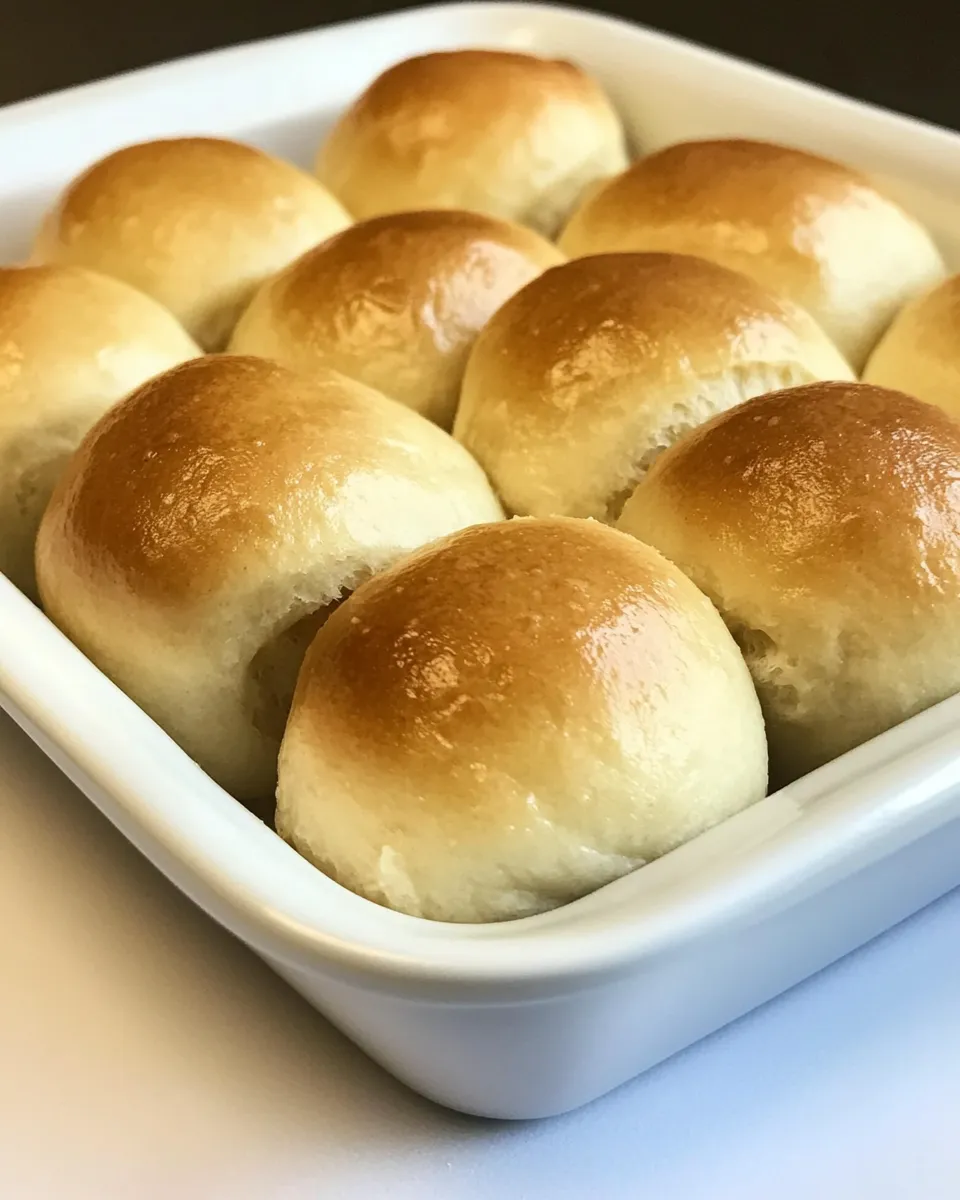
There’s something incredibly heartwarming about the aroma of freshly baked bread wafting through your home. These Mini Milk Bread Rolls are fluffy, soft, and perfect for any occasion. Whether you serve them alongside dinner or enjoy them with some butter and jam for breakfast, they are bound to become a family favorite. With just a handful of simple ingredients, these rolls are easy to make and will impress everyone who takes a bite.
Why This Mini Milk Bread Rolls Stands Out

These Mini Milk Bread Rolls are not just any ordinary bread rolls; they stand out for their incredibly soft texture and slightly sweet flavor. The addition of milk makes these rolls delightfully tender, while the honey adds a subtle sweetness that balances the savory elements. Perfect for rolling into meat dishes or just slathering with a generous dollop of Cinnamon Honey Butter Texas Roadhouse Butter, these rolls will elevate any meal. Plus, they are small in size, making them perfect for little hands and big appetites alike!
Ingredient Rundown
Creating these Mini Milk Bread Rolls requires a few essential ingredients that you might already have in your pantry. Here’s what you’ll need:
- 600g plain flour: The foundation of your rolls, providing structure and texture.
- 3 teaspoons instant yeast: This helps the rolls rise quickly, giving them a fluffy texture.
- 1 teaspoon salt: Enhances the flavor and balances the sweetness of the honey.
- 1 tablespoon oil: Adds moisture and richness to the dough.
- 1 tablespoon honey: A natural sweetener that gives the rolls their lovely flavor.
- 375ml milk: Makes the rolls softer and adds a slight sweetness.
Setup & Equipment
Before you start baking, it’s important to have the right tools on hand. Here’s what you’ll need for this recipe:
- Mixing bowl: For combining your ingredients.
- Measuring cups and spoons: To ensure accurate ingredient measurements.
- Wooden spoon or spatula: For mixing the dough.
- Proofing cloth: To cover the dough while it rises.
- Baking sheet: For placing the rolls as they bake.
- Parchment paper: Optional, for easier cleanup.
How to Prepare Mini Milk Bread Rolls
Now, let’s get into the baking process! Follow these simple steps to create your delicious Mini Milk Bread Rolls.
Step 1: Combine Dry Ingredients
In a large mixing bowl, combine the 600g of plain flour, 3 teaspoons of instant yeast, and 1 teaspoon of salt. Whisk these dry ingredients together until well blended. This step ensures that the yeast and salt are evenly distributed throughout the flour.
Step 2: Mix Wet Ingredients
In a separate bowl or jug, combine 375ml of milk, 1 tablespoon of honey, and 1 tablespoon of oil. Warm the milk slightly (it should be lukewarm, not hot) to help activate the yeast. Stir until the honey is dissolved in the milk.
Step 3: Combine Wet and Dry Ingredients
Make a well in the center of your dry ingredients and pour in the wet mixture. Using a wooden spoon or spatula, mix until a shaggy dough forms.
Step 4: Knead the Dough
Transfer the dough onto a lightly floured surface and knead for about 8-10 minutes until it’s smooth and elastic. If the dough is too sticky, sprinkle a little more flour as needed.
Step 5: First Rise
Place the kneaded dough into a lightly oiled bowl, turning it to coat in oil. Cover with a proofing cloth and let it rise in a warm place for about 1 hour or until it has doubled in size.
Step 6: Shape the Rolls
Once the dough has risen, punch it down gently to release air. Divide the dough into equal portions (about 12-16 pieces). Shape each piece into a small ball and place them on a baking sheet lined with parchment paper.
Step 7: Second Rise
Cover the shaped rolls with the proofing cloth again and allow them to rise for another 30-40 minutes. They should puff up nicely.
Step 8: Preheat the Oven
While the rolls are rising, preheat your oven to 190°C (375°F).
Step 9: Bake the Rolls
Once the rolls have risen, place the baking sheet in the preheated oven. Bake for about 15-20 minutes or until the tops are golden brown and the rolls sound hollow when tapped on the bottom.
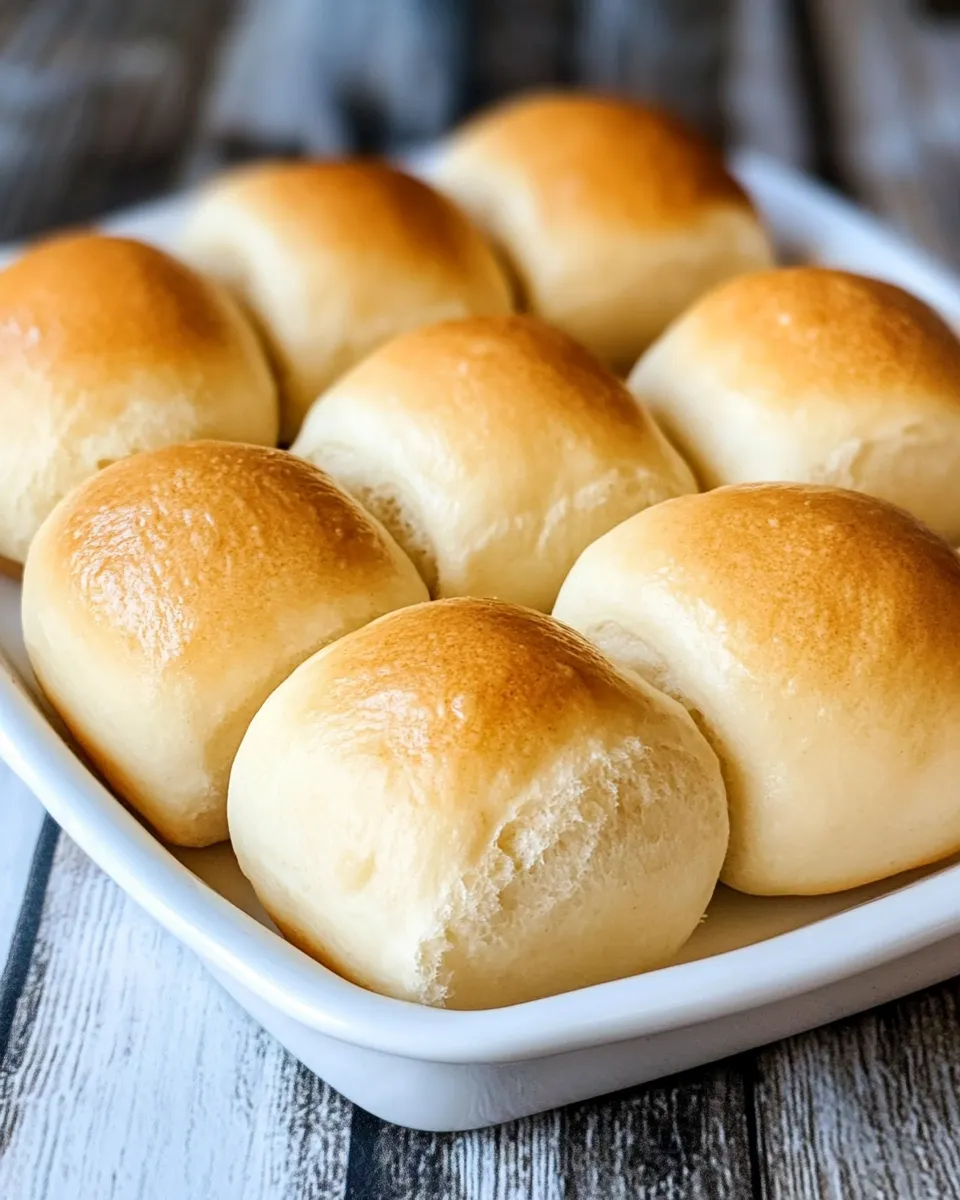
Step 10: Cool and Serve
Remove the rolls from the oven and let them cool on a wire rack for a few minutes. Serve warm with butter, or enjoy them as they are.
Make It Fit Your Plan
These Mini Milk Bread Rolls can easily be adapted to fit various dietary preferences or occasions:
- Whole Wheat Option: Substitute half or all of the plain flour with whole wheat flour for a heartier roll.
- Vegan Option: Replace the milk with almond milk or another plant-based milk and use maple syrup instead of honey.
- Herb-Infused Rolls: Add dried herbs like rosemary or thyme into the dough for a savory twist.
- Cheesy Rolls: Incorporate shredded cheese into the dough for a cheesy version of these rolls.
Problems & Prevention
When baking, it’s common to run into a few hiccups. Here are some potential problems and how to prevent them:
- Dough not rising: Ensure your yeast is fresh and that the milk is at the right temperature (lukewarm).
- Rolls too dense: Over-kneading can cause density; knead just enough to achieve a smooth texture.
- Burnt tops: If your rolls are browning too quickly, cover them loosely with aluminum foil during baking.
- Sticking to the pan: Always line your baking sheet with parchment paper to prevent sticking.
Cooling, Storing & Rewarming
To enjoy your Mini Milk Bread Rolls at their best:
- Cooling: Allow the rolls to cool on a wire rack to prevent them from getting soggy.
- Storing: Store any leftovers in an airtight container at room temperature for up to 2 days or in the refrigerator for up to a week.
- Rewarming: To serve again, reheat in the oven at 180°C (350°F) for about 5-10 minutes until warmed through.
Quick Questions
Can I freeze these Mini Milk Bread Rolls?
Absolutely! Once they are completely cooled, you can freeze them in an airtight container or freezer bag for up to 3 months. Just thaw and reheat when you’re ready to enjoy.
What can I serve with these rolls?
These rolls pair wonderfully with soups, stews, or even as a side for your favorite Buttery Herb Stuffing Recipe. They are also delightful with jams, honey, or your favorite spreads.
Can I make the dough ahead of time?
Yes! You can prepare the dough and let it rise once, then punch it down and refrigerate it overnight. Shape and let it rise again before baking the next day.
How do I know when the rolls are done baking?
The rolls are done when they are golden brown on top and sound hollow when tapped on the bottom. An internal temperature of about 90°C (190°F) is ideal.
Desserts to Finish
To complete your meal, consider serving one of these delicious desserts:
Wrap-Up
These Mini Milk Bread Rolls are a delightful addition to any table, whether for a family gathering, a cozy dinner, or just a treat to enjoy with your favorite spread. With their soft texture and sweet flavor, they are sure to become a staple in your baking repertoire. Remember, the joy of baking comes not just from the end result but also from the love and care you put into each roll. So, gather your ingredients, preheat that oven, and let the baking begin!
Share on Pinterest
Mini Milk Bread Rolls
Ingredients
Equipment
Method
- Step 1: Combine Dry IngredientsIn a large mixing bowl, combine the flour, yeast, and salt. Whisk until blended.
- Step 2: Mix Wet IngredientsIn a separate bowl, mix warm milk, honey, and oil until the honey dissolves.
- Step 3: Combine Wet and Dry IngredientsMake a well in the dry ingredients, pour in the wet mixture, and mix until a shaggy dough forms.
- Step 4: Knead the DoughKnead on a floured surface for 8-10 minutes until smooth and elastic.
- Step 5: First RisePut the dough in an oiled bowl, cover, and let rise for about 1 hour until doubled in size.
- Step 6: Shape the RollsPunch down the dough, divide into 12-16 pieces, and shape into balls.
- Step 7: Second RiseCover the shaped rolls and let them rise for another 30-40 minutes.
- Step 8: Preheat the OvenPreheat your oven to 190°C (375°F).
- Step 9: Bake the RollsBake for 15-20 minutes until golden brown and hollow when tapped.
- Step 10: Cool and ServeLet cool on a wire rack and serve warm.
Notes
- For a heartier roll, substitute half the flour with whole wheat flour.
- Make them vegan by using plant-based milk and maple syrup.
- Store leftovers in an airtight container for up to 2 days.