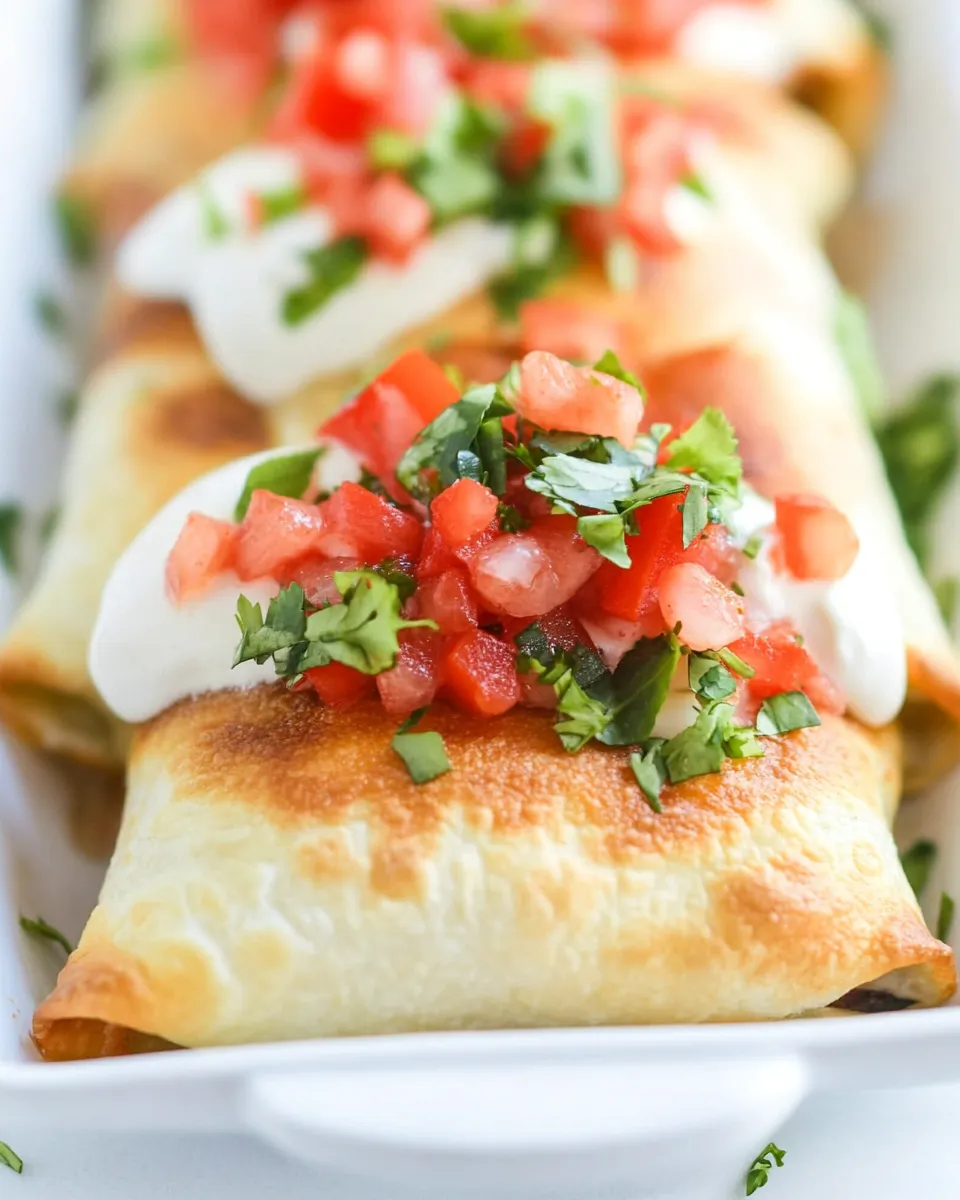
Mini Chicken Chimichangas
If you’re looking for a fun, flavorful, and satisfying meal, look no further than these Mini Chicken Chimichangas. Perfect as a party appetizer or a quick weeknight dinner, these little bites are packed with creamy goodness and a bit of spice. With a filling made from tender shredded chicken, spicy pepper jack cheese, and a hint of taco seasoning, these chimichangas are sure to be a hit at your table. Plus, they’re easy to make and can be customized with your favorite toppings!
Why Mini Chicken Chimichangas is Worth Your Time
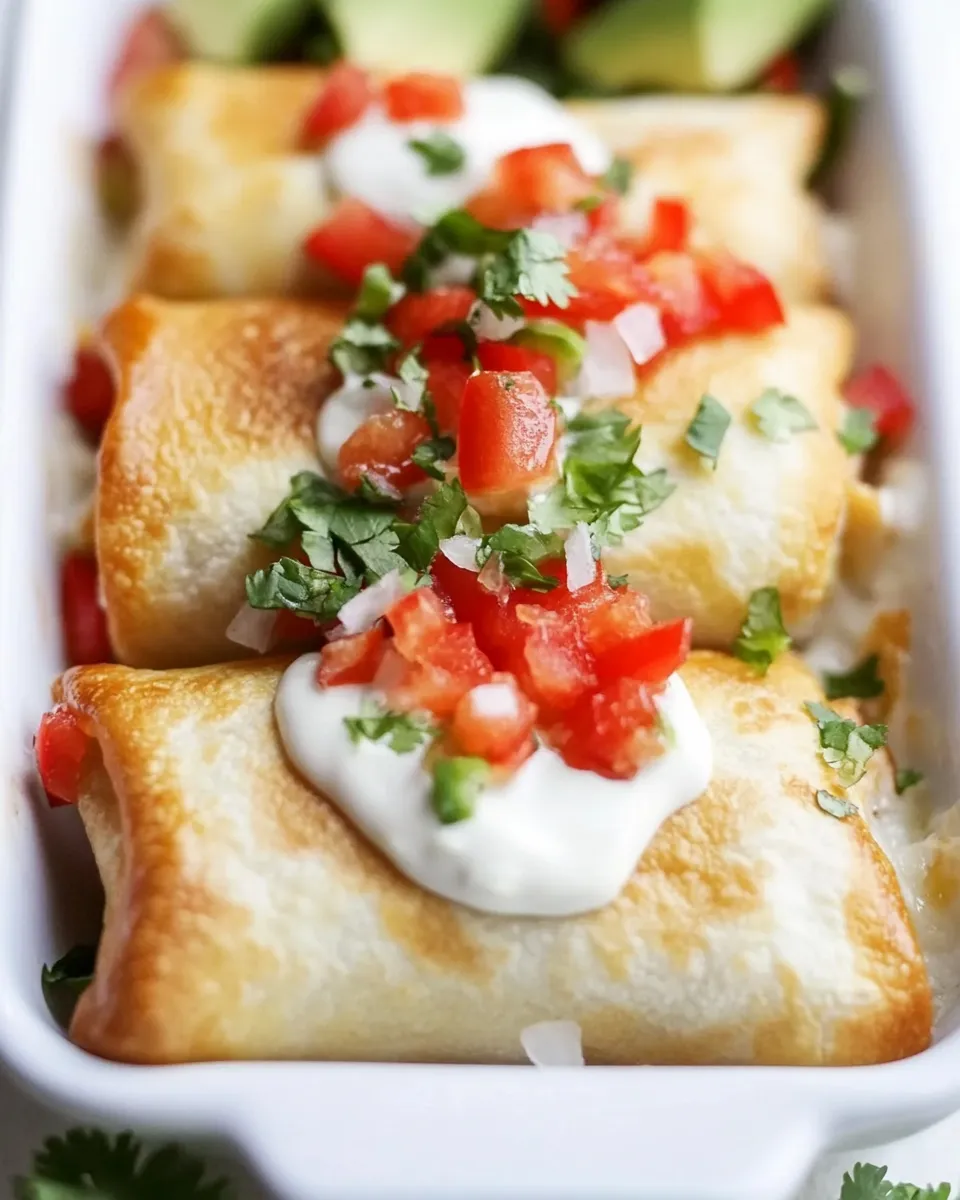
Mini Chicken Chimichangas are not just a delightful treat; they are also incredibly versatile. You can serve them as an appetizer at gatherings, pack them for lunch, or enjoy them as a comforting dinner option. Their bite-sized nature makes them perfect for dipping, and with toppings like sour cream, guacamole, and pico de gallo, you can create a flavor explosion in every bite. What’s more, they can be made ahead of time and frozen for a quick meal later. There’s so much to love about these little parcels of joy!
Shopping List
- 1 (8 ounce) package cream cheese, room temperature
- 1 tablespoon taco seasoning
- 8 ounces Pepper Jack cheese, shredded (about 2 cups)
- 3 cups shredded cooked chicken (rotisserie works well)
- 16-20 soft taco tortillas
- 1 tablespoon butter, melted
- Toppings: sour cream, guacamole, and pico de gallo
Kitchen Gear Checklist
- Mixing bowl – for combining the filling ingredients.
- Spoon or spatula – to mix and scoop the filling.
- Baking sheet – to hold the chimichangas before baking.
- Parchment paper (optional) – for easy cleanup.
- Oven – to bake the chimichangas to golden perfection.
Mastering Mini Chicken Chimichangas: How-To
Step 1: Prepare the Filling
In a mixing bowl, combine the room temperature cream cheese, taco seasoning, shredded Pepper Jack cheese, and shredded cooked chicken. Mix well until all ingredients are fully incorporated and the cream cheese is smooth.
Step 2: Fill the Tortillas
Lay out the soft taco tortillas on a clean surface. Spoon a generous amount of the chicken mixture into the center of each tortilla. Be careful not to overfill, or they will be difficult to roll.
Step 3: Roll the Chimichangas
To roll, fold in the sides of the tortilla over the filling, then roll from the bottom up to form a tight burrito shape. Secure the filling by tucking in the ends as you roll.
Step 4: Prepare for Baking
Preheat your oven to 400°F (200°C). Place the rolled chimichangas seam side down on a baking sheet lined with parchment paper. Brush the tops with melted butter to help them crisp up nicely.
Step 5: Bake Until Golden
Bake the chimichangas in the preheated oven for 20-25 minutes or until they are golden brown and crispy. Keep an eye on them to ensure they don’t burn.
Step 6: Serve with Toppings
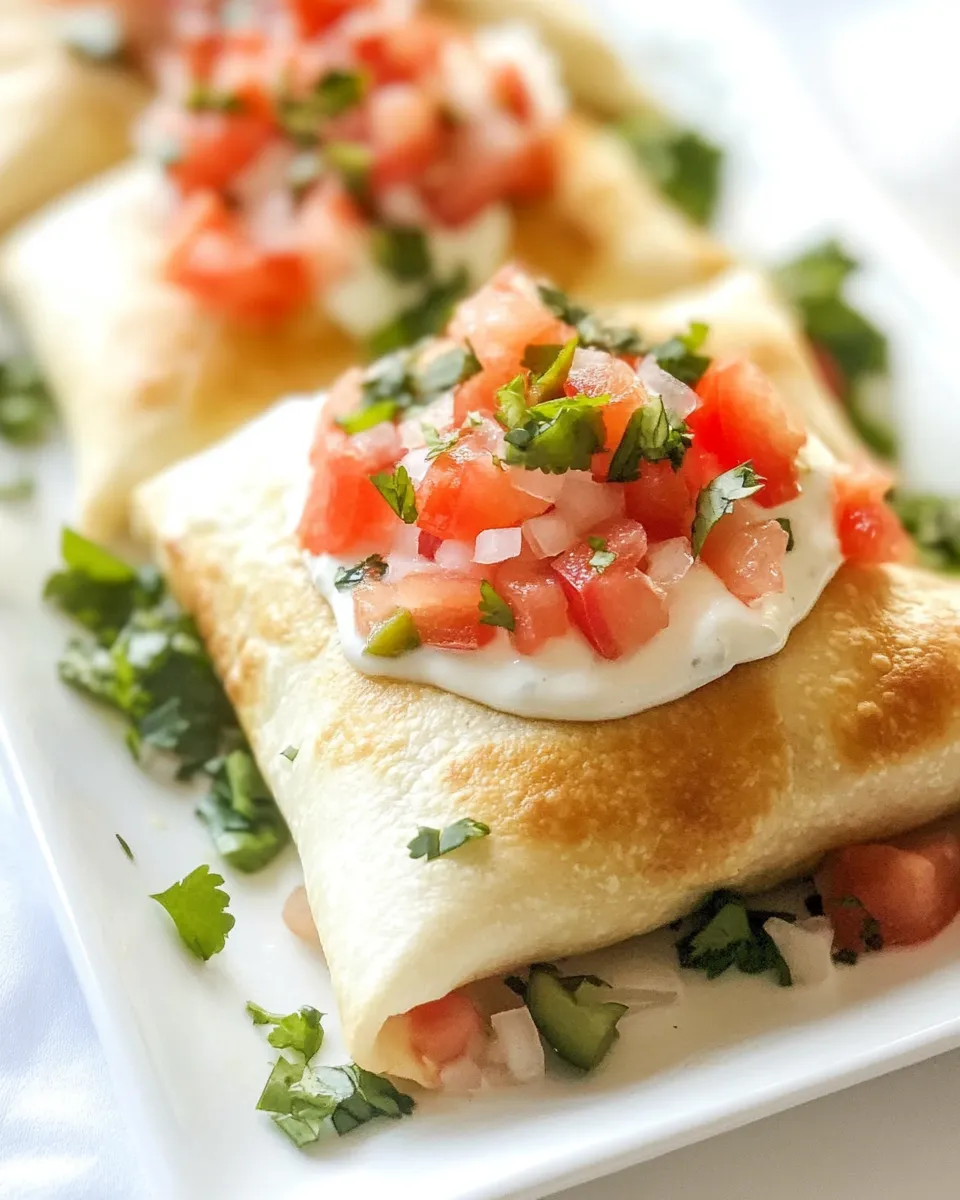
Once baked, remove them from the oven and let them cool slightly. Serve warm with a side of sour cream, guacamole, and pico de gallo for dipping. Enjoy your delicious Mini Chicken Chimichangas!
Swap Guide

- For a creamier texture, consider using Greek yogurt instead of cream cheese.
- If you’re looking for a milder flavor, substitute mozzarella for the Pepper Jack cheese.
- For a vegetarian option, you can replace the chicken with black beans or refried beans.
- Use corn tortillas instead of flour tortillas for a gluten-free option.
Little Things that Matter
When making Mini Chicken Chimichangas, the quality of your ingredients can make a significant difference. Freshly shredded chicken from a rotisserie is not only convenient but adds a depth of flavor. Additionally, letting the cream cheese come to room temperature ensures it blends smoothly with the other ingredients, making your filling creamy and easy to work with. Lastly, don’t skip the toppings—they elevate the dish and add freshness!
Shelf Life & Storage
Mini Chicken Chimichangas can be stored in an airtight container in the refrigerator for up to 3 days. If you want to make them ahead of time, you can freeze the unbaked chimichangas. To do this, place them on a baking sheet in the freezer until firm, then transfer them to a freezer-safe bag. They can be baked straight from frozen; just add a few extra minutes to the baking time.
Handy Q&A
Can I make Mini Chicken Chimichangas ahead of time?
Absolutely! You can prepare the chimichangas and store them in the refrigerator for up to 3 days or freeze them for longer storage. Just ensure they are well-wrapped to prevent freezer burn.
What can I serve with Mini Chicken Chimichangas?
These chimichangas pair wonderfully with a variety of sides such as Slow Cooker Mexican Quinoa Bake, Mexican rice, or a fresh salad. You can also offer a variety of dips like salsa, guacamole, and sour cream.
Can I bake them instead of frying?
Yes! Baking is a healthier alternative to frying. By brushing them with melted butter and baking at a high temperature, you can achieve a crispy exterior without the added oil from frying.
How can I customize the filling?
The filling can be modified based on your preferences. Feel free to add ingredients like diced bell peppers, corn, or even different types of cheese to make it your own!
Final Thoughts
These Mini Chicken Chimichangas are a delightful way to bring some excitement to your dinner table or party platter. With their creamy filling and crispy exterior, they are sure to be a favorite among family and friends. Easy to make, customizable, and perfect for dipping, these chimichangas are not just a meal; they’re an experience. So grab your ingredients, roll up your sleeves, and get ready to enjoy a delicious bite-sized treat that will leave everyone asking for seconds!
Mini Chicken Chimichangas
Ingredients
Equipment
Method
- Step 1: Prepare the Filling - In a mixing bowl, combine the room temperature cream cheese, taco seasoning, shredded Pepper Jack cheese, and shredded cooked chicken. Mix well until all ingredients are fully incorporated and the cream cheese is smooth.
- Step 2: Fill the Tortillas - Lay out the soft taco tortillas on a clean surface. Spoon a generous amount of the chicken mixture into the center of each tortilla. Be careful not to overfill, or they will be difficult to roll.
- Step 3: Roll the Chimichangas - To roll, fold in the sides of the tortilla over the filling, then roll from the bottom up to form a tight burrito shape. Secure the filling by tucking in the ends as you roll.
- Step 4: Prepare for Baking - Preheat your oven to 400°F (200°C). Place the rolled chimichangas seam side down on a baking sheet lined with parchment paper. Brush the tops with melted butter to help them crisp up nicely.
- Step 5: Bake Until Golden - Bake the chimichangas in the preheated oven for 20-25 minutes or until they are golden brown and crispy. Keep an eye on them to ensure they don’t burn.
- Step 6: Serve with Toppings - Once baked, remove them from the oven and let them cool slightly. Serve warm with a side of sour cream, guacamole, and pico de gallo for dipping. Enjoy your delicious Mini Chicken Chimichangas!
Notes
- For a creamier texture, consider using Greek yogurt instead of cream cheese.
- If you're looking for a milder flavor, substitute mozzarella for the Pepper Jack cheese.
- For a vegetarian option, you can replace the chicken with black beans or refried beans.
- Use corn tortillas instead of flour tortillas for a gluten-free option.