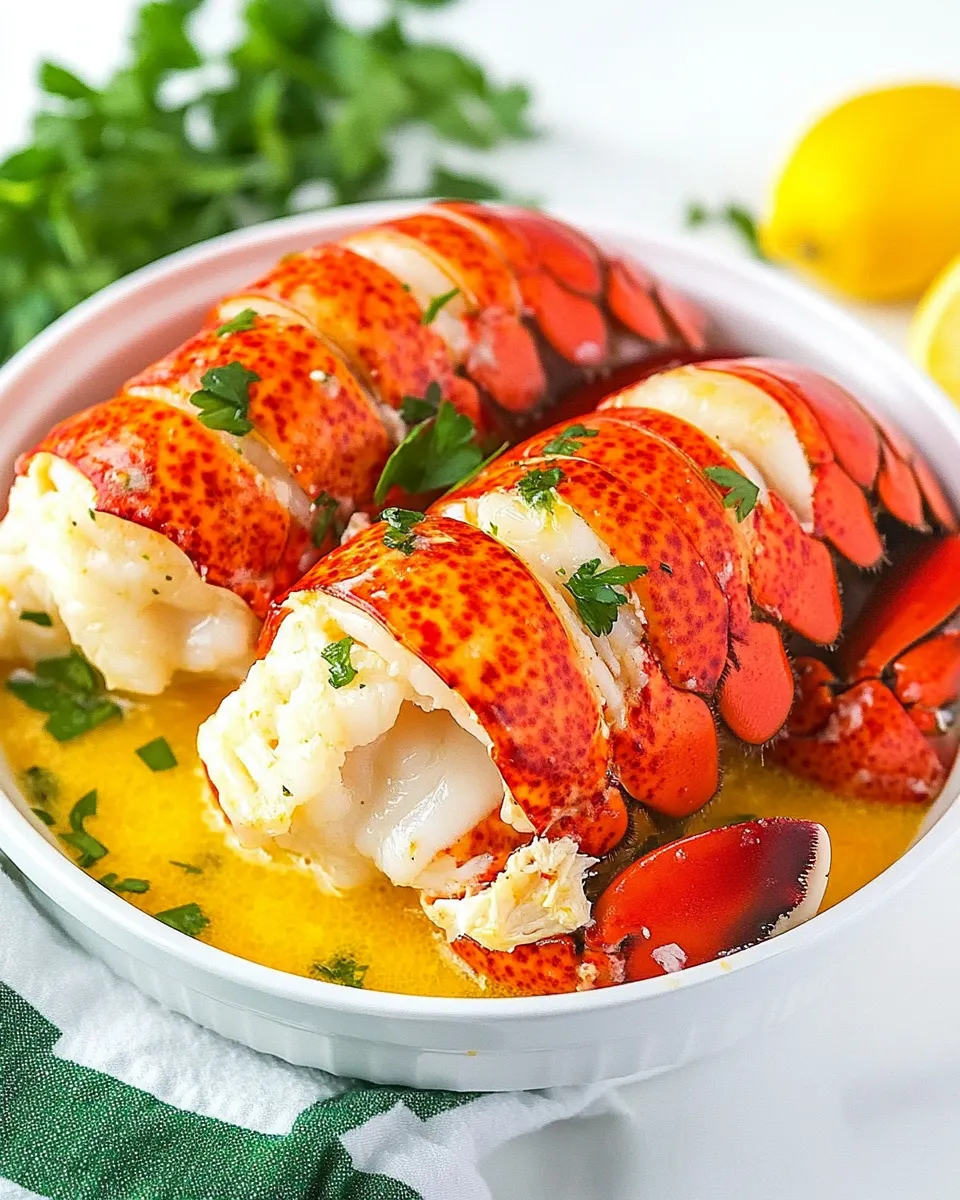
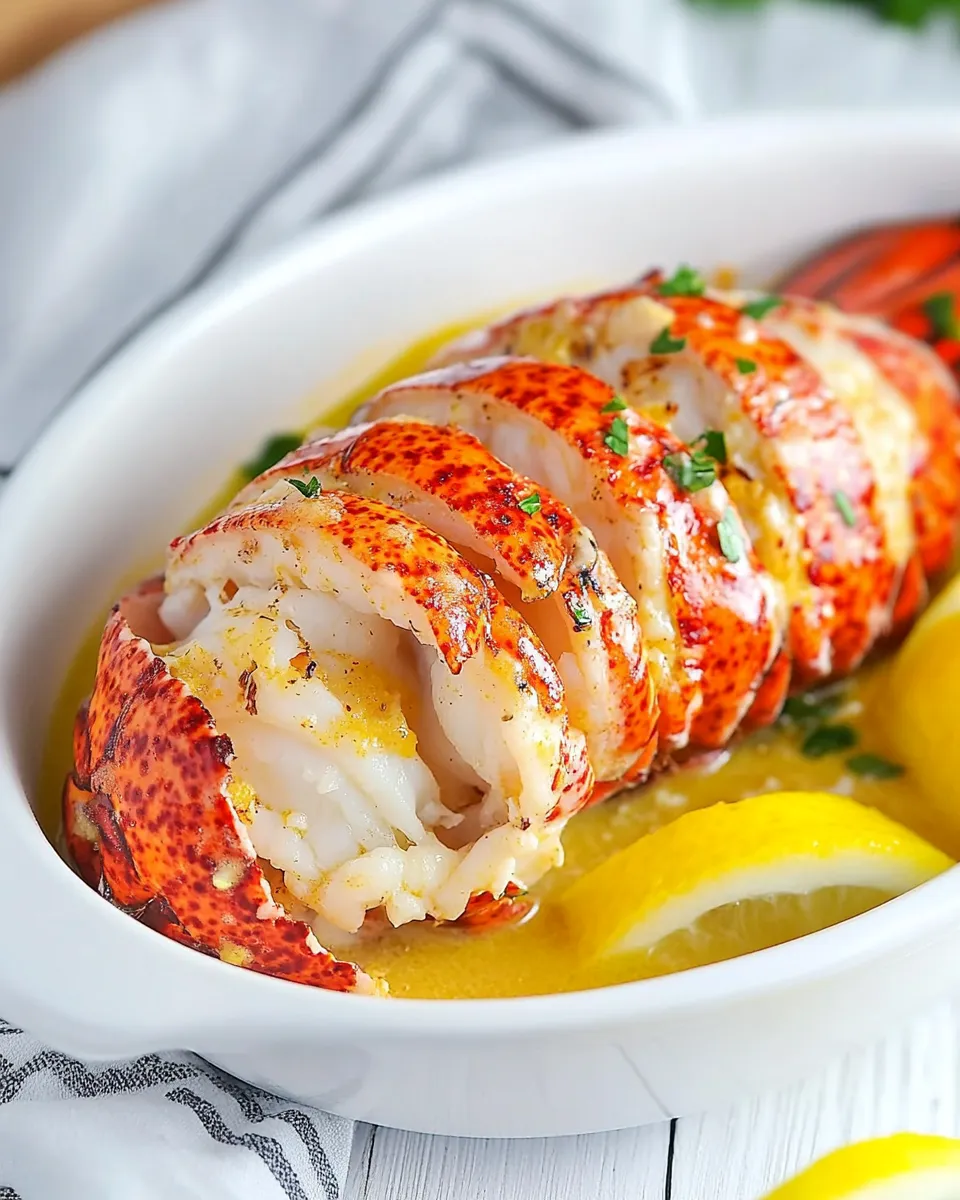
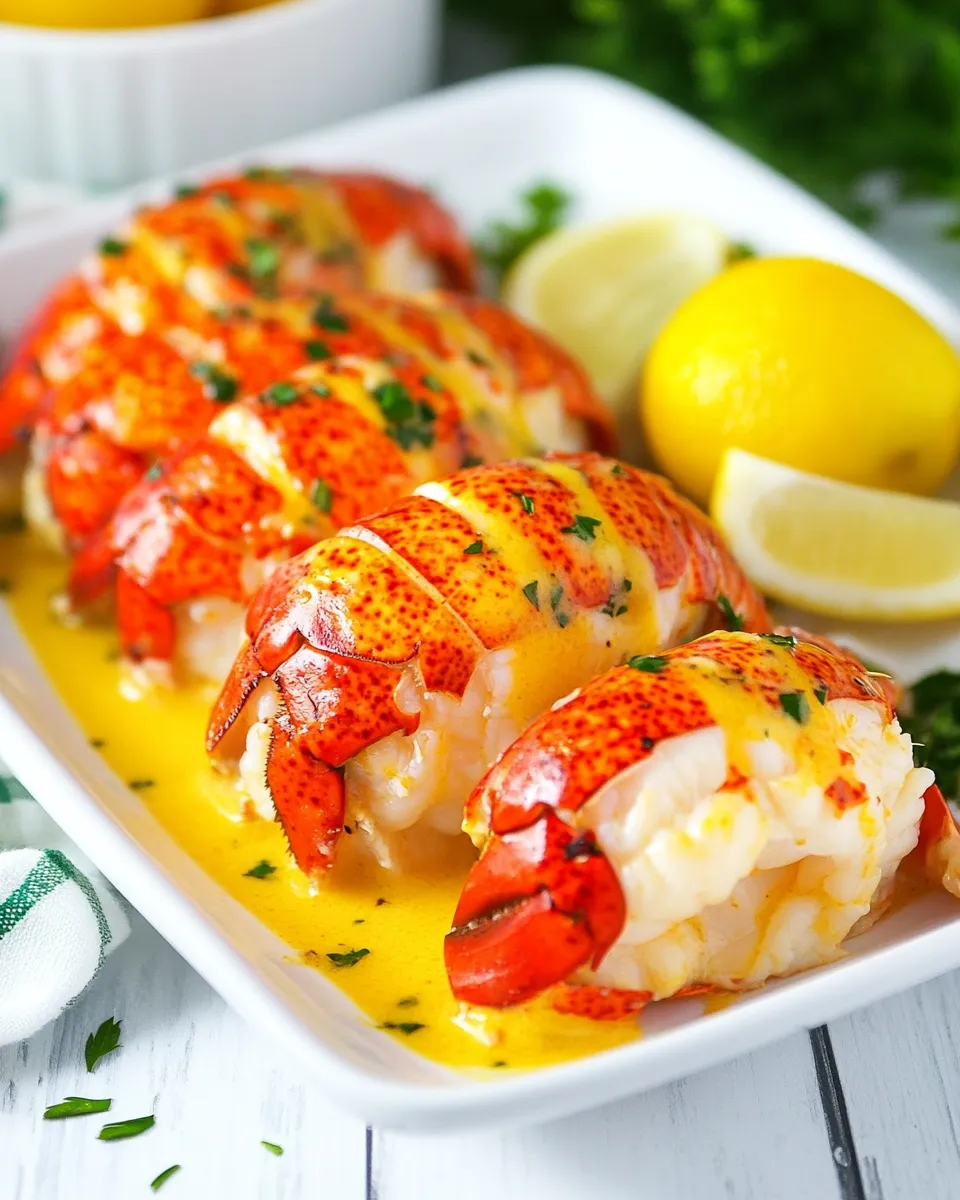
Instant Pot Lobster Tails
If you’ve ever gazed longingly at the lobster tails in the seafood section of your grocery store, wondering how to prepare them without the fuss and hassle, you’re in for a treat! With the Instant Pot, cooking lobster tails becomes a quick, easy, and delicious affair. In mere minutes, you can have succulent, perfectly cooked lobster tails right at your table, ready to be enjoyed with melted butter and your favorite seasonings. Let’s dive into this effortless recipe that brings the taste of the ocean straight to your kitchen.
What Makes This Recipe Special
What sets this Instant Pot Lobster Tails recipe apart is not just the speed at which you can prepare this gourmet dish, but also the incredible flavor that results from the method. The Instant Pot locks in moisture while cooking, ensuring that your lobster tails remain tender and juicy, with a delightful buttery flavor enhanced by garlic and smoked paprika. It’s an effortless way to impress guests or simply treat yourself to a luxurious meal without spending hours in the kitchen.
What to Buy
When preparing Instant Pot Lobster Tails, quality ingredients are key. Here’s what you need to look for:
- Lobster Tails: 2 fresh or frozen lobster tails. If using frozen, ensure they are fully thawed before cooking.
- Unsalted Butter: 2 tablespoons, divided for serving and cooking.
- Salt: 1/4 teaspoon, or to taste. You can use sea salt for added flavor.
- Garlic Powder: 1 teaspoon for a subtle garlic flavor.
- Onion Powder: 1/4 teaspoon to enhance the overall taste.
- Smoked Paprika: 1 teaspoon for a smoky depth.
- Water: 1 cup to create steam in the Instant Pot.
Must-Have Equipment
Before you start, make sure you have the following equipment:
- Instant Pot: The star of the show! Any model will work.
- Trivet: This will elevate the lobster tails above the water for even cooking.
- Sharp Knife: For cutting the lobster shells to make serving easier.
- Measuring Spoons: To measure your seasonings accurately.
- Small Bowl: For mixing your seasoning blend.
Instant Pot Lobster Tails: How It’s Done
Cooking Instant Pot Lobster Tails is a straightforward process. Follow these steps for perfect results:
Step 1: Prepare the Lobster Tails
Start by using a sharp knife to cut the top of the lobster shells lengthwise, stopping just before the tail. This will help the meat cook evenly and make it easier to remove after cooking.
Step 2: Mix the Seasonings
In a small bowl, combine the salt, garlic powder, onion powder, and smoked paprika. Set aside.
Step 3: Add Water to the Instant Pot
Pour 1 cup of water into the bottom of the Instant Pot. This water will create the steam necessary for cooking.
Step 4: Place the Trivet
Insert the trivet into the Instant Pot, ensuring it’s above the water level.
Step 5: Position the Lobster Tails
Place the prepared lobster tails on the trivet, shell side down. This positioning allows the steam to circulate and cook the tails evenly.
Step 6: Add Butter and Seasonings
Drizzle 1 tablespoon of melted unsalted butter over the lobster tails and sprinkle the seasoning mixture evenly on top.
Step 7: Seal and Cook
Close the Instant Pot lid, ensuring the valve is set to sealing. Cook on high pressure for 5 minutes. Remember, it will take a few minutes for the Instant Pot to come to pressure before the cooking timer starts.
Step 8: Quick Release
Once the cooking time is up, perform a quick release by carefully turning the valve to venting. This will release the steam quickly.
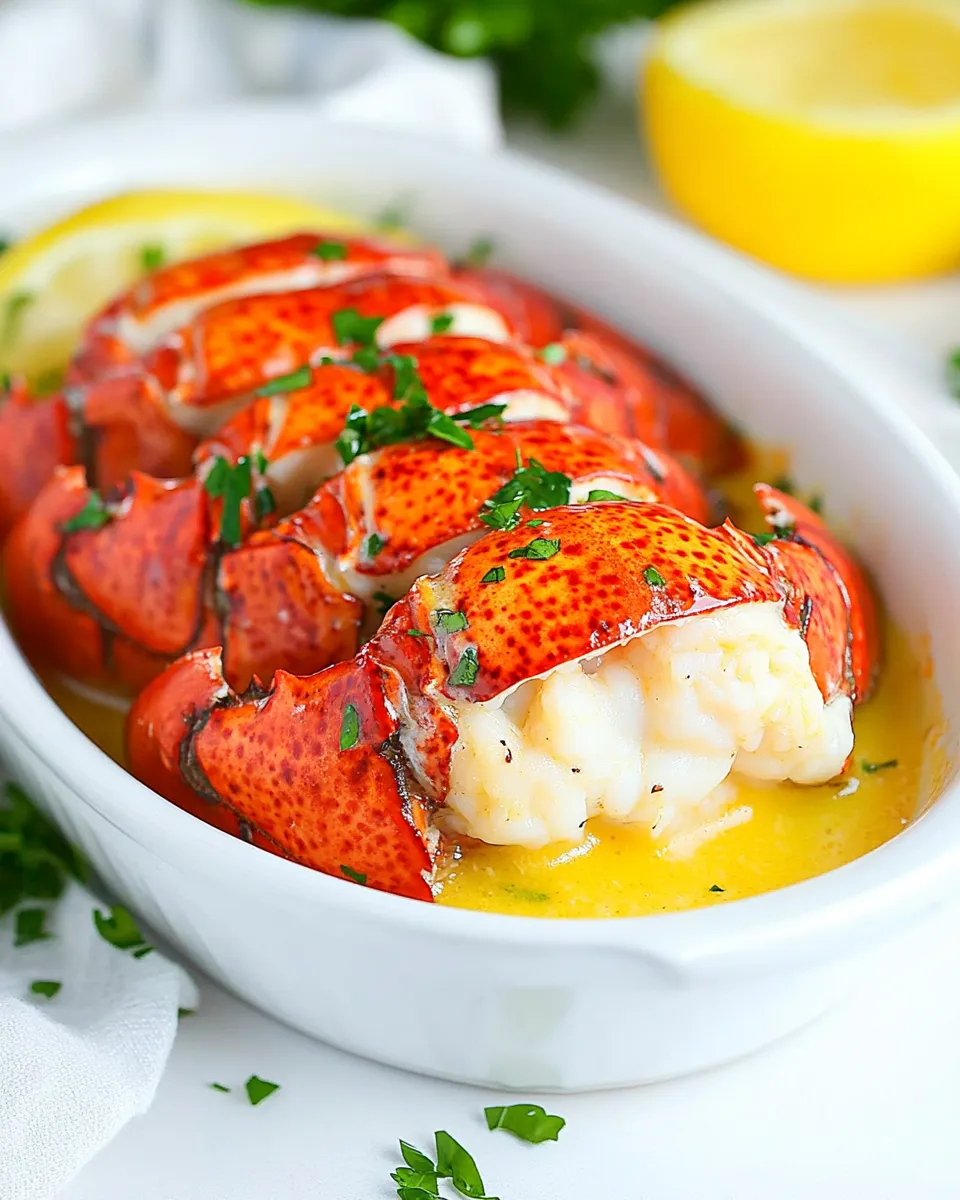
Step 9: Serve and Enjoy
Using tongs, carefully remove the lobster tails from the Instant Pot. Serve with the remaining melted butter for dipping, and enjoy your perfectly cooked Instant Pot Lobster Tails!
Dietary Customizations
For those looking to customize this recipe, here are a few options:
- Butter Alternatives: Use olive oil or vegan butter for a dairy-free option.
- Spice Level: Add crushed red pepper flakes for some heat.
- Herbs: Fresh herbs like parsley or dill can add a fresh touch.
- Garlic Lovers: Fresh minced garlic can replace garlic powder for a stronger flavor.
Frequent Missteps to Avoid
Cooking lobster might seem daunting, but here are common pitfalls to avoid:
- Overcooking: Keep an eye on the cooking time. Lobster can turn rubbery if overcooked.
- Skipping the Trivet: The trivet is essential for even cooking; don’t skip it!
- Not Thawing Frozen Lobster: If using frozen lobster tails, ensure they are completely thawed for best results.
- Neglecting to Season: Don’t skip the seasoning! It enhances the natural sweetness of the lobster.
Meal Prep & Storage Notes
If you have leftover Instant Pot Lobster Tails, here’s how to store them:
- Refrigerate: Store leftovers in an airtight container in the refrigerator for up to 2 days.
- Reheat Carefully: To reheat, steam the lobster tails gently to avoid overcooking.
- Freezing: You can freeze cooked lobster tails. Just ensure they are well-wrapped to prevent freezer burn.
Reader Q&A
How long do I cook frozen lobster tails in the Instant Pot?
If using frozen lobster tails, increase the cooking time to 6-7 minutes at high pressure.
Can I use this recipe for other seafood?
Yes! This method works well for shrimp and crab legs. Just adjust the cooking time accordingly.
What should I serve with lobster tails?
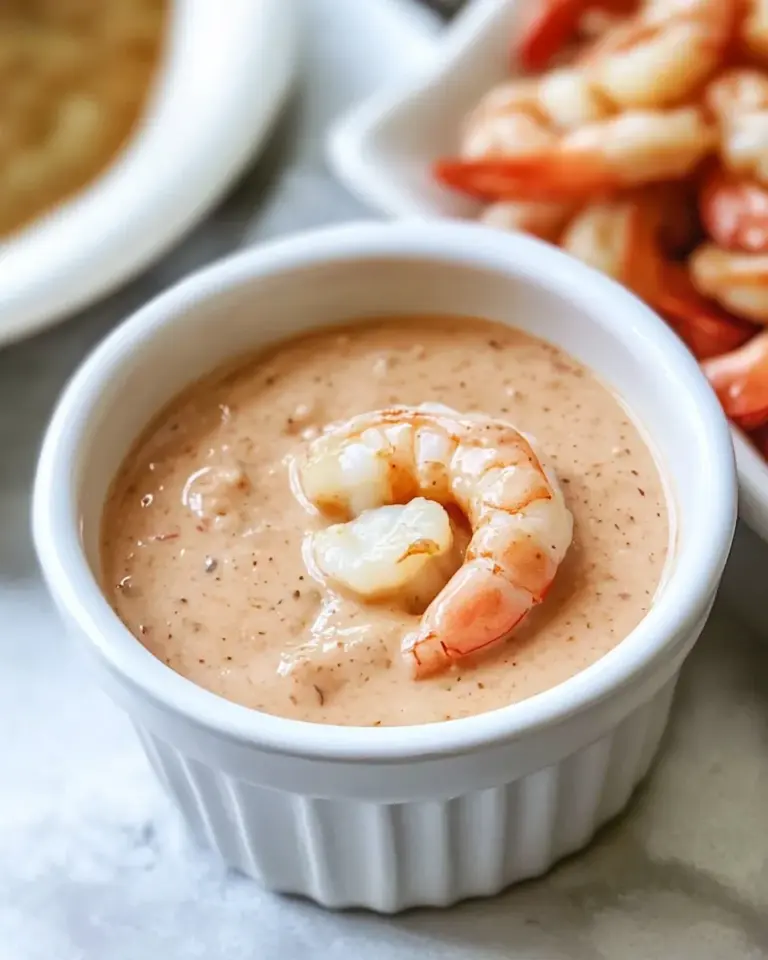
For a complete meal, consider serving with a side of garlic bread, a fresh salad, or even Shrimp Dipping Sauce for an extra treat!
Can I cook more than two lobster tails at once?
Yes, you can cook more tails at once, but ensure they fit comfortably in the Instant Pot and do not overcrowd the pot. You may need to adjust the cooking time slightly.
If you love this recipe, check out these delicious options:
Ready, Set, Cook
Now that you have all the details to create your own Instant Pot Lobster Tails, gather your ingredients and get cooking! This recipe is bound to become a favorite in your household, perfect for special occasions or a simple weekday treat. With just a few easy steps, you can savor the taste of restaurant-quality lobster right from your own kitchen. Enjoy the process and the delicious results!
Instant Pot Lobster Tails
Ingredients
Equipment
Method
- Step 1: Prepare the Lobster Tails - Cut the top of the lobster shells lengthwise, stopping just before the tail.
- Step 2: Mix the Seasonings - Combine salt, garlic powder, onion powder, and smoked paprika in a small bowl.
- Step 3: Add Water to the Instant Pot - Pour 1 cup of water into the bottom of the Instant Pot.
- Step 4: Place the Trivet - Insert the trivet into the Instant Pot above the water level.
- Step 5: Position the Lobster Tails - Place the lobster tails on the trivet, shell side down.
- Step 6: Add Butter and Seasonings - Drizzle melted butter over the tails and sprinkle with the seasoning mixture.
- Step 7: Seal and Cook - Close the lid, set the valve to sealing, and cook on high pressure for 5 minutes.
- Step 8: Quick Release - After cooking, perform a quick release of steam by turning the valve to venting.
- Step 9: Serve and Enjoy - Carefully remove the lobster tails and serve with melted butter.
Notes
- For a dairy-free option, substitute olive oil or vegan butter.
- Add crushed red pepper flakes for a spicy kick.
- Store leftovers in an airtight container for up to 2 days.