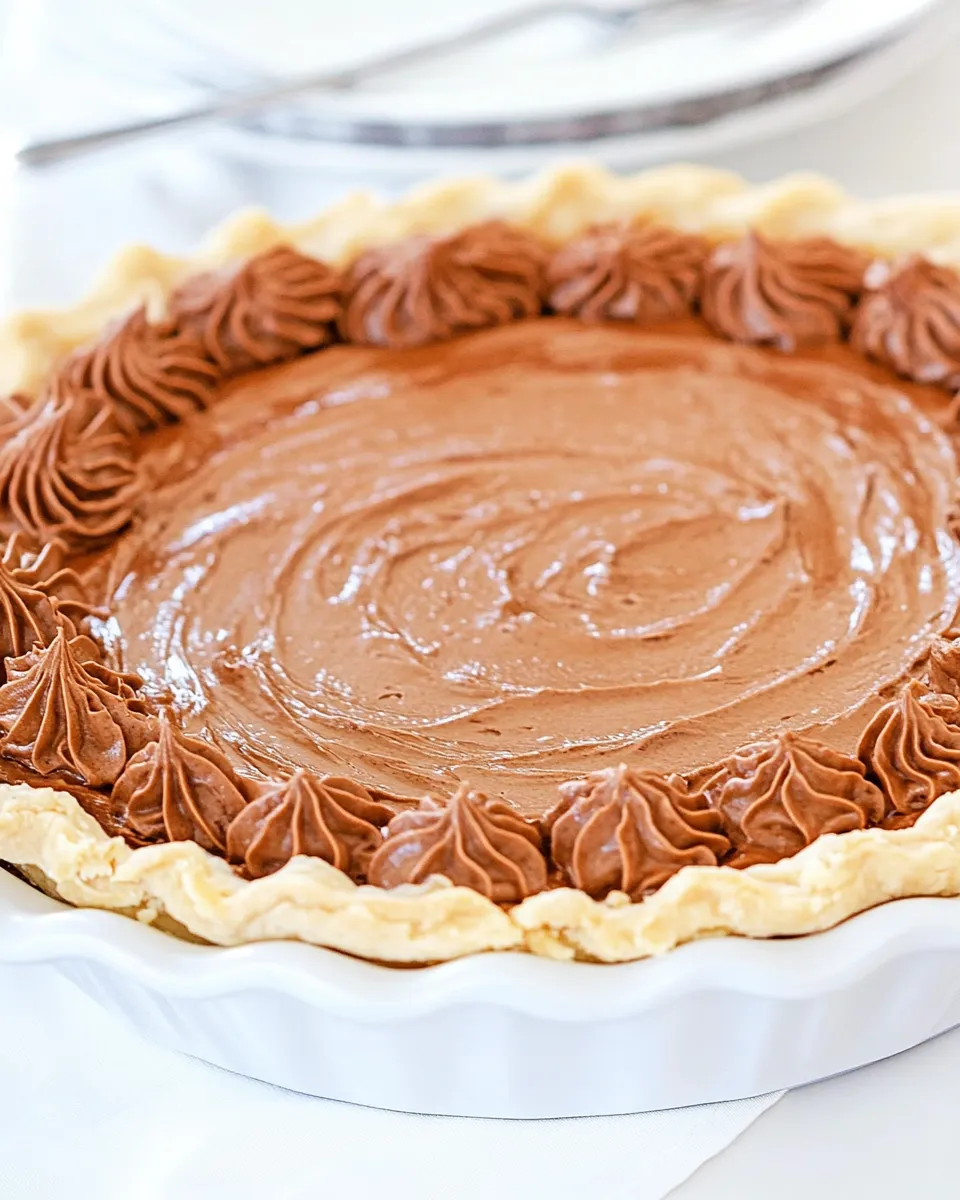
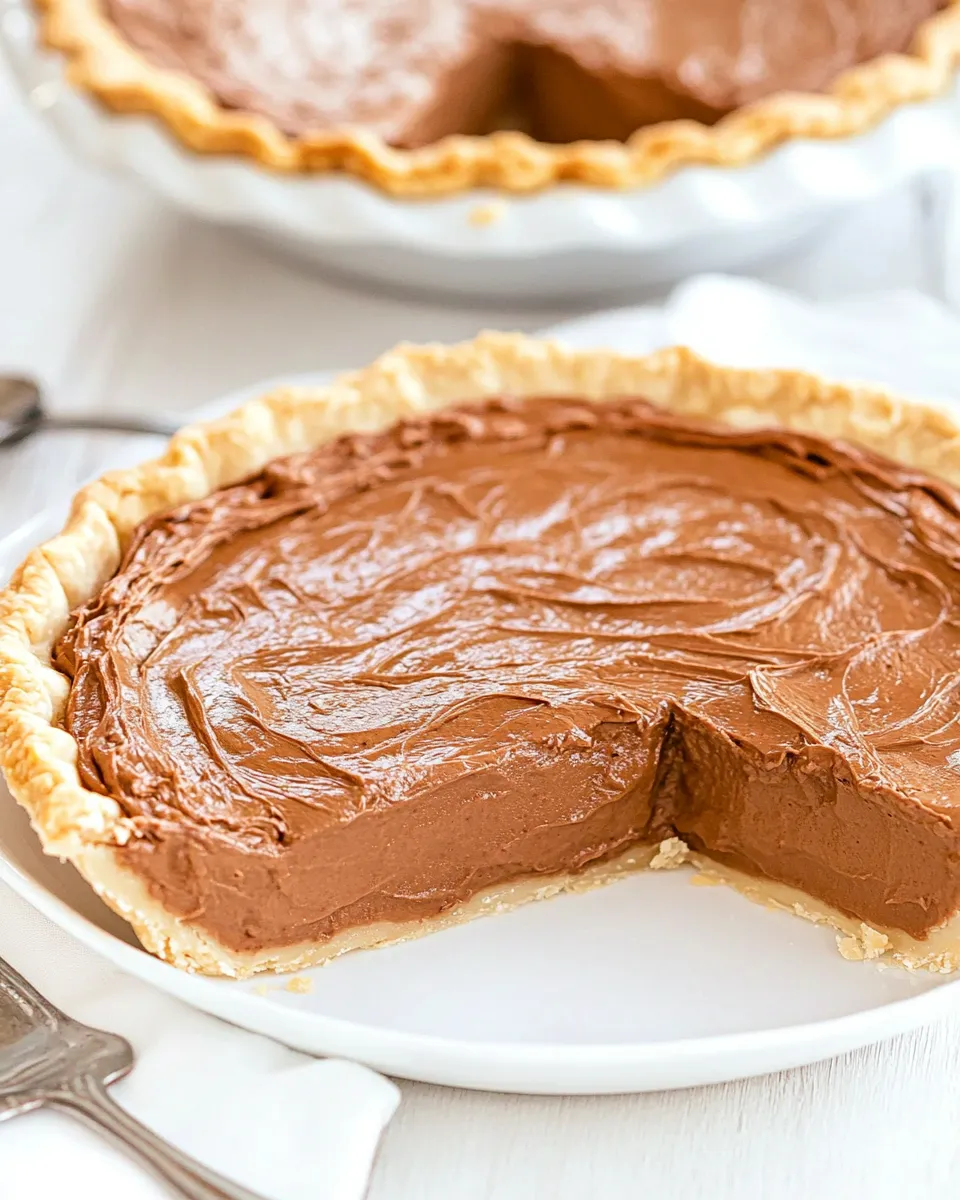
Homemade Chocolate Cream Pie
There’s something undeniably comforting about a slice of Homemade Chocolate Cream Pie. This classic dessert brings back memories of family gatherings, holiday dinners, and sweet indulgences. With its velvety chocolate filling and a perfectly baked pie shell, this pie strikes the perfect balance between rich and creamy. Whether you’re a novice baker or a seasoned pro, this recipe is designed to guide you through each step with ease.
Top Reasons to Make Homemade Chocolate Cream Pie
- Decadent Flavor: The combination of unsweetened chocolate and cream cheese creates a rich and satisfying taste that’s hard to resist.
- Customizable: You can easily modify the recipe to suit your preferences, whether that means adding a hint of mint or a dollop of whipped cream on top.
- Impressive Presentation: This pie looks beautiful when served, making it a fantastic dessert for gatherings and celebrations.
- Simple Ingredients: With just a handful of pantry staples, you can create a dessert that feels luxurious without breaking the bank.
Ingredient List
- 1 cup sugar
- 1/2 cup all-purpose flour
- 1/4 teaspoon salt
- 2 cups milk
- 2 ounces unsweetened chocolate squares
- 3 beaten egg yolks
- 2 tablespoons butter
- 1 teaspoon vanilla extract
- 3 ounces cream cheese
- 1 baked pie shell
Appliances & Accessories
- Mixing Bowls: Essential for combining ingredients smoothly.
- Whisk: Perfect for blending egg yolks and ensuring a lump-free filling.
- Double Boiler or Microwave: Use this to melt the chocolate gently without burning it.
- Measuring Cups and Spoons: Accurate measurements are key to baking success.
- Pie Dish: A standard 9-inch pie dish works best for this recipe.
From Start to Finish: Homemade Chocolate Cream Pie
Step 1: Prepare the Pie Shell
Begin by ensuring your pie shell is fully baked and cooled. If you’re using a store-bought shell, simply follow the package instructions. If you’re feeling adventurous, you can make your own from scratch!
Step 2: Combine Dry Ingredients
In a medium mixing bowl, whisk together the 1 cup of sugar, 1/2 cup of all-purpose flour, and 1/4 teaspoon salt until well combined.
Step 3: Heat the Milk
In a saucepan over medium heat, bring 2 cups of milk to a simmer. Stir occasionally to prevent scorching.
Step 4: Melt the Chocolate
In a double boiler or a microwave-safe bowl, melt the 2 ounces of unsweetened chocolate squares until smooth. If using a microwave, heat in 30-second intervals, stirring in between.
Step 5: Combine Mixtures
Once the milk is heated and the chocolate is melted, gradually whisk the dry ingredients into the milk. Stir continuously until the mixture thickens and begins to bubble.
Step 6: Temper the Egg Yolks
In a separate bowl, beat 3 egg yolks. Slowly add a small amount of the hot chocolate mixture to the yolks while whisking constantly to temper them. This step prevents the eggs from scrambling.
Step 7: Bring It All Together
Pour the tempered egg yolk mixture back into the saucepan with the chocolate filling. Continue to cook over low heat, stirring until thickened. Remove from heat and stir in 2 tablespoons of butter and 1 teaspoon of vanilla extract until fully melted and combined.
Step 8: Add Cream Cheese
In a mixing bowl, soften the 3 ounces of cream cheese. Gradually mix in the chocolate filling until smooth and well blended.
Step 9: Fill the Pie Shell
Pour the chocolate mixture into the baked pie shell. Smooth the top with a spatula and refrigerate for at least 4 hours, or until set.
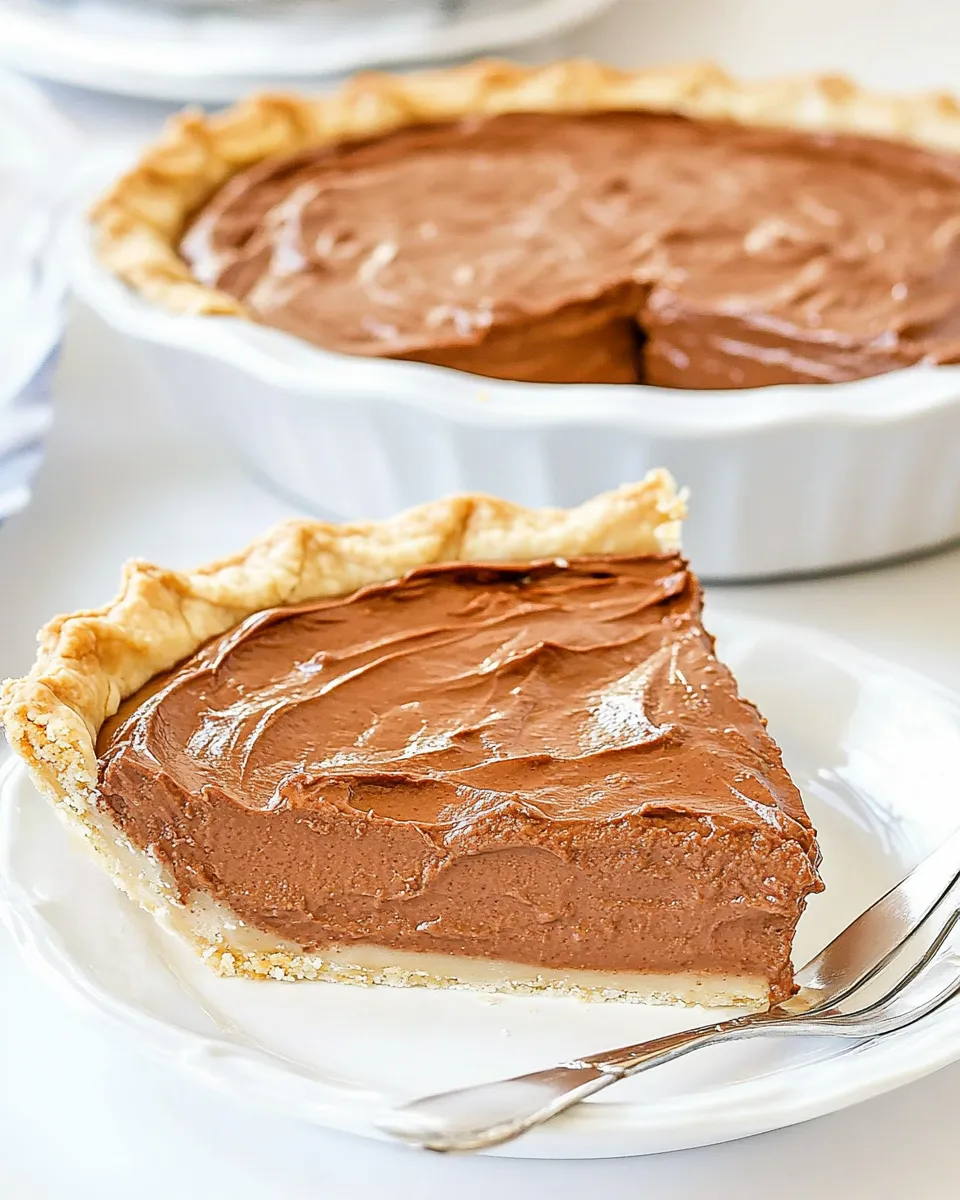
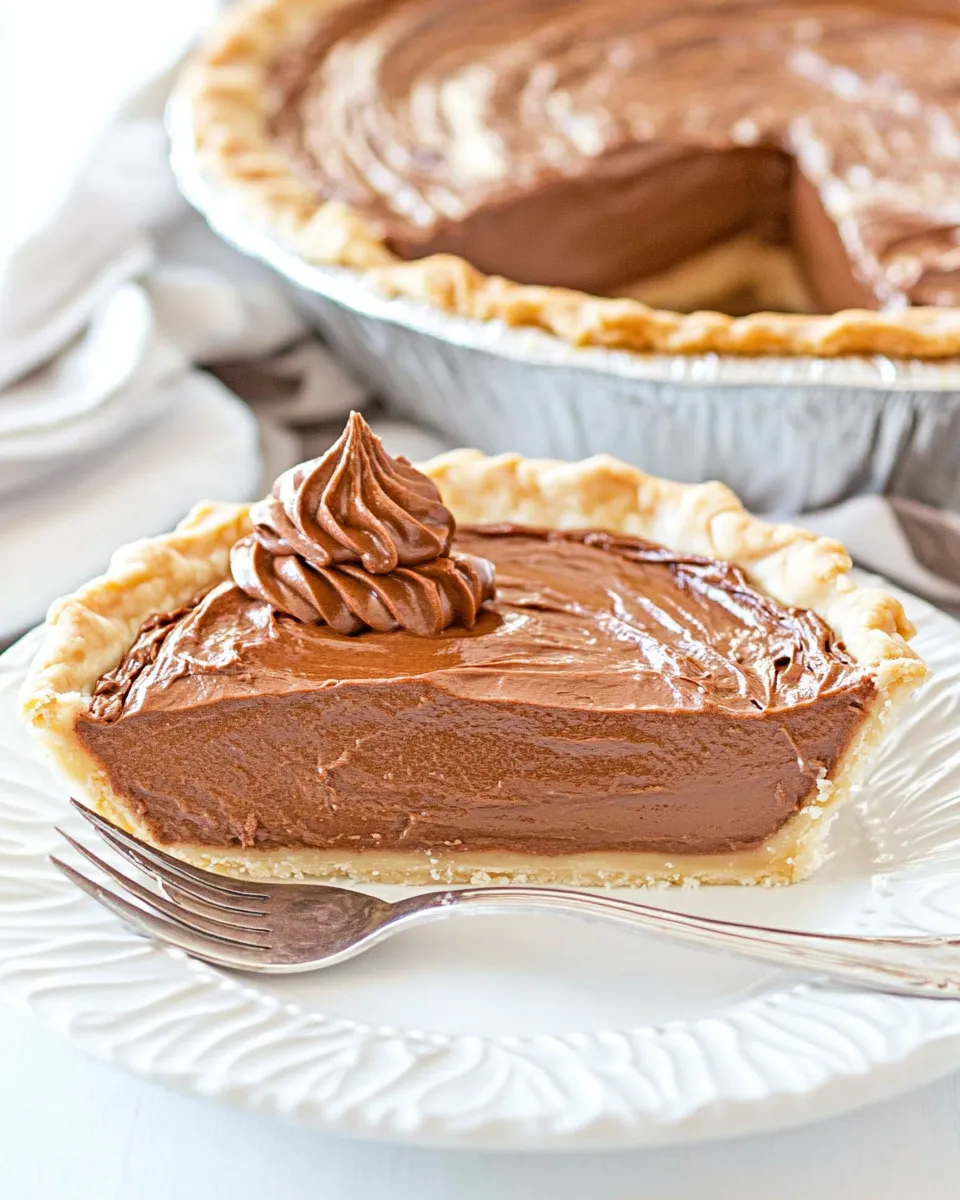
Step 10: Serve and Enjoy
Once set, slice and serve your Homemade Chocolate Cream Pie. For an extra touch, top with whipped cream or chocolate shavings.
Dietary Customizations
- Dairy-Free: Substitute the milk with almond milk or any plant-based milk and replace the cream cheese with a dairy-free alternative.
- Gluten-Free: Use a gluten-free flour blend in place of all-purpose flour for a gluten-free version.
- Reduced Sugar: For a lower sugar option, try using a sugar substitute suitable for baking.
- Vegan: Replace eggs with flaxseed meal or a commercial egg replacer, and use vegan butter and chocolate.
Notes from the Test Kitchen
- Be patient while cooking the filling; it should bubble gently to avoid burning.
- Make sure to cool the pie completely in the refrigerator for the best texture.
- If you prefer a sweeter filling, adjust the sugar to your taste.
- For an extra layer of flavor, consider adding a pinch of espresso powder to the filling.
Storage Pro Tips
To store your Homemade Chocolate Cream Pie, cover it with plastic wrap or aluminum foil and refrigerate. It will keep well for up to 3 days. For longer storage, consider freezing the pie, though the texture may change slightly upon thawing. When ready to serve, simply let it thaw in the refrigerator overnight.
Homemade Chocolate Cream Pie Q&A
Can I use milk chocolate instead of unsweetened chocolate?
Yes, you can substitute milk chocolate for unsweetened chocolate, but you will need to reduce the amount of sugar in the recipe since milk chocolate is sweeter.
What should I do if my filling doesn’t thicken?
If your filling doesn’t thicken, it may require further cooking. Continue to heat it over low heat while stirring until it reaches the desired consistency.
Can I make this pie ahead of time?
Absolutely! This pie can be made a day in advance. Just ensure it is covered and stored in the refrigerator until you’re ready to serve.
What can I serve with my Chocolate Cream Pie?
Consider pairing your pie with a drizzle of chocolate sauce, a dollop of whipped cream, or even some fresh berries for a burst of flavor.
Wrap-Up
The joy of baking your own Homemade Chocolate Cream Pie is unmatched. With each slice, you’re not just serving a dessert; you’re sharing a piece of love and tradition. So gather your ingredients, follow this guide, and delight in the rich, creamy goodness that only a homemade pie can offer. Enjoy every indulgent bite!
Homemade Chocolate Cream Pie
Ingredients
Equipment
Method
- Step 1: Prepare the Pie Shell - Ensure your pie shell is fully baked and cooled. If using a store-bought shell, follow the package instructions.
- Step 2: Combine Dry Ingredients - In a medium mixing bowl, whisk together the sugar, flour, and salt until well combined.
- Step 3: Heat the Milk - In a saucepan over medium heat, bring the milk to a simmer. Stir occasionally to prevent scorching.
- Step 4: Melt the Chocolate - In a double boiler or a microwave-safe bowl, melt the unsweetened chocolate squares until smooth.
- Step 5: Combine Mixtures - Gradually whisk the dry ingredients into the heated milk, stirring continuously until thickened.
- Step 6: Temper the Egg Yolks - In a separate bowl, beat the egg yolks. Slowly add hot chocolate mixture to the yolks while whisking.
- Step 7: Bring It All Together - Pour the tempered egg yolk mixture back into the saucepan. Cook over low heat, stirring until thickened. Remove from heat and stir in butter and vanilla.
- Step 8: Add Cream Cheese - In a mixing bowl, soften the cream cheese. Gradually mix in the chocolate filling until smooth.
- Step 9: Fill the Pie Shell - Pour the chocolate mixture into the baked pie shell. Smooth the top and refrigerate for at least 4 hours, or until set.
- Step 10: Serve and Enjoy - Once set, slice and serve your Homemade Chocolate Cream Pie. Top with whipped cream or chocolate shavings if desired.
Notes
- Be patient while cooking the filling; it should bubble gently to avoid burning.
- Cool the pie completely in the refrigerator for the best texture.
- If you prefer a sweeter filling, adjust the sugar to your taste.