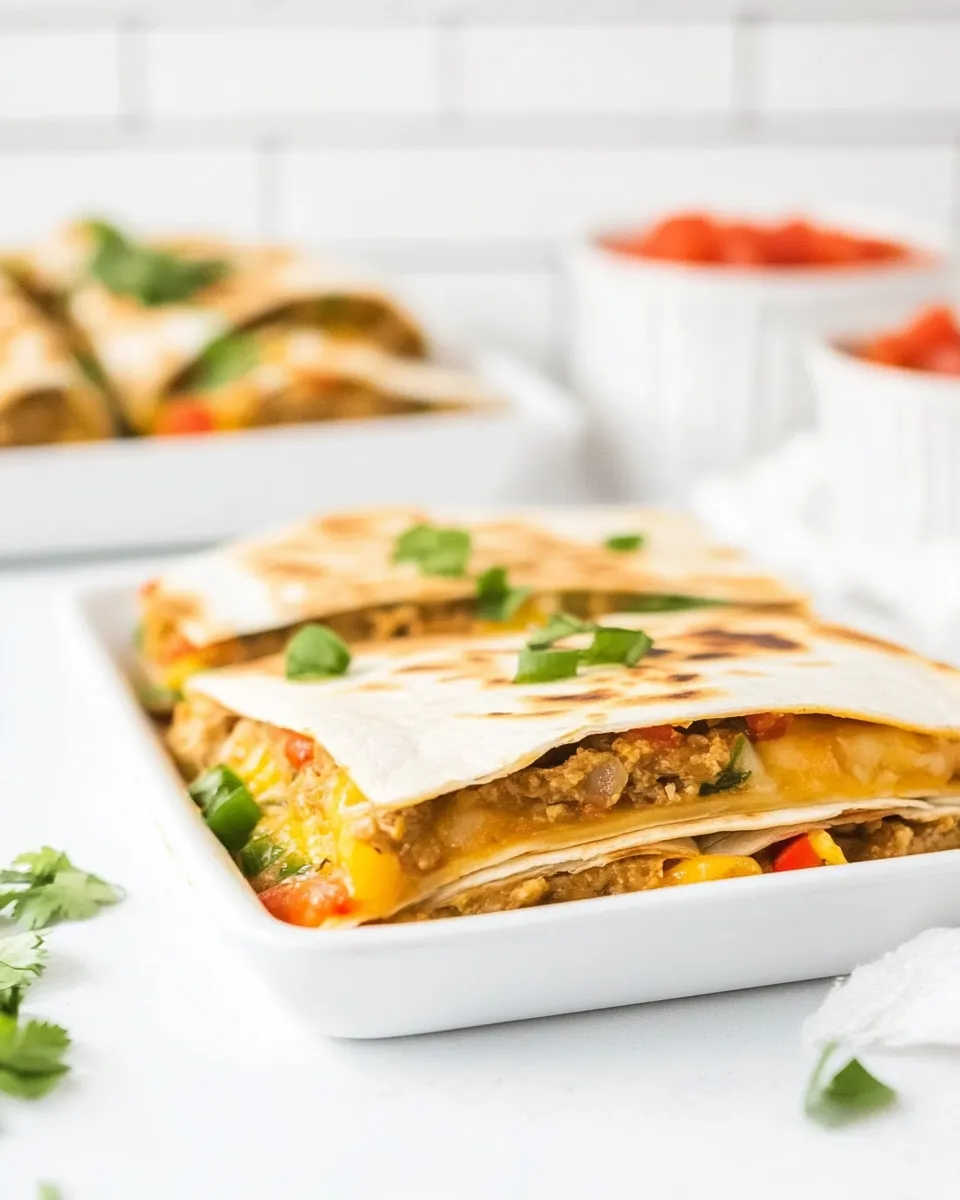
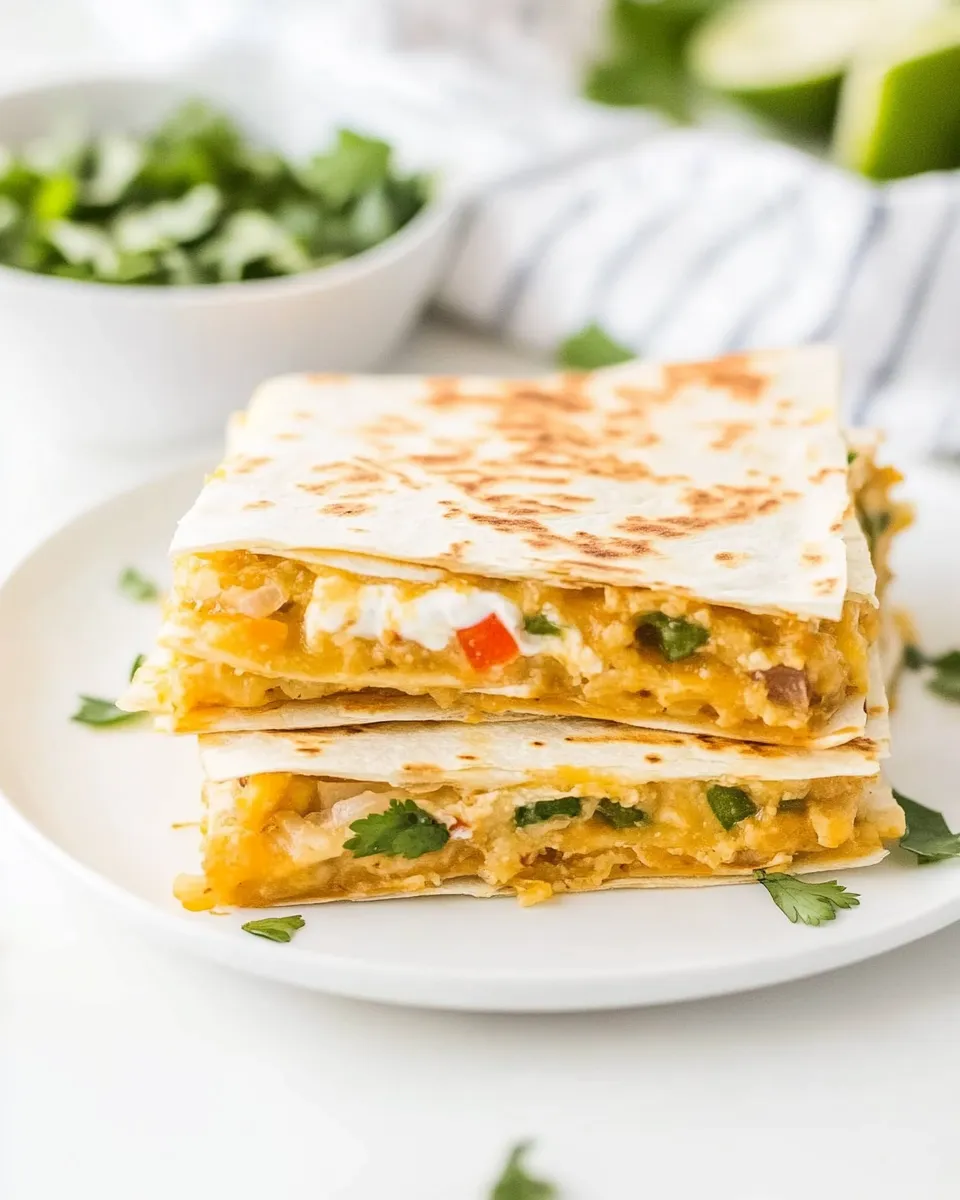
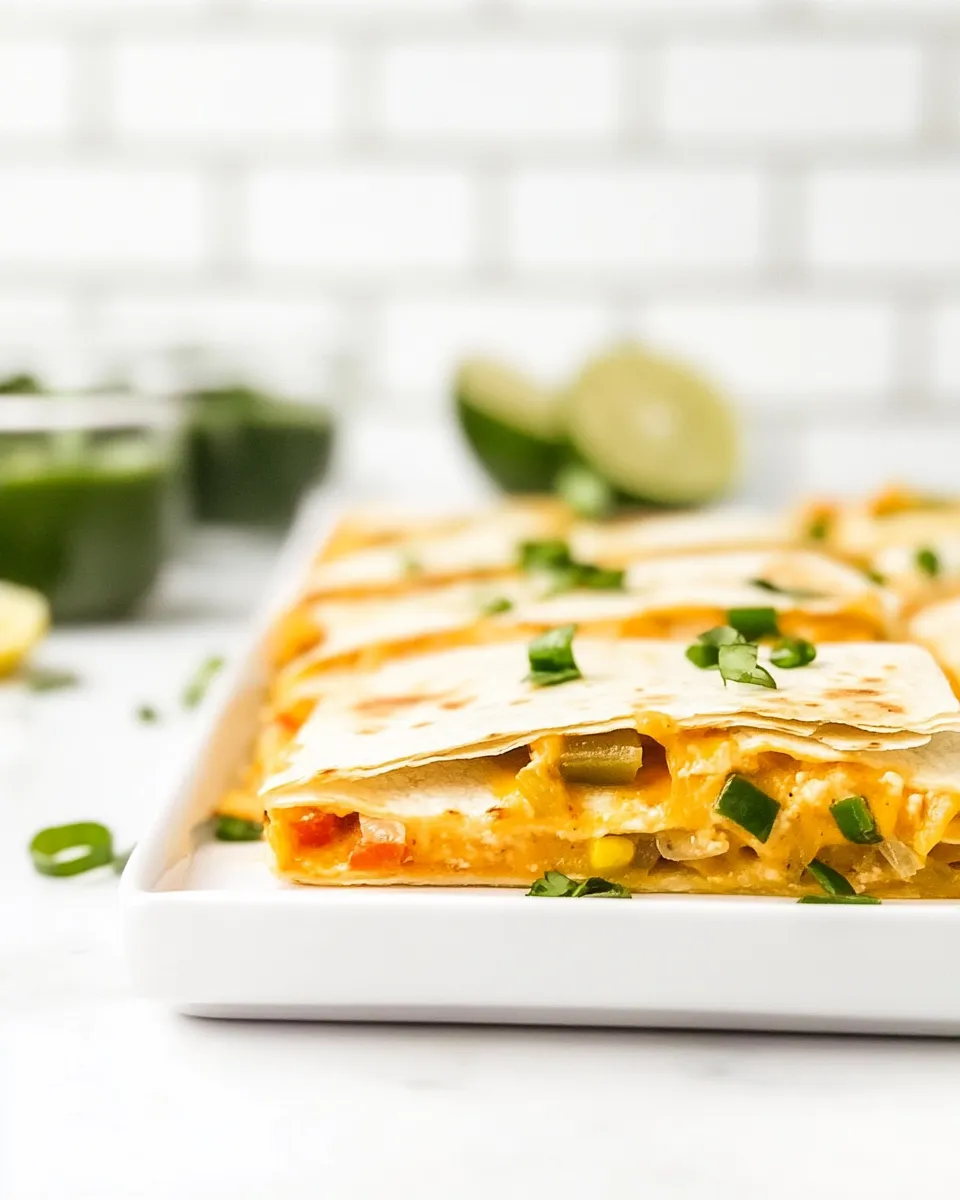
Sheet Pan Quesadillas
Are you ready for a crowd-pleasing, easy-to-make dish that will have everyone asking for seconds? Enter Sheet Pan Quesadillas! This delightful recipe features perfectly crisp tortillas filled with savory chicken, cheese, and a medley of spices that create a mouthwatering experience. Whether it’s game day, a family dinner, or a casual get-together with friends, these quesadillas are guaranteed to steal the show. With minimal prep time and the convenience of a single pan, you’ll be serving up deliciousness in no time!
Why This Recipe Belongs in Your Rotation
Sheet Pan Quesadillas are the epitome of versatility and convenience. They pack a punch of flavor and can be customized to suit any taste preference. The best part? You can whip up a big batch in one go, making them perfect for feeding a crowd or meal prepping for the week ahead. Plus, they’re great for using up leftover ingredients lurking in your fridge. If you’re craving something cheesy, spicy, and utterly satisfying, this recipe is a must-have.
What You’ll Gather
- 8 large flour tortillas (burrito size)
- 2 tablespoons olive oil
- 1 medium onion, chopped
- 1 medium green bell pepper, chopped
- 1 pound cooked and shredded chicken breast
- 1 teaspoon chili powder
- 1 teaspoon cumin
- 1 teaspoon smoked paprika
- 1 teaspoon garlic powder
- 1 teaspoon salt
- 1 teaspoon pepper
- 1 cup sour cream
- 2 cups Monterey Jack cheese, shredded
- Optional Toppings: sour cream, salsa, guacamole, pico de gallo, chopped cilantro
Before You Start: Equipment
- Sheet pan: A large, rimmed sheet pan is ideal for this recipe.
- Mixing bowl: For combining your filling ingredients.
- Spatula: To help with spreading and flipping.
- Knife and cutting board: For chopping veggies and chicken.
Cooking Sheet Pan Quesadillas: The Process
Step 1: Preheat Your Oven
Start by preheating your oven to 400°F (200°C). This ensures that your quesadillas will bake evenly and get that perfect golden-brown finish.
Step 2: Sauté the Vegetables
In a skillet, heat 2 tablespoons of olive oil over medium heat. Add the chopped onion and green bell pepper, sautéing until they are tender and fragrant, about 5-7 minutes. This step adds a wonderful depth of flavor to your quesadillas.
Step 3: Mix the Filling
In a mixing bowl, combine the sautéed onions and bell peppers with the shredded chicken, chili powder, cumin, smoked paprika, garlic powder, salt, and pepper. Stir well until everything is evenly coated with the spices.
Step 4: Assemble the Quesadillas
On your sheet pan, lay out 4 of the large flour tortillas. Spread half of the chicken mixture evenly over the tortillas, then sprinkle 1 cup of shredded Monterey Jack cheese on top. Place another tortilla over the cheese, pressing down gently to create a layered quesadilla.
Step 5: Bake
Pop the sheet pan into the preheated oven and bake for about 15-20 minutes, or until the tortillas are golden brown and the cheese is melted and bubbly. Keep an eye on them to prevent burning!
Step 6: Slice and Serve
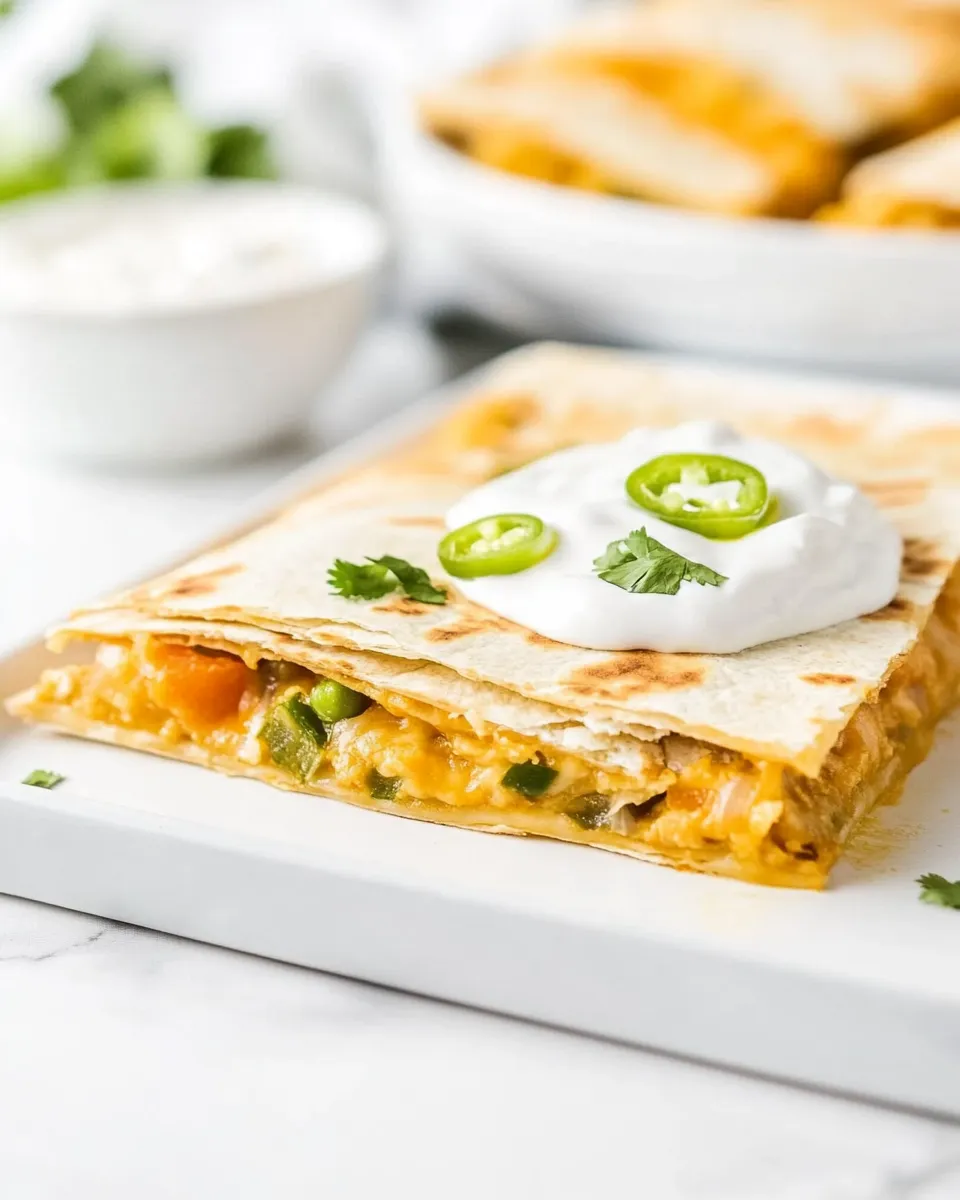
Once baked, remove the sheet pan from the oven and let it cool for a few minutes. Use a sharp knife or pizza cutter to slice the quesadillas into wedges. Serve with a dollop of sour cream, salsa, guacamole, pico de gallo, and a sprinkle of chopped cilantro, if desired.
International Equivalents
- Flour tortillas – can be substituted with corn tortillas for a gluten-free option.
- Monterey Jack cheese – can be replaced with cheddar or mozzarella for different flavor profiles.
- Chicken breast – can be swapped with beef or turkey for a different twist.
If You’re Curious
Sheet Pan Quesadillas are not only delicious but also an excellent way to incorporate a variety of flavors and ingredients. You can easily adapt this recipe to include black beans, corn, or different types of cheese based on your preferences. For a vegetarian version, simply replace the chicken with sautéed mushrooms or extra veggies!
Refrigerate, Freeze, Reheat
Leftover quesadillas can be stored in an airtight container in the refrigerator for up to 3 days. If you want to keep them longer, you can freeze the assembled but unbaked quesadillas. To reheat, simply bake them in the oven at 350°F (175°C) until warmed through, or pop them in the microwave for a quick meal on the go.
Reader Q&A
Can I use a different type of meat?
Absolutely! You can use beef, turkey, or even shrimp. Just make sure to cook it thoroughly before adding it to the quesadilla filling.
What can I use instead of sour cream?
If you’re looking for a dairy-free option, you can substitute sour cream with Greek yogurt or a plant-based yogurt alternative.
How can I make these quesadillas spicier?
For an extra kick, consider adding diced jalapeños or a splash of hot sauce to your filling mixture. You can also serve them with a spicy salsa on the side.
Can I make these quesadillas ahead of time?
Yes! You can prepare the filling and assemble the quesadillas in advance. Just cover them and store them in the fridge until you’re ready to bake. This is a great time-saver for busy weeknights.
Let’s Eat
As you take your first bite of these Sheet Pan Quesadillas, you’ll be greeted with a satisfying crunch followed by the warm, cheesy goodness that fills your mouth. Each flavor complements the other, making it a delightful experience that leaves you craving more. Whether you’re diving into a game day feast or enjoying a cozy dinner at home, these quesadillas are sure to bring smiles to every face at the table. So gather your ingredients, preheat that oven, and let’s get ready to indulge in the ultimate comfort food!
Sheet Pan Quesadillas
Ingredients
Equipment
Method
- Step 1: Preheat Your Oven. Start by preheating your oven to 400°F (200°C) for even baking.
- Step 2: Sauté the Vegetables. Heat olive oil in a skillet, add onion and bell pepper, sauté for 5-7 minutes until tender.
- Step 3: Mix the Filling. Combine sautéed vegetables with chicken and spices in a mixing bowl, stirring well.
- Step 4: Assemble the Quesadillas. Lay 4 tortillas on the sheet pan, spread half the mixture, top with cheese and another tortilla.
- Step 5: Bake. Bake in the oven for 15-20 minutes until tortillas are golden brown and cheese is melted.
- Step 6: Slice and Serve. Allow to cool, slice into wedges, and serve with toppings.
Notes
- Feel free to customize the filling with your favorite ingredients.
- Leftover quesadillas can be refrigerated for up to 3 days.
- For a spicier kick, add jalapeños or hot sauce to the filling.