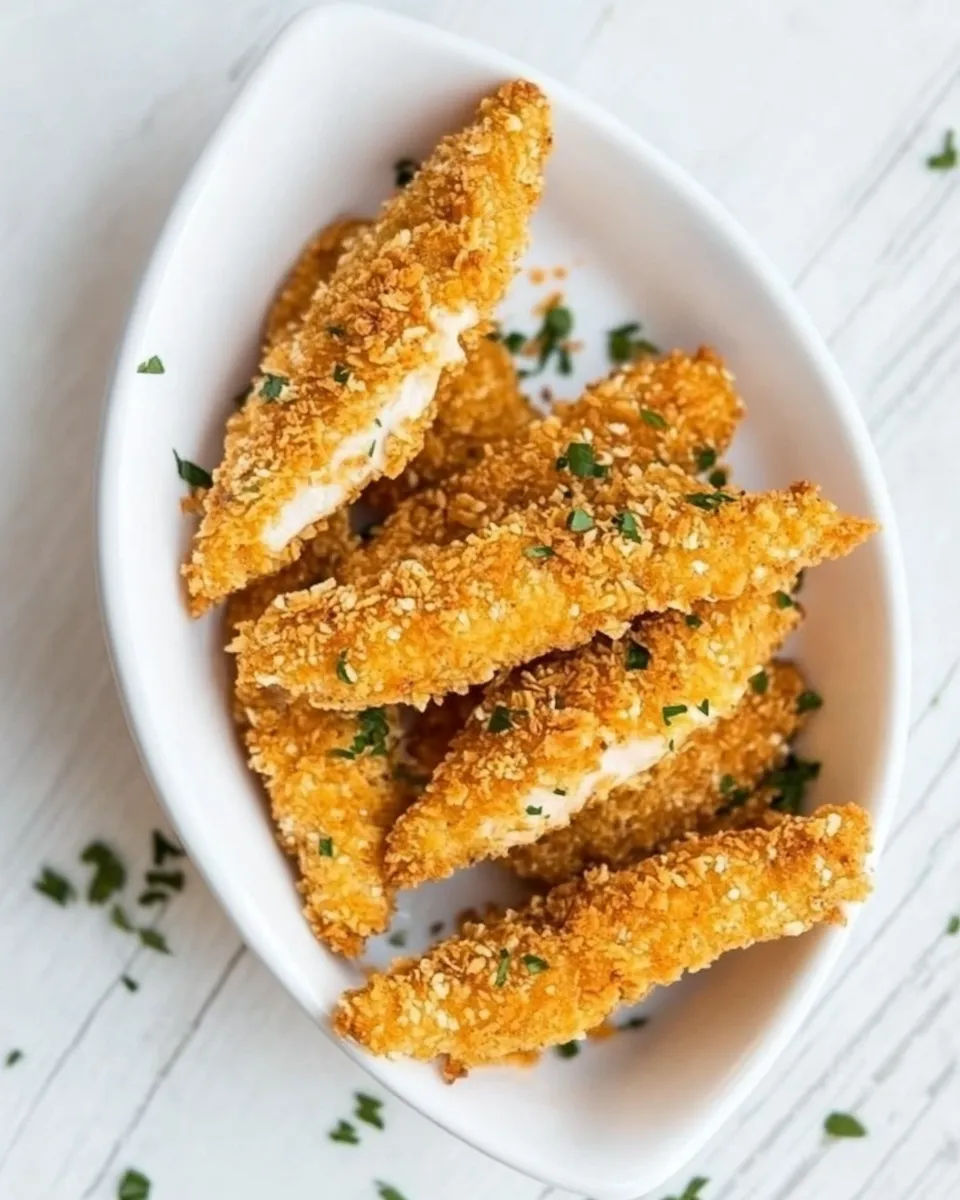
Crispy Oven Fried Chicken Tenders
If you’re looking for a delicious, easy-to-make meal that will please both kids and adults alike, look no further than these Crispy Oven Fried Chicken Tenders. Perfectly seasoned and coated in a crunchy crust, these tenders offer a healthier alternative to traditional fried chicken without sacrificing flavor or texture. The secret? A delightful combination of buttermilk marinade and a crispy coating made from cornflakes and panko breadcrumbs. Whether you serve them with a dipping sauce or alongside your favorite sides, these tenders are sure to be a hit at your dinner table.
What Sets This Recipe Apart
What makes these Crispy Oven Fried Chicken Tenders truly special is the use of buttermilk for marinating the chicken. This not only adds a rich flavor but also tenderizes the meat, resulting in juicy chicken every time. The cornflake and panko mixture creates an irresistible crunch that mimics that of deep-fried chicken, while the oven cooking method keeps things light and healthy. Plus, you can easily customize the seasoning to match your personal taste!
Ingredient Checklist
- 400g boneless skinless mini chicken breast fillets (or large chicken breast evenly sliced)
- 250ml buttermilk (see notes for homemade buttermilk)
- Sea salt and black pepper, to taste
- 120g cornflakes
- 2 tablespoons panko breadcrumbs
- 60ml extra-virgin olive oil
- 1 teaspoon ground cayenne pepper (optional)
- 1 teaspoon ground garlic (optional)
- 1 teaspoon dried oregano
Hardware & Gadgets
- Baking Sheet: A sturdy sheet to hold your chicken while it bakes.
- Parchment Paper: For easy cleanup and to prevent sticking.
- Mixing Bowls: A couple of bowls for marinating and coating the chicken.
- Meat Tenderizer: Optional, for tenderizing the chicken breasts.
- Whisk: For mixing the buttermilk and seasonings.
Crispy Oven Fried Chicken Tenders: Step-by-Step Guide
Step 1: Marinate the Chicken
Begin by placing your chicken breast fillets in a large mixing bowl. Pour the buttermilk over the chicken and season generously with sea salt and black pepper. Ensure each piece is well-coated. Cover the bowl with plastic wrap and let it marinate in the refrigerator for at least 30 minutes, or up to 4 hours for best results.
Step 2: Prepare the Coating
While the chicken is marinating, preheat your oven to 200°C (400°F). Line a baking sheet with parchment paper for easy cleanup. In a separate bowl, crush the cornflakes until they are finely crumbed but still retain some texture. Mix the crushed cornflakes with panko breadcrumbs, dried oregano, and additional seasonings like cayenne pepper and garlic, if using.
Step 3: Coat the Chicken
Once the chicken has marinated, remove it from the refrigerator. Take each piece of chicken and allow the excess buttermilk to drip off. Dredge the chicken in the cornflake and breadcrumb mixture, pressing lightly to ensure a solid coating. Place each coated tender on the prepared baking sheet.
Step 4: Drizzle with Olive Oil
Drizzle the extra-virgin olive oil over the coated chicken tenders. This will help them achieve that crispy, golden-brown finish in the oven.
Step 5: Bake to Perfection
Place the baking sheet in the preheated oven and bake for 20-25 minutes, or until the chicken is golden brown and fully cooked through. To ensure maximum crispiness, you can flip the tenders halfway through the cooking time.
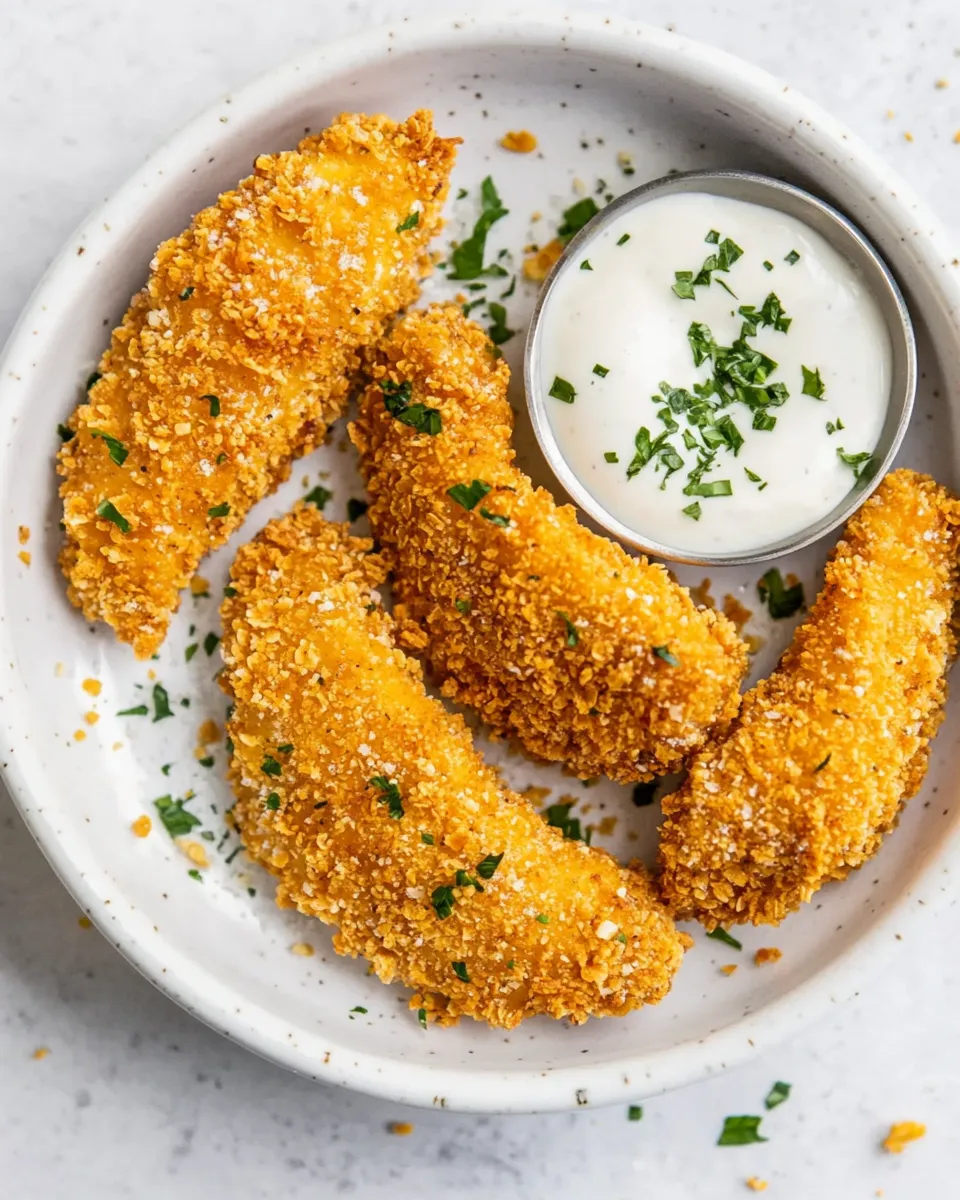
Step 6: Serve & Enjoy!
Once the chicken tenders are done, remove them from the oven and let them cool slightly before serving. Pair them with your favorite dipping sauces or enjoy them as is!
Make It Fit Your Plan
- Gluten-Free: Substitute regular panko breadcrumbs with gluten-free versions.
- Spicy: Add more cayenne pepper or a dash of hot sauce to the buttermilk marinade for extra heat.
- Herbaceous: Incorporate fresh herbs like parsley or thyme into the breadcrumb mixture for added flavor.
- Low-Calorie: Reduce the amount of olive oil used or omit it entirely for a lighter option.
Easy-to-Miss Gotchas
- Don’t skip the marination step! It’s key to achieving juicy tenders.
- Make sure to crush the cornflakes finely, as larger pieces may not adhere well to the chicken.
- Check the internal temperature of the chicken. It should reach 75°C (165°F) for safe consumption.
- Allow the chicken to cool slightly before serving; this helps the crust set and keeps it crispy.
Best Ways to Store
Store any leftover Crispy Oven Fried Chicken Tenders in an airtight container in the refrigerator for up to 3 days. To reheat, place them back in the oven at 180°C (350°F) for about 10-15 minutes to regain their crispiness. For longer storage, freeze the cooked tenders in a single layer on a baking sheet, then transfer to a freezer-safe bag for up to 3 months.
Troubleshooting Q&A
Why are my chicken tenders not crispy?
If your chicken tenders aren’t crispy, ensure that you’ve coated them well with the cornflake mixture and that you’ve used enough oil. Also, baking at a high temperature helps achieve that desired crunch.
Can I use regular milk instead of buttermilk?
While you can use regular milk, buttermilk adds a depth of flavor and helps tenderize the chicken. If you don’t have buttermilk, make a quick substitute by adding a tablespoon of vinegar or lemon juice to regular milk and letting it sit for 5-10 minutes.
How do I know when the chicken is done?
The best way to check is by using a meat thermometer. The internal temperature should reach 75°C (165°F). If you don’t have a thermometer, make a small cut in the thickest part of the chicken; it should be opaque and juices should run clear.
Can I make these tenders ahead of time?
Yes! You can marinate the chicken ahead of time and coat it just before baking. Alternatively, you can bake them in advance and reheat them in the oven to restore their crispiness.
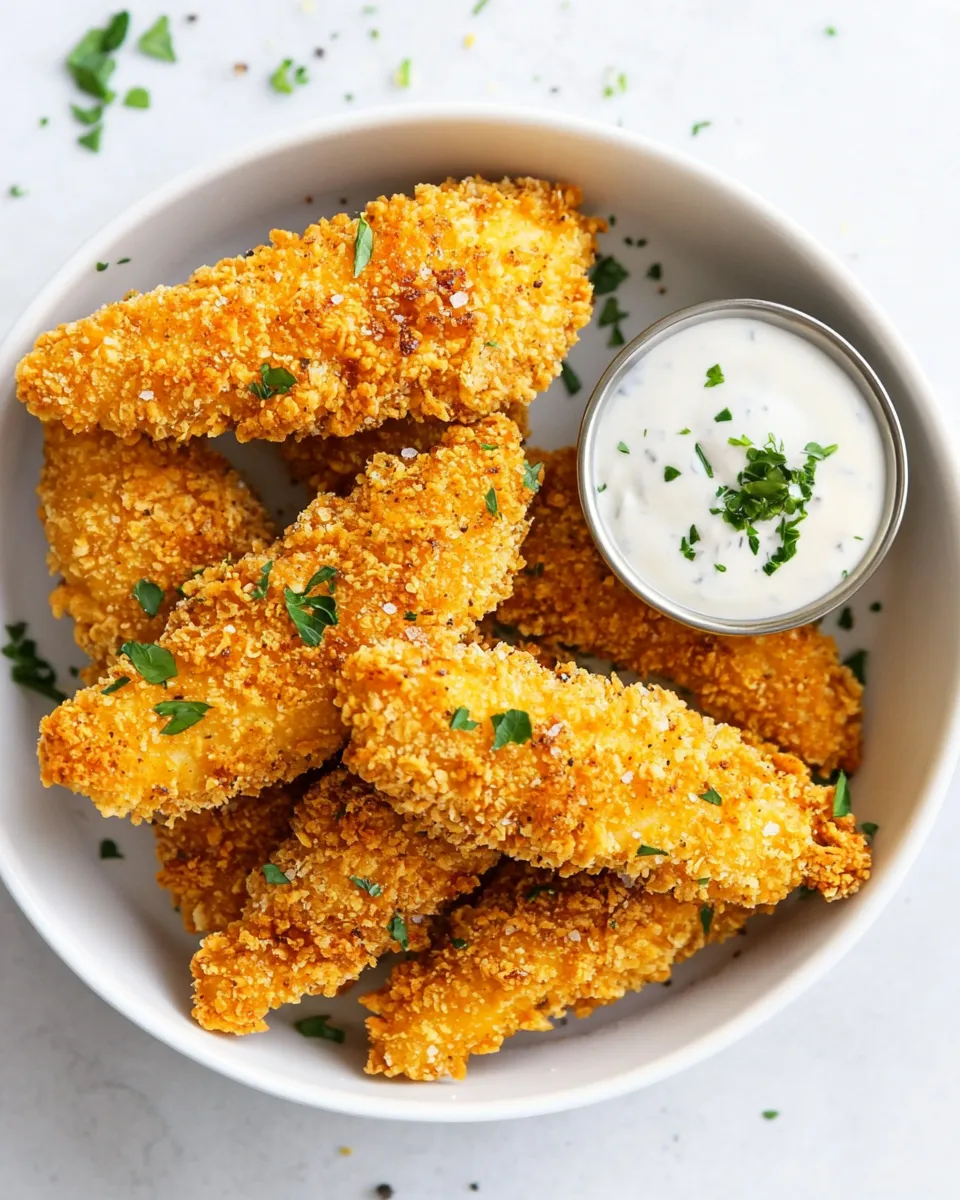
Serve & Enjoy
Whether you’re hosting a casual family dinner, a game day gathering, or just looking to whip up a quick meal, these Crispy Oven Fried Chicken Tenders are the perfect solution. They are incredibly versatile, pairing well with a variety of sides, from fresh salads to classic mashed potatoes. Don’t forget to experiment with different dipping sauces or seasoning blends to make this dish your own. Enjoy the crunch, savor the flavor, and share them with loved ones for an unforgettable meal experience!
Crispy Oven Fried Chicken Tenders
Ingredients
Equipment
Method
- Begin by placing your chicken breast fillets in a large mixing bowl. Pour the buttermilk over the chicken and season generously with sea salt and black pepper. Ensure each piece is well-coated. Cover the bowl with plastic wrap and let it marinate in the refrigerator for at least 30 minutes, or up to 4 hours for best results.
- While the chicken is marinating, preheat your oven to 200°C (400°F). Line a baking sheet with parchment paper for easy cleanup. In a separate bowl, crush the cornflakes until they are finely crumbed but still retain some texture. Mix the crushed cornflakes with panko breadcrumbs, dried oregano, and additional seasonings like cayenne pepper and garlic, if using.
- Once the chicken has marinated, remove it from the refrigerator. Take each piece of chicken and allow the excess buttermilk to drip off. Dredge the chicken in the cornflake and breadcrumb mixture, pressing lightly to ensure a solid coating. Place each coated tender on the prepared baking sheet.
- Drizzle the extra-virgin olive oil over the coated chicken tenders. This will help them achieve that crispy, golden-brown finish in the oven.
- Place the baking sheet in the preheated oven and bake for 20-25 minutes, or until the chicken is golden brown and fully cooked through. To ensure maximum crispiness, you can flip the tenders halfway through the cooking time.
- Once the chicken tenders are done, remove them from the oven and let them cool slightly before serving. Pair them with your favorite dipping sauces or enjoy them as is!
Notes
- Don’t skip the marination step! It’s key to achieving juicy tenders.
- Ensure to crush the cornflakes finely for better adherence.
- Check the internal temperature of the chicken; it should reach 75°C (165°F).
- Allow the chicken to cool slightly before serving to retain crispiness.
- For a gluten-free version, use gluten-free panko breadcrumbs.