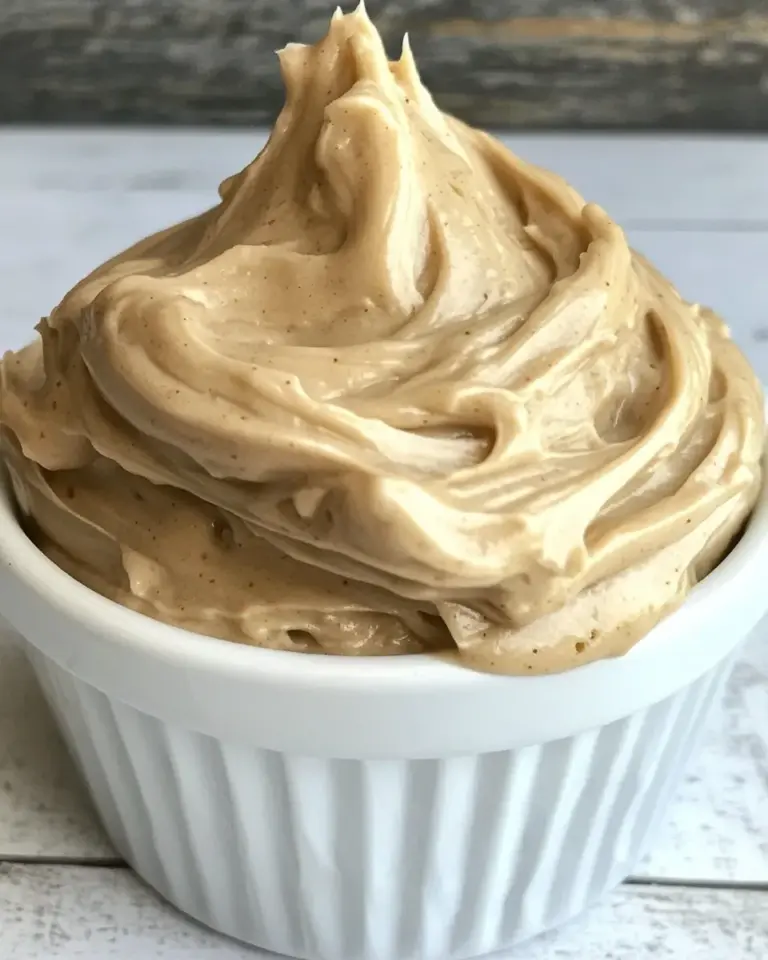
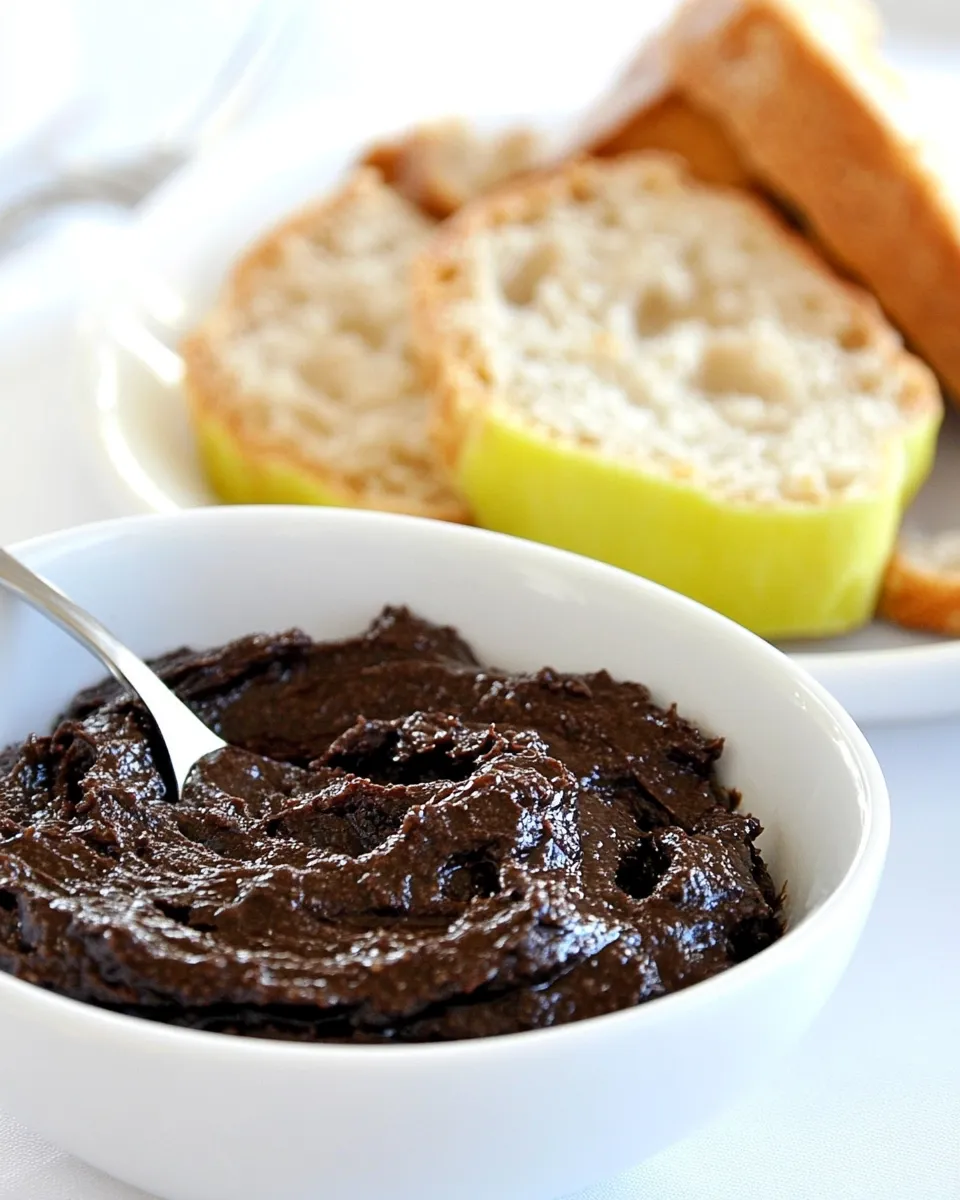
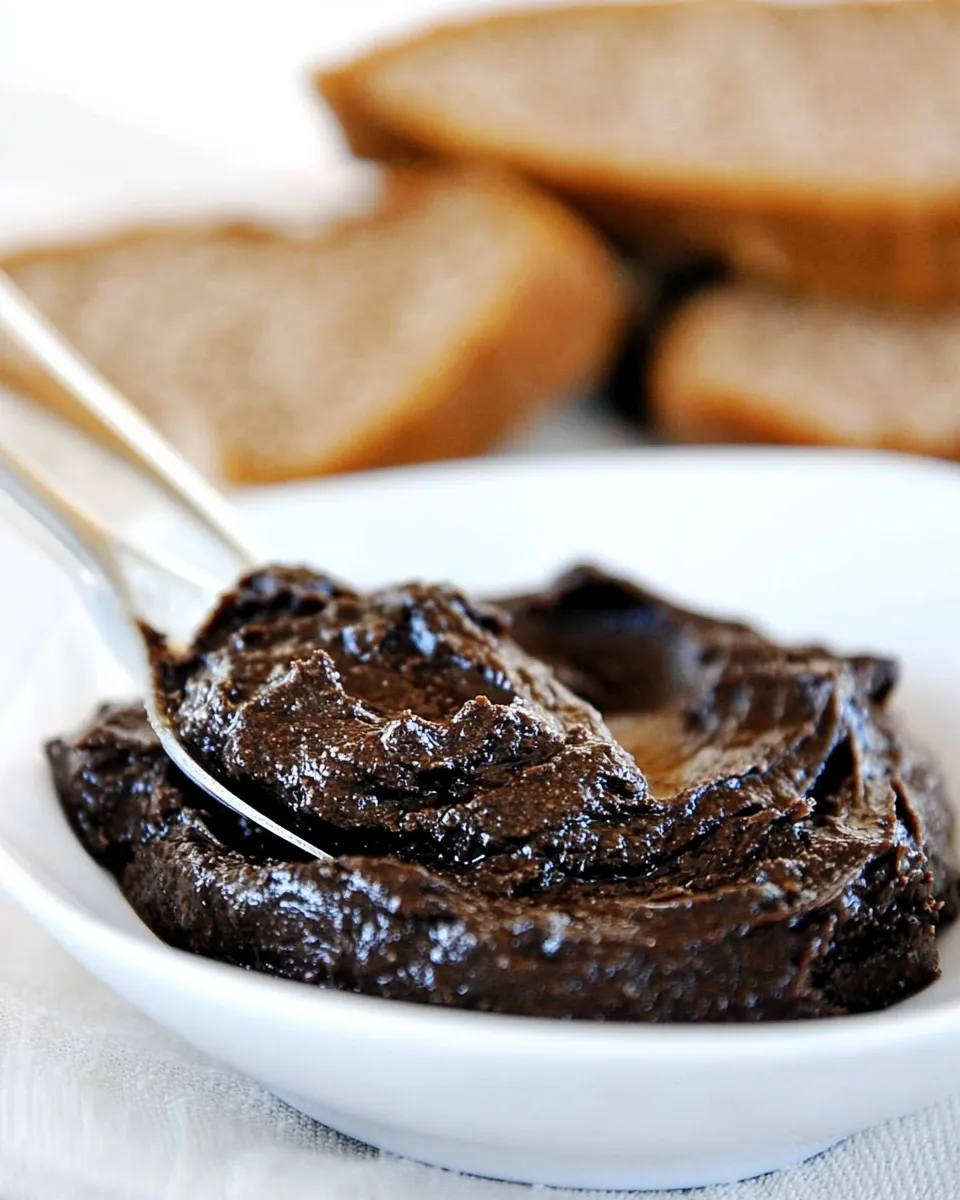
Chocolate-Hazelnut Spread
Nothing brings a smile to your face quite like a jar of homemade Chocolate-Hazelnut Spread. Imagine slathering this rich, velvety goodness on toast, pancakes, or even a spoonful straight from the jar. With just a few simple ingredients, you can whip up this delectable treat that rivals any store-bought version. This recipe is not only easy to make but also allows you to customize the flavors to your liking. Let’s dive into the world of chocolate and hazelnuts!
Why It’s Crowd-Pleasing
Chocolate-Hazelnut Spread is a versatile delight that appeals to both children and adults. Its creamy texture and rich flavor make it perfect for breakfast, snacks, or even dessert. The combination of roasted cocoa nibs and hazelnut oil creates a luxurious spread that is both satisfying and indulgent. Whether you’re drizzling it over your morning oatmeal or using it as a dip for fresh fruits, this spread is guaranteed to be a hit at any gathering. Plus, it’s a fantastic way to impress your friends and family with your culinary skills!
Your Shopping Guide
To create your own Chocolate-Hazelnut Spread, you’ll need the following ingredients:
- 1 cup (120g) roasted cocoa nibs – These provide a deep chocolate flavor and a slight crunch.
- 2 tablespoons plus 1 1/2 teaspoons coarse-grained granulated sugar – Using free-flowing cassonade or Hawaiian washed sugar adds a unique sweetness and texture.
- 2 to 3 teaspoons pure hazelnut oil – This gives the spread its smooth consistency and nutty flavor.
- Flaky sea salt – Just a pinch enhances the overall taste and balances the sweetness.
Make sure to gather these ingredients before you start, as they are key to achieving the perfect Chocolate-Hazelnut Spread!
What’s in the Gear List
Before you begin, here’s what you’ll need in your kitchen:
- High-powered blender or food processor – Essential for blending the cocoa nibs into a smooth paste.
- Rubber spatula – Handy for scraping down the sides of your blender or processor.
- Jar or airtight container – For storing your delicious spread.
- Measuring spoons – Accurate measurements are crucial for the best results.
With your gear in place, you are all set to make your Chocolate-Hazelnut Spread!
Build Chocolate-Hazelnut Spread Step by Step
Step 1: Blend the Cocoa Nibs
Start by placing the roasted cocoa nibs into your high-powered blender or food processor. Blend on high speed until the nibs turn into a fine powder and start to clump together. This process may take a few minutes, so be patient!
Step 2: Add Sugar and Hazelnut Oil
Once your cocoa nibs have reached a paste-like consistency, add the coarse-grained granulated sugar and 2 teaspoons of hazelnut oil. Blend again until everything is well combined. If the mixture is too thick, add an additional teaspoon of hazelnut oil to achieve your desired smoothness.
Step 3: Season with Sea Salt
Now it’s time to add a pinch of flaky sea salt. Blend once more to ensure the salt is evenly distributed throughout your Chocolate-Hazelnut Spread. Taste the mixture and adjust the sweetness or oil if necessary.
Step 4: Transfer and Store
Using a rubber spatula, carefully transfer your homemade Chocolate-Hazelnut Spread into a clean jar or airtight container. Seal it tightly and store it in the refrigerator. The spread will thicken slightly once chilled.
In-Season Flavor Ideas

One of the best parts of making your own Chocolate-Hazelnut Spread is the ability to experiment with flavors! Here are some ideas to try:
- Vanilla Bean – Add a few drops of pure vanilla extract for a warm, aromatic touch.
- Coconut Flakes – Stir in some toasted coconut for a tropical twist.
- Espresso Powder – Incorporate a teaspoon of espresso powder for a mocha-inspired flavor.
- Chili Powder – For a spicy kick, add a dash of chili powder or cayenne.
Get creative and see what combinations you love best!
Common Errors (and Fixes)
Every home chef encounters a few bumps in the road. Here are some common mistakes and how to fix them:
- Too Thick: If your spread is too thick, simply add more hazelnut oil, one teaspoon at a time, until you reach the desired consistency.
- Not Sweet Enough: If you find your spread lacking sweetness, blend in a bit more sugar, adjusting to taste.
- Grainy Texture: Make sure to blend the cocoa nibs thoroughly. If it’s still grainy, continue blending until smooth.
With these fixes, you’ll be able to troubleshoot any issues that arise!
Storing, Freezing & Reheating
To keep your Chocolate-Hazelnut Spread fresh:
- Storing: Keep it in an airtight container in the refrigerator for up to two weeks.
- Freezing: You can freeze the spread for up to three months. Just thaw it in the refrigerator overnight before using.
- Reheating: If you prefer a softer spread, let it sit at room temperature for a bit, or microwave it for a few seconds to warm it up.
Enjoying your spread should always be easy and convenient!
Popular Questions
Can I use raw cocoa nibs instead of roasted?
While you can use raw cocoa nibs, roasted nibs provide a richer flavor and a more aromatic experience, enhancing the overall taste of your Chocolate-Hazelnut Spread.
Is there a substitute for hazelnut oil?
If you can’t find hazelnut oil, you can use another neutral oil, such as coconut oil or sunflower oil. However, you might miss the distinctive nutty flavor that hazelnut oil brings.
How can I use this Chocolate-Hazelnut Spread in recipes?
This spread is fantastic in various dishes! Try it as a filling for a French Chocolate Macaron Recipe, or drizzle it over pancakes, waffles, or even a decadent Chocolate Cream Pie Recipe.
Can I add other nuts to the spread?
Absolutely! You can blend in other nuts like almonds or pecans for additional flavor and texture. Just make sure to roast them beforehand for the best taste.
Once you have your delicious Chocolate-Hazelnut Spread ready, consider pairing it with:
Serve & Enjoy
Now that you’ve crafted your own Chocolate-Hazelnut Spread, it’s time to dig in! Serve it at brunch, enjoy it as a midnight snack, or share it with friends and family. The possibilities are endless, and each spoonful is sure to bring joy. Remember to savor the rich chocolate flavor and the nutty undertones of hazelnuts. You’ve created something truly special in your kitchen!
Embrace the process of making this Chocolate-Hazelnut Spread, and don’t forget to share your creations. Whether you keep it classic or try out different flavor combinations, this spread is bound to become a beloved staple in your home. Enjoy every delicious bite!

Chocolate-Hazelnut Spread
Ingredients
Equipment
Method
- Start by placing the roasted cocoa nibs into your high-powered blender or food processor. Blend on high speed until the nibs turn into a fine powder and start to clump together. This process may take a few minutes, so be patient!
- Once your cocoa nibs have reached a paste-like consistency, add the coarse-grained granulated sugar and 2 teaspoons of hazelnut oil. Blend again until everything is well combined. If the mixture is too thick, add an additional teaspoon of hazelnut oil to achieve your desired smoothness.
- Now it’s time to add a pinch of flaky sea salt. Blend once more to ensure the salt is evenly distributed throughout your Chocolate-Hazelnut Spread. Taste the mixture and adjust the sweetness or oil if necessary.
- Using a rubber spatula, carefully transfer your homemade Chocolate-Hazelnut Spread into a clean jar or airtight container. Seal it tightly and store it in the refrigerator. The spread will thicken slightly once chilled.
Notes
- Experiment with adding flavors like vanilla, coconut, or espresso for a unique twist.
- Store in an airtight container in the refrigerator for up to two weeks.
- If the spread is too thick, add more hazelnut oil to reach desired consistency.