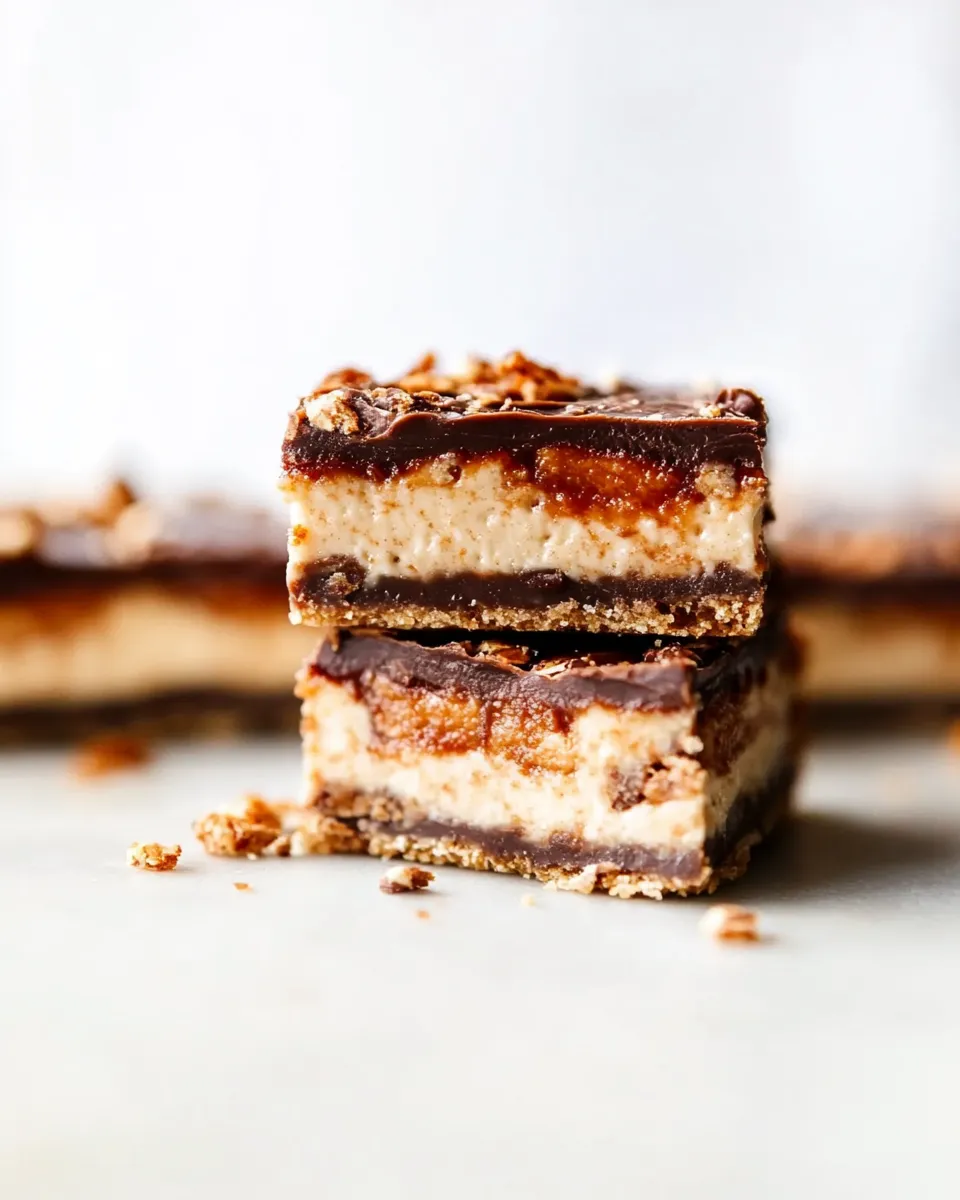
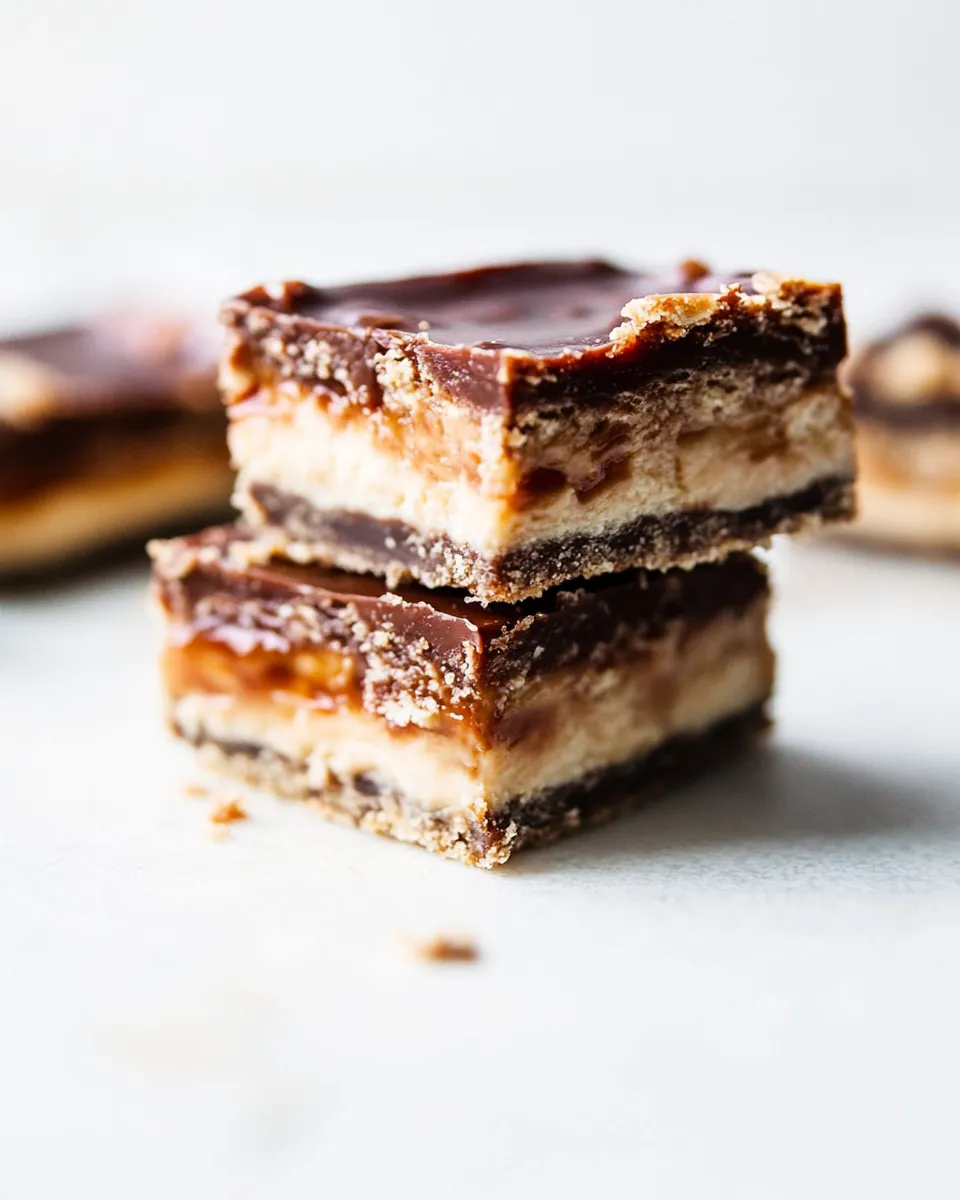
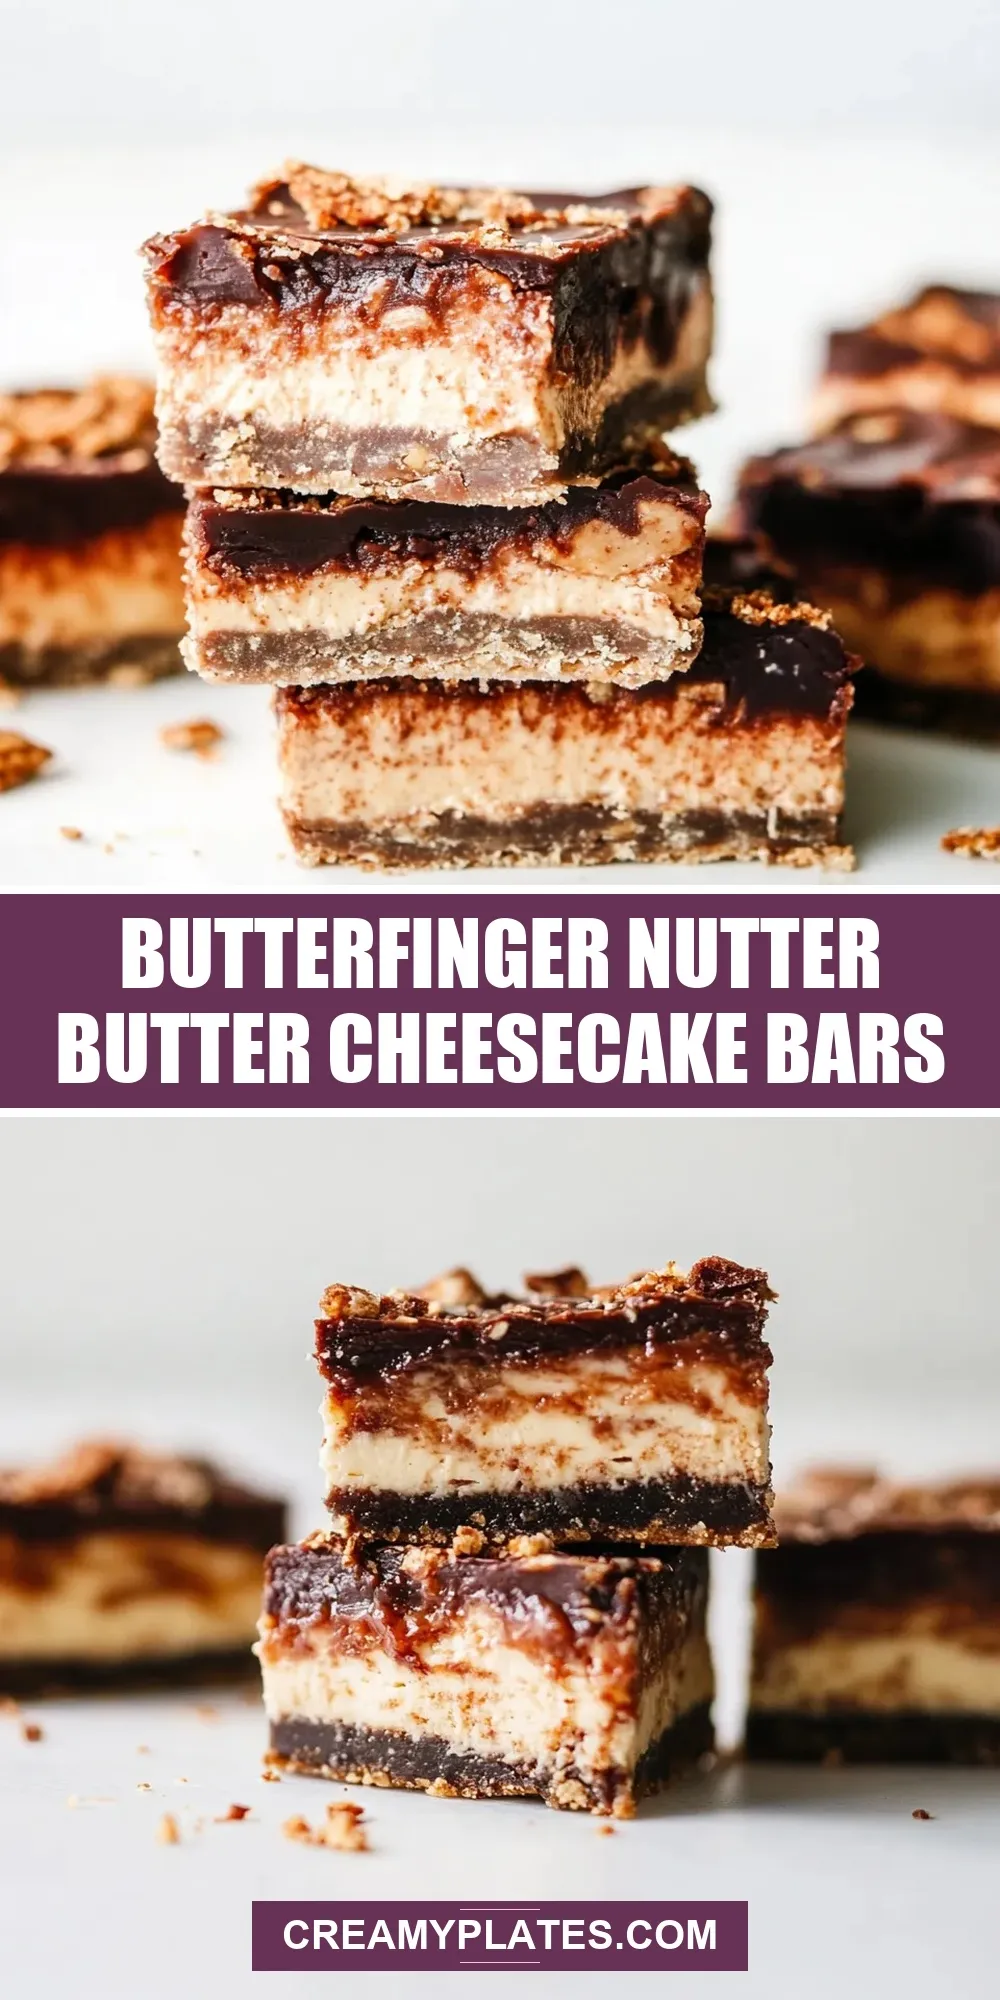
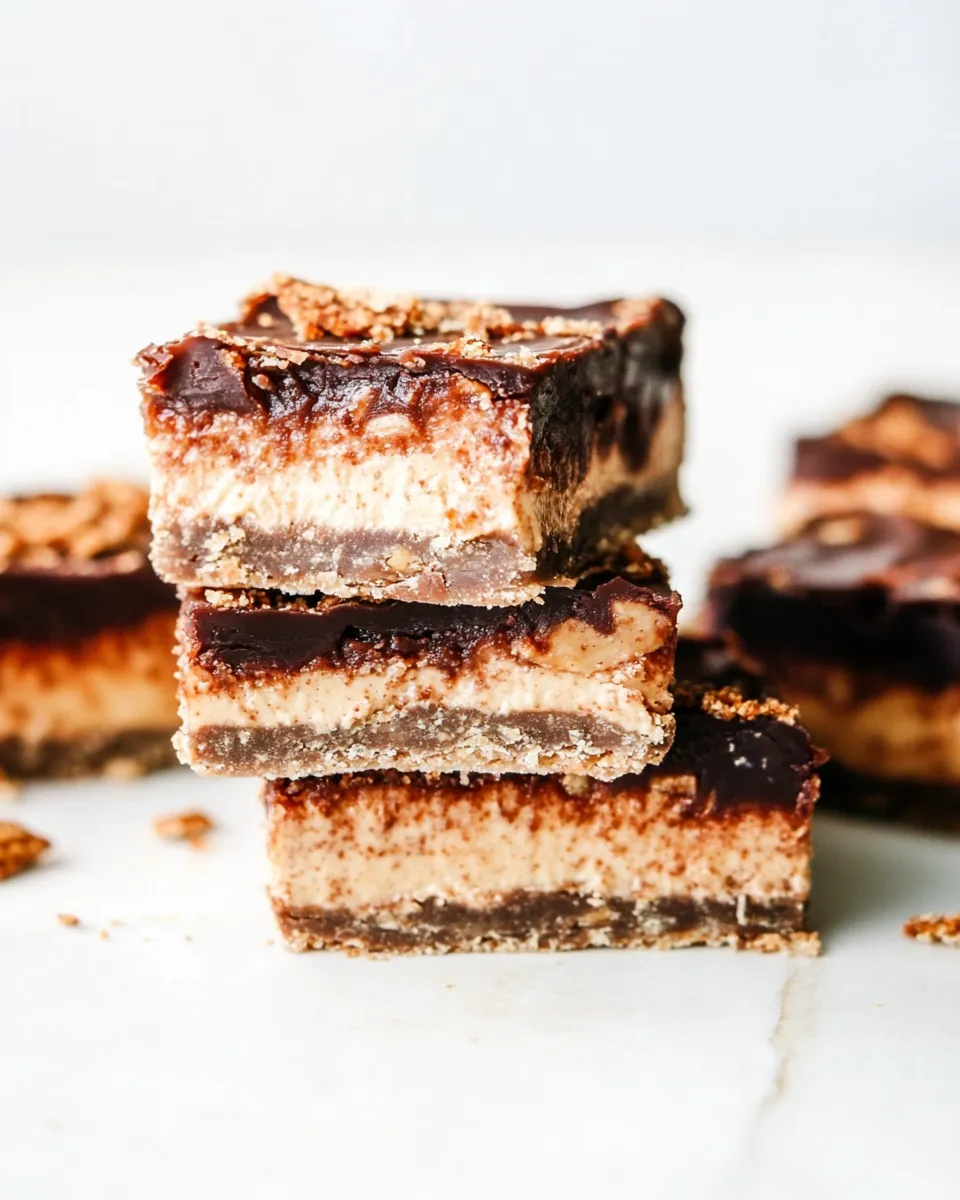
Butterfinger Nutter Butter Cheesecake Bars
There’s something magical about combining your favorite childhood treats into one decadent dessert. Enter the Butterfinger Nutter Butter Cheesecake Bars, where the crunch of Nutter Butter cookies meets the creamy richness of cheesecake, all topped with the irresistible flavor of Butterfinger. These bars are perfect for parties, family gatherings, or simply indulging after a long day. With every bite, you’ll be transported back to simpler times when your biggest worry was whether you’d get the last piece of candy.
Why Cooks Rave About It
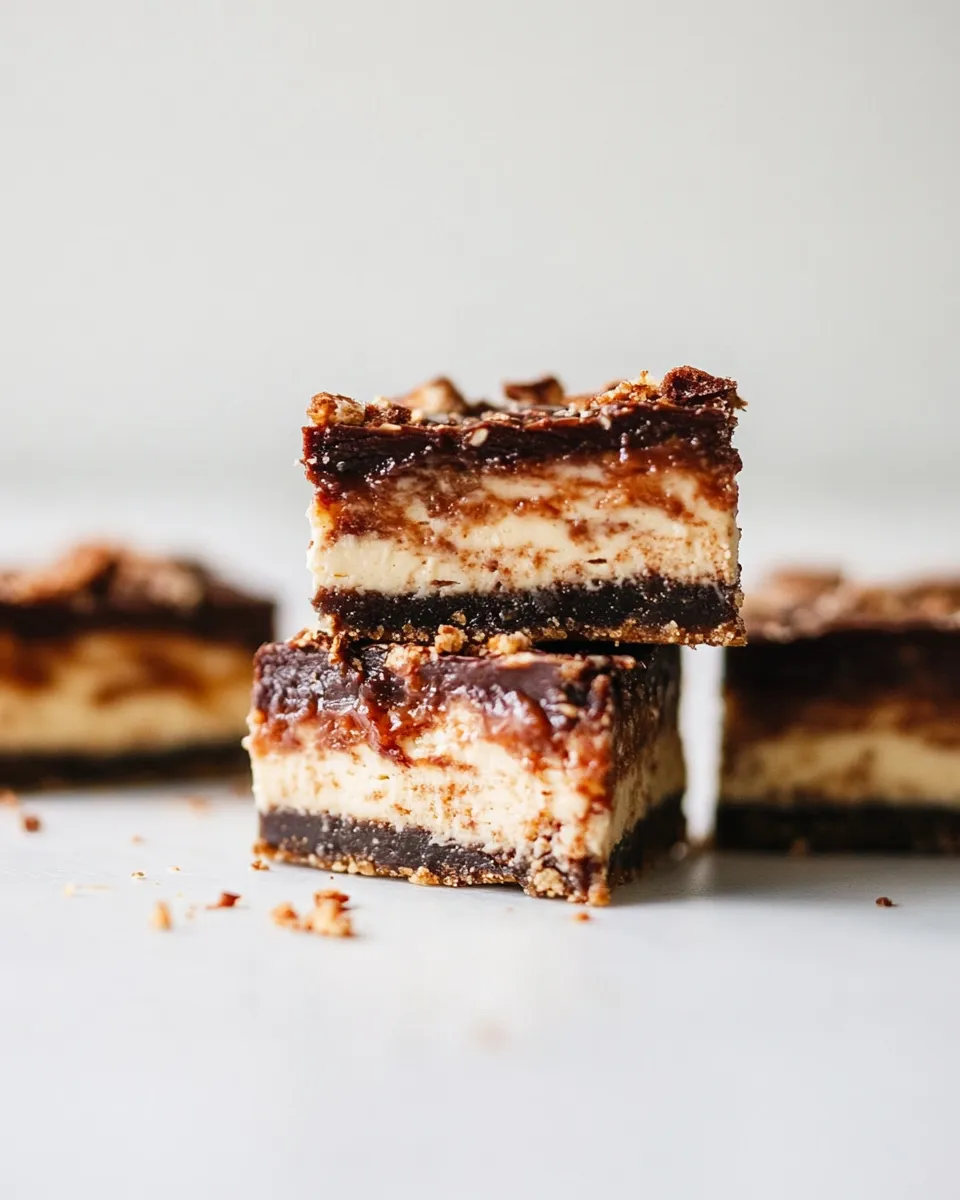
These cheesecake bars not only pack a flavor punch but also offer a delightful texture combination. The creamy cheesecake filling contrasts beautifully with the crunchy Nutter Butter base and the crispy Butterfinger topping. Plus, they are incredibly easy to make! Just a few simple steps and you’ll have a dessert that looks as good as it tastes. Whether you’re a seasoned baker or a novice in the kitchen, this recipe is straightforward enough for anyone to master. Trust us, once you try these bars, they’ll become a go-to recipe for any occasion.
What’s in the Bowl
To whip up these delightful Butterfinger Nutter Butter Cheesecake Bars, you will need the following ingredients:
- 16 whole Nutter Butter cookies
- 1/4 cup butter, melted
- 8 oz cream cheese, softened
- 1/3 cup sugar
- 1 teaspoon vanilla extract
- 1 egg
- 1/2 tablespoon all-purpose flour
- 6 fun size Butterfinger chocolate bars, chopped
- 3/4 cup semi-sweet chocolate chips
- 3 tablespoons butter
What You’ll Need (Gear)
Before you start baking, gather the following kitchen tools:
- 9×9 inch baking dish – for the perfect bar size.
- Mixing bowl – to combine all your ingredients.
- Electric mixer – to ensure your cream cheese is perfectly smooth.
- Spatula – for spreading and mixing.
- Oven – to bake your cheesecake bars to perfection.
Cooking Butterfinger Nutter Butter Cheesecake Bars: The Process
Creating these scrumptious bars is quite simple. Just follow these steps:
Step 1: Preheat the Oven
Preheat your oven to 350°F (175°C). This ensures that when you’re ready to bake, the oven is hot and ready to go.
Step 2: Make the Crust
In a mixing bowl, crush the 16 Nutter Butter cookies until they resemble fine crumbs. You can use a food processor or simply put them in a plastic bag and crush them with a rolling pin. Once crushed, mix in the melted butter until fully combined. Press this mixture firmly into the bottom of your greased 9×9 inch baking dish to form an even layer.
Step 3: Prepare the Cheesecake Filling
In another mixing bowl, beat the softened cream cheese until smooth. Add in the sugar, vanilla extract, and egg, mixing until well combined. Finally, sprinkle the flour over the mixture and blend until smooth.
Step 4: Add the Butterfinger
Fold in the chopped Butterfinger chocolate bars into the cheesecake filling, ensuring they’re evenly distributed throughout the mixture.
Step 5: Bake
Pour the cheesecake filling over the crust and spread it evenly. Bake in the preheated oven for about 25-30 minutes, or until the edges are set and the center has a slight jiggle. Remove from the oven and let it cool to room temperature.
Step 6: Add the Chocolate Topping
In a small saucepan over low heat, melt the semi-sweet chocolate chips with 3 tablespoons of butter. Stir until smooth and fully combined. Once the cheesecake bars have cooled, pour the melted chocolate over the top and spread it evenly.
Step 7: Chill
Refrigerate the bars for at least 2 hours to set. Once chilled, cut into squares and serve. Enjoy the delightful combination of flavors and textures!
Make It Diet-Friendly
If you’re looking to adjust the recipe for dietary preferences, consider the following alternatives:
- Use gluten-free Nutter Butter cookies to make it gluten-free.
- Opt for low-fat cream cheese to reduce calories.
- Substitute sugar with a natural sweetener like stevia or erythritol.
- For a vegan option, use a plant-based cream cheese and follow a vegan egg substitute.
Cook’s Commentary
These Butterfinger Nutter Butter Cheesecake Bars are an absolute crowd-pleaser! The combination of the creamy cheesecake with the crunchy Nutter Butter and the sweet, chocolatey Butterfinger is simply divine. I love that they can be made ahead of time, making them perfect for busy weeks or last-minute gatherings. The chocolate topping adds an extra layer of decadence that is hard to resist. Just be prepared for compliments!
Storing Tips & Timelines
To keep your cheesecake bars fresh, store them in an airtight container in the refrigerator. They will stay good for up to 5 days. If you want to keep them longer, consider freezing the bars. Wrap them tightly in plastic wrap and aluminum foil, then place them in a freezer-safe container. They can last up to 3 months in the freezer. Just thaw them in the refrigerator before serving for the best texture.
Reader Q&A
Can I use different candy bars instead of Butterfinger?
Absolutely! You can substitute Butterfinger with any of your favorite candy bars like Snickers or Reese’s for a different flavor twist.
What can I do if I don’t have Nutter Butter cookies?
If you don’t have Nutter Butter cookies on hand, any similar crunchy cookie can work as a substitute. Try using shortbread or vanilla wafers for a different flavor profile.
How do I know when my cheesecake bars are done baking?
The cheesecake bars are done when the edges are set and the center has a slight jiggle. They will continue to firm up as they cool.
Can I skip the chocolate topping?
While the chocolate topping adds a lovely finish to the bars, you can skip it if you prefer a lighter version. The bars are delicious on their own!
Try These Next
- Peanut Butter Swirl Brownies – Indulge in gooey brownies with a delightful peanut butter twist.
- Fig Jam Chocolate Truffle Squares – A rich combination of chocolate and fig jam that will surprise your taste buds.
- Salted Maple Butter Bars – Experience the sweet and savory flavors of maple in every bite.
Final Bite
There’s something truly special about these Butterfinger Nutter Butter Cheesecake Bars. They combine nostalgia, flavor, and texture into one delightful treat that not only satisfies your sweet tooth but also brings a smile to your face. Whether you’re sharing them with friends, family, or just enjoying them solo, they are sure to become a favorite in your dessert repertoire. So, gather your ingredients and get ready to bake your way to a deliciously fun treat!
Share on Pinterest
Butterfinger Nutter Butter Cheesecake Bars
Ingredients
Equipment
Method
- Preheat your oven to 350°F (175°C).
- In a mixing bowl, crush the Nutter Butter cookies until fine crumbs. Mix in melted butter and press into the bottom of a greased 9x9 inch baking dish.
- In another bowl, beat softened cream cheese until smooth. Mix in sugar, vanilla extract, and egg. Sprinkle flour and blend until smooth.
- Fold in the chopped Butterfinger chocolate bars into the cheesecake filling.
- Pour the cheesecake filling over the crust and spread evenly. Bake for about 25-30 minutes, or until edges are set with a slight jiggle in the center. Let cool to room temperature.
- Melt semi-sweet chocolate chips and butter in a small saucepan over low heat until smooth. Pour over cooled cheesecake bars and spread evenly.
- Refrigerate for at least 2 hours to set. Cut into squares and serve.
Notes
- Store in an airtight container in the refrigerator for up to 5 days.
- For longer storage, freeze wrapped tightly for up to 3 months.
- Try gluten-free cookies for a gluten-free version.