Black Forest Cheesecake
If you’re on the hunt for a dessert that combines the rich, creamy goodness of cheesecake with the indulgent flavors of the classic Black Forest cake, then look no further! This Black Forest Cheesecake recipe will take your taste buds on a delightful journey. With layers of luscious cream cheese, velvety chocolate, and tart cherries, this dessert is perfect for any occasion, whether it’s a lavish dinner party or a cozy evening at home. Trust me; this cheesecake will impress everyone who gets a slice!
Why I Love This Recipe
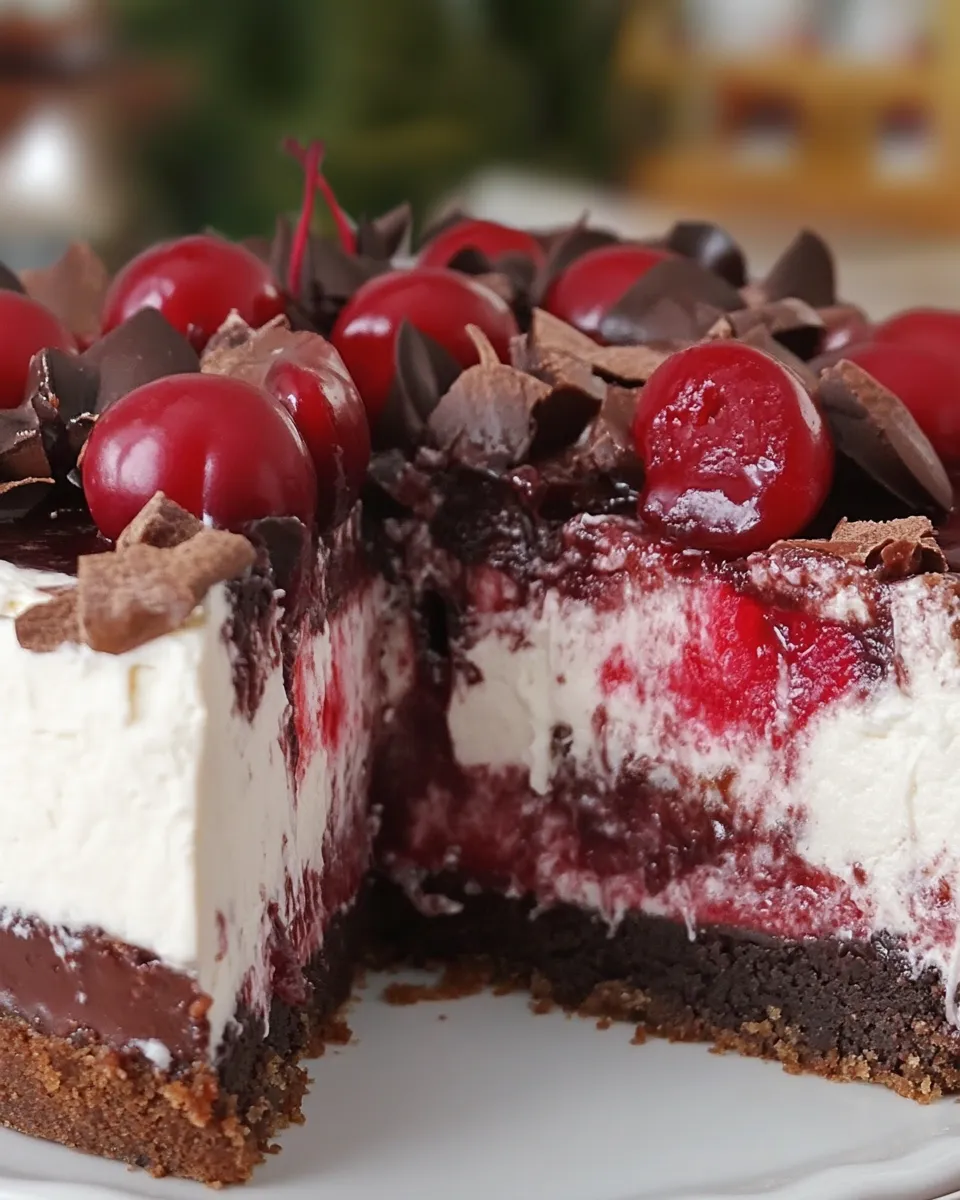
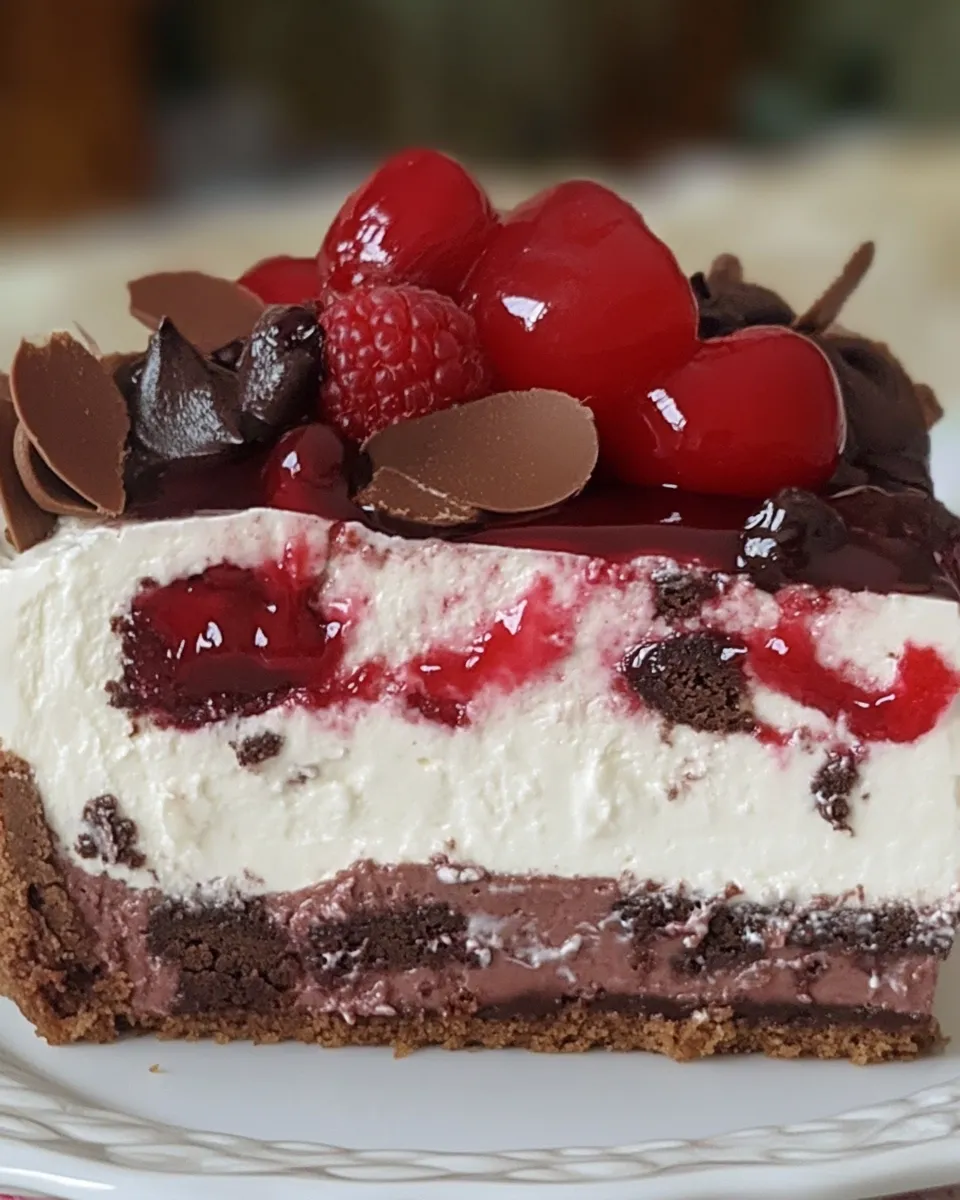
There’s something magical about a dessert that brings together chocolate, cherries, and cream. The Black Forest Cheesecake is a celebration of flavors and textures, from the crunchy biscuit base to the rich filling topped with sweet cherries. What I adore most about this recipe is that it’s not overly complicated but yields stunning results. Plus, it’s a fantastic way to enjoy the classic Black Forest flavors in a new and exciting form.
What We’re Using
To make this heavenly Black Forest Cheesecake, gather the following ingredients:
- 250g biscuits (or graham crackers)
- 40g cocoa powder
- 100g butter, melted
- 300ml sweet cooking cream
- 400g cream cheese, softened
- 4 eggs
- 150g sugar
- 200g dark chocolate, melted
- 50ml milk
- 100g sour cherries or cherries
- 1 teaspoon vanilla extract
- 200g sour cherries or cherries for topping
- 100ml water
- 6g gelatin
- 4 tablespoons sugar for the cherry topping
- 200ml whipping cream
- 1 teaspoon vanilla sugar
Must-Have Equipment
Before we dive into the steps, make sure you have the following equipment on hand:
- Springform pan: Essential for easy removal of the cheesecake.
- Mixing bowls: For combining ingredients smoothly.
- Hand mixer or stand mixer: To achieve a creamy filling.
- Rubber spatula: For scraping down the sides of the bowl.
- Whisk: To mix the gelatin and other ingredients thoroughly.
Black Forest Cheesecake in Steps
Step 1: Prepare the Base
Start by preheating your oven to 180°C (350°F). Crush the biscuits or graham crackers into fine crumbs. In a mixing bowl, combine the crumbs with cocoa powder and melted butter. Press this mixture firmly into the bottom of a springform pan to create a solid base. Bake for about 10 minutes, then allow it to cool while you prepare the filling.
Step 2: Make the Filling
In a large mixing bowl, beat the softened cream cheese with sugar until smooth and creamy. Add in the eggs, one at a time, mixing well after each addition. Then, pour in the melted dark chocolate, sweet cooking cream, milk, and vanilla extract. Mix until everything is well incorporated.
Step 3: Bake the Cheesecake
Pour the cream cheese mixture over the cooled biscuit base. Bake the cheesecake for about 50-60 minutes, or until the center is set but still slightly jiggly. Turn off the oven and let the cheesecake cool inside for another hour to prevent cracking.
Step 4: Prepare the Cherry Topping
While the cheesecake cools, hydrate the gelatin in 100ml of water. In a saucepan, combine 100g of cherries with 4 tablespoons of sugar and bring to a gentle simmer. Once the cherries have softened, remove from heat and stir in the gelatin until dissolved. Let this mixture cool.
Step 5: Assemble the Cheesecake
Once the cheesecake has cooled completely, carefully pour the cherry mixture over the top, spreading it evenly. Refrigerate for at least 4 hours to set.
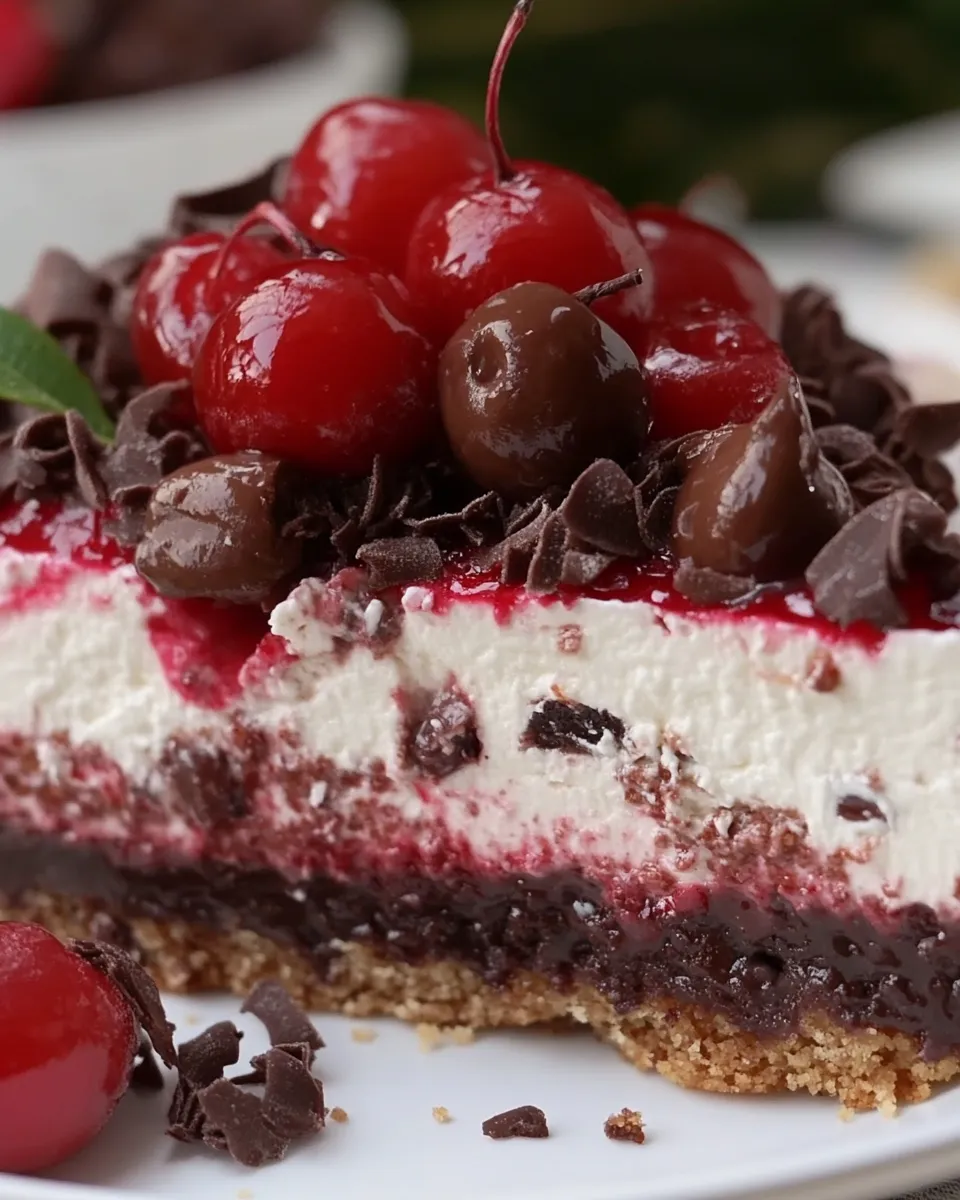
Step 6: Whip the Cream
Before serving, whip the cream with vanilla sugar until soft peaks form. Spread or pipe the whipped cream around the edges of the cheesecake for a beautiful finish. Top with additional cherries for garnish.
Flavor-Forward Alternatives

If you’re looking to mix things up, consider these flavor alternatives for your Black Forest Cheesecake:
- Use white chocolate instead of dark chocolate for a sweeter twist.
- Incorporate a layer of raspberry puree for an added fruity dimension.
- Try using almond extract instead of vanilla for a unique flavor profile.
- Experiment with flavored whipped cream by adding a tablespoon of cherry liqueur.
Problems & Prevention
Creating the perfect Black Forest Cheesecake can come with its challenges. Here are some common problems and how to prevent them:
- Cracking: To avoid cracks, ensure your cheesecake cools gradually in the oven after baking.
- Overbaking: Keep an eye on the cheesecake; it’s done when the edges are set, and the center is slightly wobbly.
- Watery topping: Make sure the gelatin is fully dissolved before adding it to the cherry mixture.
- Sticking to the pan: Grease the sides of the springform pan well to ensure easy removal.
Keep-It-Fresh Plan
The Black Forest Cheesecake is best enjoyed fresh, but it can be stored for later indulgence. Here’s how to keep it fresh:
- Cover the cheesecake tightly with plastic wrap or aluminum foil and refrigerate it.
- It will last for up to 5 days in the fridge, but it’s best enjoyed within the first 2-3 days.
- If you want to save it for longer, you can freeze individual slices wrapped in plastic wrap and then aluminum foil for up to 2 months.
Black Forest Cheesecake FAQs
Can I make this cheesecake ahead of time?
Absolutely! The Black Forest Cheesecake is perfect for making a day in advance, allowing the flavors to meld beautifully in the fridge overnight.
What can I use instead of gelatin?
If you prefer not to use gelatin, you can substitute it with agar-agar or even a store-bought cheesecake mix that sets without gelatin.
Can I use fresh cherries instead of canned?
Yes, fresh cherries can be used! Just make sure to pit and slice them before adding them to the cheesecake for the best texture and flavor.
How can I make this cheesecake gluten-free?
To make a gluten-free Black Forest Cheesecake, substitute the biscuits with gluten-free graham crackers or ground nuts for the base.
If you loved this recipe, check out these delicious desserts:
Final Bite
As you can see, making a Black Forest Cheesecake is not just about the flavors; it’s about creating a memorable experience. Whether you’re sharing it with friends or indulging alone, this cheesecake is bound to bring joy. So, gather your ingredients, roll up your sleeves, and get ready to whip up a dessert that will leave everyone craving more. Enjoy every decadent bite!
Black Forest Cheesecake
Ingredients
Equipment
Method
- Step 1: Prepare the Base. Preheat your oven to 180°C (350°F). Crush the biscuits or graham crackers into fine crumbs. In a mixing bowl, combine the crumbs with cocoa powder and melted butter. Press this mixture firmly into the bottom of a springform pan to create a solid base. Bake for about 10 minutes, then allow it to cool while you prepare the filling.
- Step 2: Make the Filling. In a large mixing bowl, beat the softened cream cheese with sugar until smooth and creamy. Add in the eggs, one at a time, mixing well after each addition. Then, pour in the melted dark chocolate, sweet cooking cream, milk, and vanilla extract. Mix until everything is well incorporated.
- Step 3: Bake the Cheesecake. Pour the cream cheese mixture over the cooled biscuit base. Bake the cheesecake for about 50-60 minutes, or until the center is set but still slightly jiggly. Turn off the oven and let the cheesecake cool inside for another hour to prevent cracking.
- Step 4: Prepare the Cherry Topping. While the cheesecake cools, hydrate the gelatin in 100ml of water. In a saucepan, combine 100g of cherries with 4 tablespoons of sugar and bring to a gentle simmer. Once the cherries have softened, remove from heat and stir in the gelatin until dissolved. Let this mixture cool.
- Step 5: Assemble the Cheesecake. Once the cheesecake has cooled completely, carefully pour the cherry mixture over the top, spreading it evenly. Refrigerate for at least 4 hours to set.
- Step 6: Whip the Cream. Before serving, whip the cream with vanilla sugar until soft peaks form. Spread or pipe the whipped cream around the edges of the cheesecake for a beautiful finish. Top with additional cherries for garnish.
Notes
- Make this cheesecake a day in advance for the best flavor.
- Substitute gelatin with agar-agar for a vegetarian option.
- Store leftovers covered in the fridge for up to 5 days.