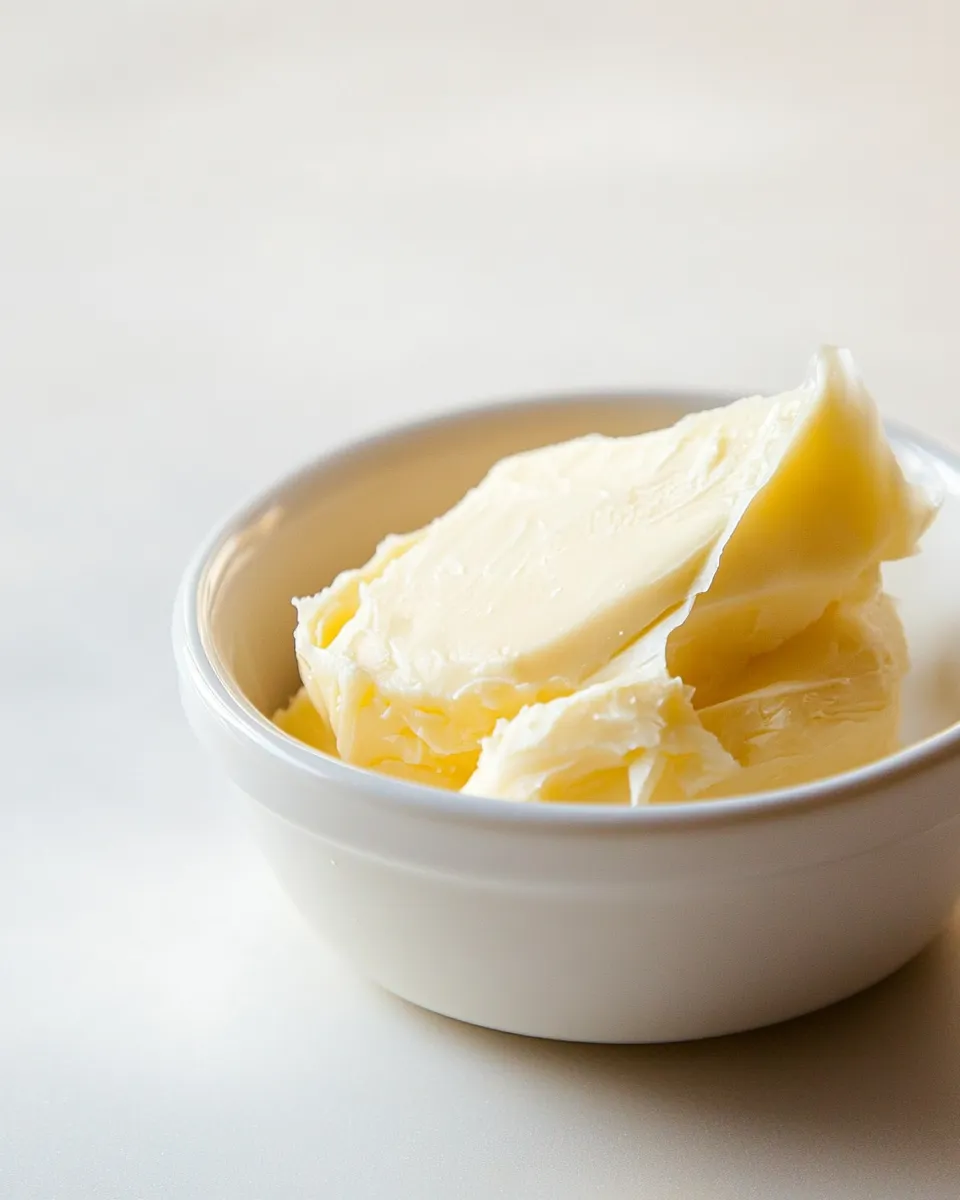
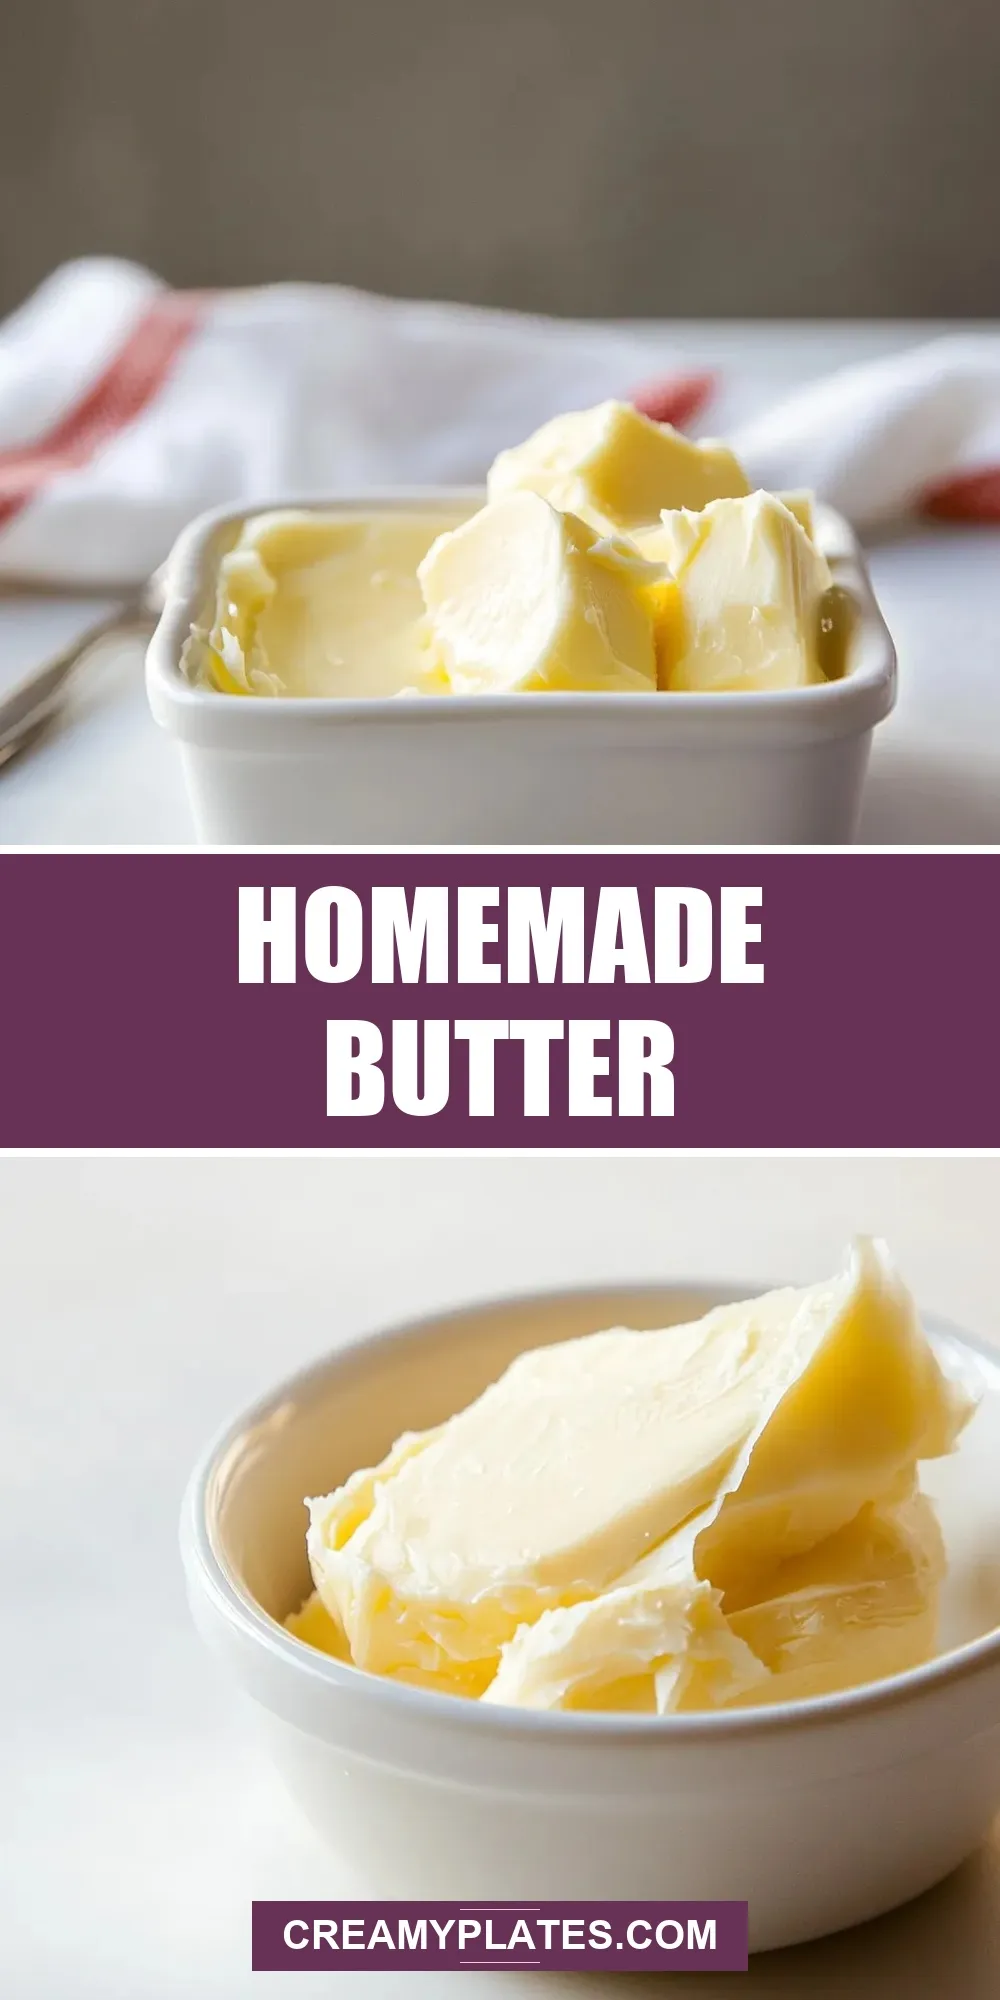
Homemade Butter
There’s something truly magical about the process of making homemade butter. It’s not only a culinary skill that harks back to simpler times, but it also brings a fresh, creamy flavor to your dishes that store-bought versions simply can’t match. With just two simple ingredients—heavy cream and kosher salt—you can whip up a batch of this luxurious spread that elevates everything from your morning toast to a decadent pasta dish. So, roll up your sleeves and get ready to dive into the delightful world of homemade butter!
Why It Deserves a Spot
Homemade butter deserves a prime spot in your kitchen for several reasons. First off, it’s incredibly easy to make and requires minimal effort. You control the flavor, from the saltiness to the creaminess, and can even customize it with your favorite herbs and spices. Imagine slathering freshly made homemade butter on warm bread or using it in a rich sauce for your favorite dishes. Plus, there’s an undeniable satisfaction in crafting something so delicious from scratch!
Gather These Ingredients
Before you start, make sure you have the following ingredients on hand:
- 2 cups heavy cream: This is the star of the show. Choose high-quality cream for the best flavor and texture.
- 1 teaspoon kosher salt: Adjust to taste, but a little salt enhances the richness of the butter.
Hardware & Gadgets
Making homemade butter is a straightforward process, but having the right tools can make it even easier. Gather the following:
- Stand mixer or hand mixer: Essential for whipping the cream into butter.
- Spatula: For scraping down the sides of the bowl.
- Cheesecloth or fine mesh strainer: Useful for separating the butter from the buttermilk.
- Container: A jar or airtight container to store your finished butter.
Make Homemade Butter: A Simple Method
Making homemade butter is a fun and rewarding process. Here’s how you do it:
Step 1: Whip the Cream
Pour 2 cups of heavy cream into your stand mixer or a large mixing bowl. Start mixing on low speed to avoid splattering, gradually increasing to medium-high. Whip the cream until it thickens and forms soft peaks.
Step 2: Continue Whipping
Keep whipping the cream. You’ll notice it will start turning grainy, and eventually, the fat will separate from the liquid. This is where the magic happens!
Step 3: Drain the Buttermilk
Once the butter has formed, you will see a yellowish clump and a milky liquid (this is buttermilk). Pour everything into a cheesecloth or fine mesh strainer over a bowl to catch the buttermilk. Save this for pancakes or baking!
Step 4: Rinse the Butter
To remove any remaining buttermilk, place the butter under cold running water. Knead it gently but thoroughly, until the water runs clear. This step is crucial for ensuring your homemade butter has a long shelf life.
Step 5: Season and Store
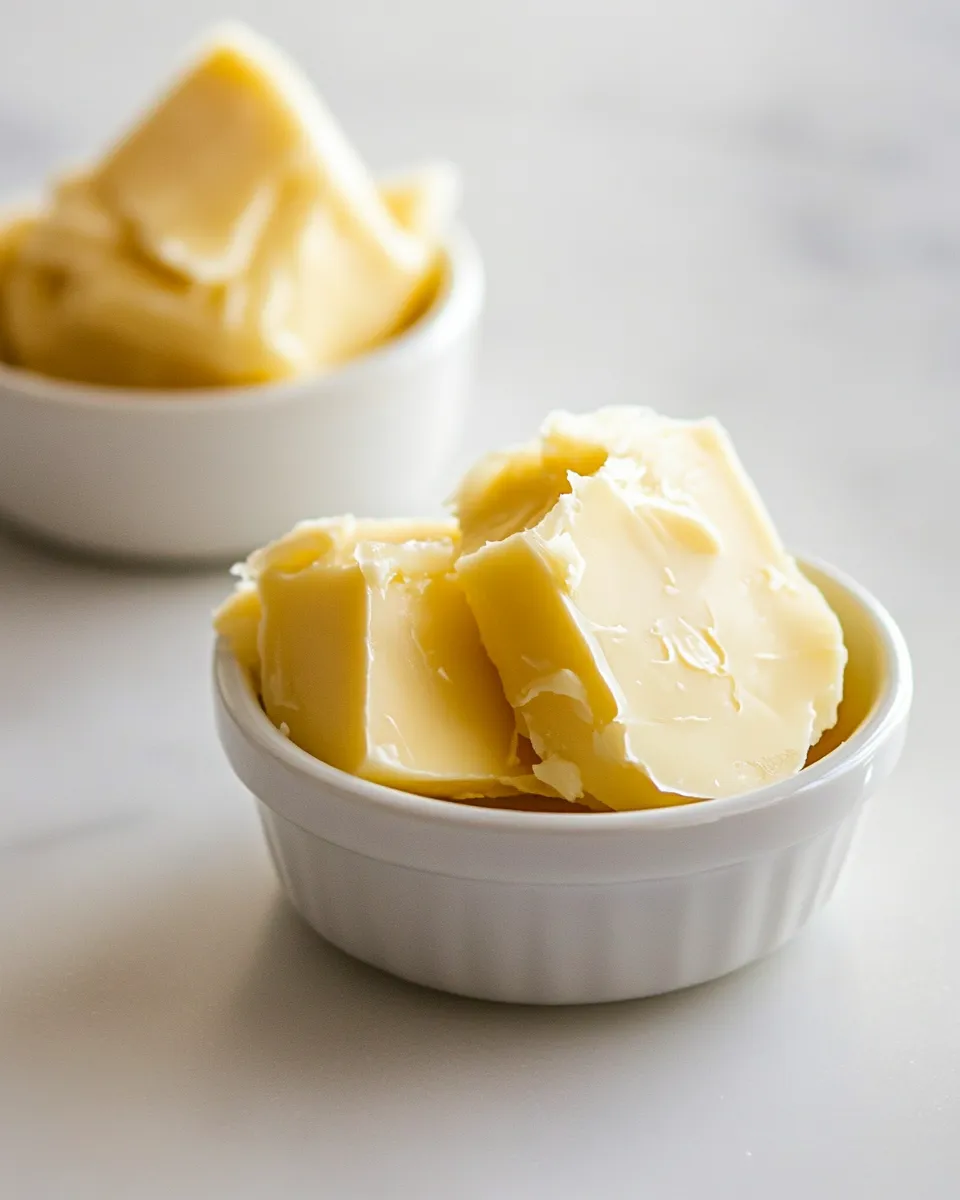
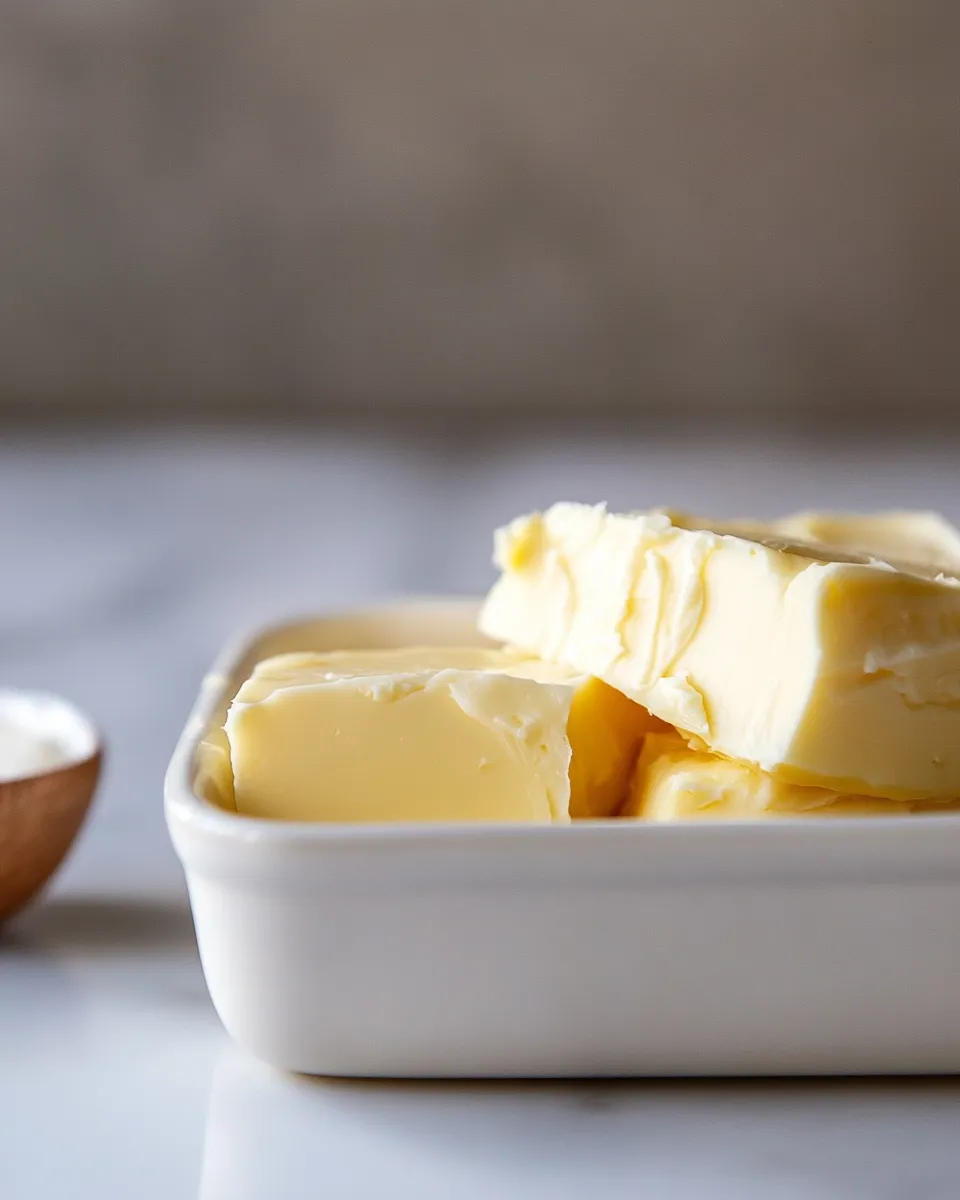
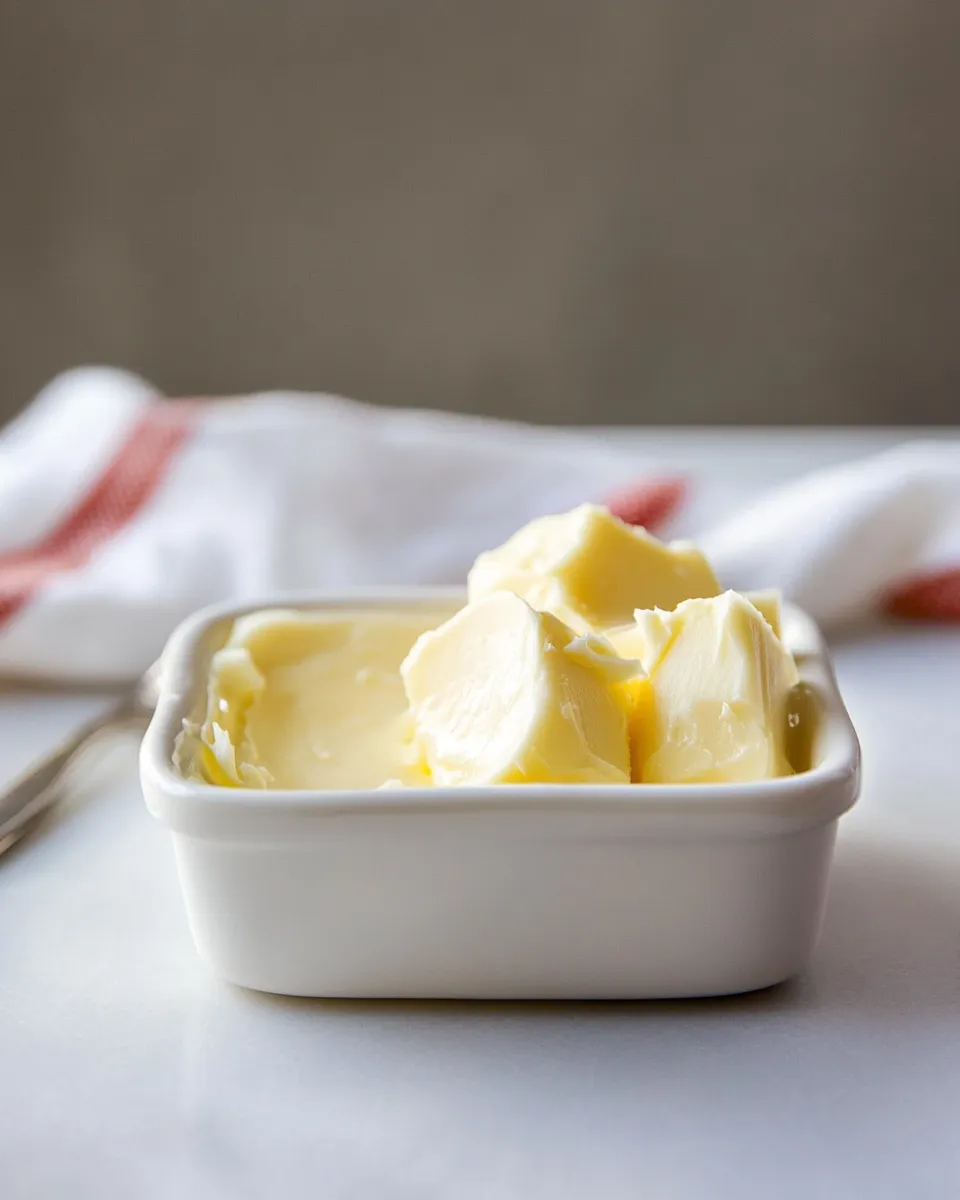
Transfer the butter to a bowl. Add 1 teaspoon of kosher salt (or more, to taste), mixing well. Finally, pack it into a container. Your homemade butter is now ready to enjoy!
Texture-Safe Substitutions
For those looking to mix things up, here are some substitutions that can work well:
- Heavy whipping cream: Can be substituted with whipping cream for a slightly lighter version.
- Flavored salts: Experiment with garlic or herb-infused salts for a unique twist.
- Non-dairy cream alternatives: Coconut cream can be used for a dairy-free version, though it will impart a coconut flavor.
Pitfalls & How to Prevent Them
Making homemade butter is relatively foolproof, but there are a few pitfalls to be aware of:
- Over-whipping: If you whip the cream too long, you may end up with butter that is too dry. Keep an eye on it!
- Not rinsing thoroughly: Failing to rinse the butter can leave residual buttermilk, which may cause it to spoil faster.
- Skipping the salt: Salt enhances flavor and helps preserve the butter. Don’t skip this step!
Make Ahead Like a Pro
Want to have homemade butter ready for special occasions? Here are some tips:
- Batch it: Make larger batches and store them in the freezer. Just portion them out in advance.
- Flavor it: Consider making herbed or spiced versions that can be used in different recipes.
- Label your jars: If you make multiple flavors, label them clearly to avoid mix-ups!
Quick Questions
Can I make butter in a food processor?
Absolutely! A food processor works just as well as a mixer. Just be sure to watch it closely to avoid over-processing.
How long does homemade butter last?
When stored properly in the refrigerator, homemade butter can last for 1-2 weeks. In the freezer, it can last up to 6 months.
Can I use half-and-half instead of heavy cream?
While you can use half-and-half, the butter may not whip as well or be as rich. Heavy cream is preferred for the best texture and flavor.
What can I do with leftover buttermilk?
Leftover buttermilk can be used in pancakes, muffins, or even salad dressings. It adds a lovely tangy flavor!
If you enjoyed making , you’ll love these recipes:
Let’s Eat
There’s truly nothing quite like the taste of homemade butter. Whether you’re spreading it on warm bread, using it in recipes, or savoring it straight off the spoon, the flavor and satisfaction are unmatched. So, gather your ingredients, channel your inner artisan, and get ready to enjoy the deliciousness of your very own homemade butter. Happy churning!
Share on Pinterest
Homemade Butter
Ingredients
Equipment
Method
- Pour 2 cups of heavy cream into your stand mixer or a large mixing bowl. Start mixing on low speed to avoid splattering, gradually increasing to medium-high. Whip the cream until it thickens and forms soft peaks.
- Keep whipping the cream. You'll notice it will start turning grainy, and eventually, the fat will separate from the liquid.
- Once the butter has formed, pour everything into a cheesecloth or fine mesh strainer over a bowl to catch the buttermilk. Save this for pancakes or baking!
- To remove any remaining buttermilk, rinse the butter under cold running water and knead it gently until the water runs clear.
- Transfer the butter to a bowl. Add 1 teaspoon of kosher salt (or more, to taste), mixing well. Pack it into a container.
Notes
- Use high-quality ingredients for the best flavor.
- Consider adding herbs or spices for a unique twist.
- Store homemade butter in an airtight container in the fridge for 1-2 weeks.