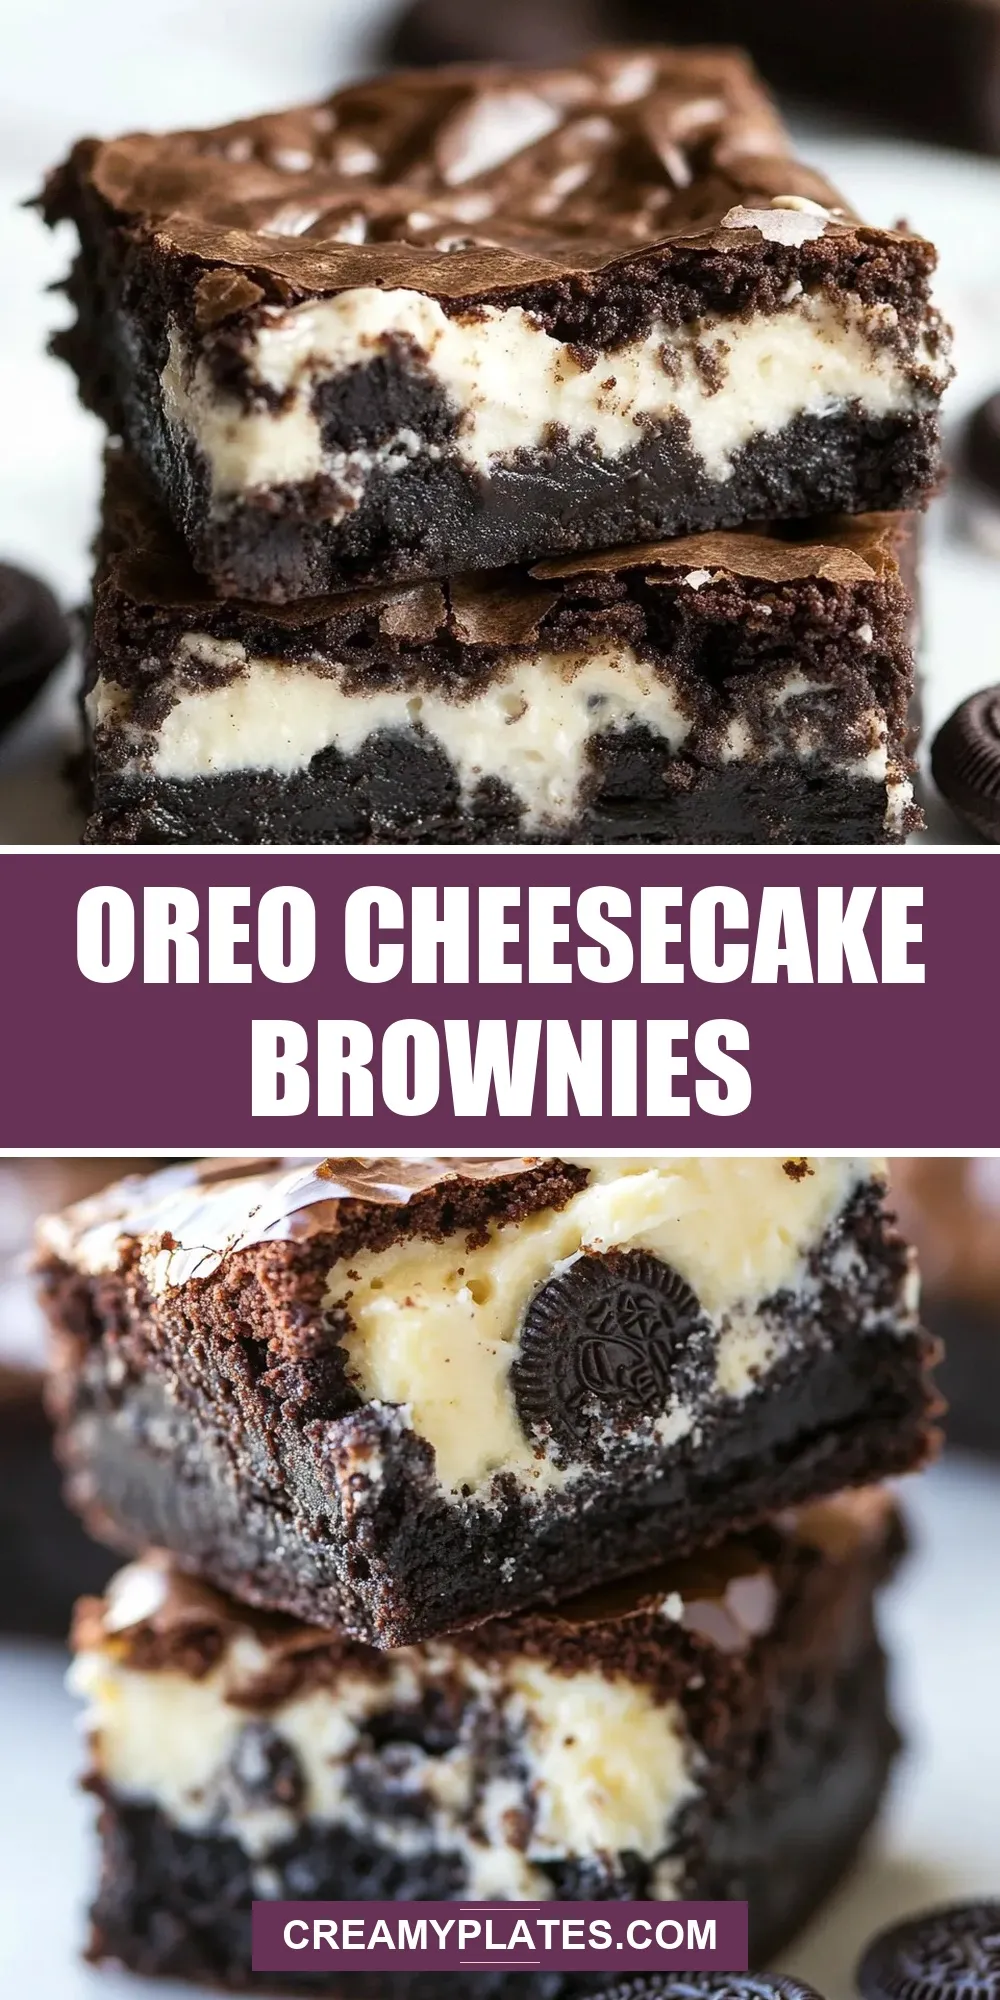
Oreo Cheesecake Brownies
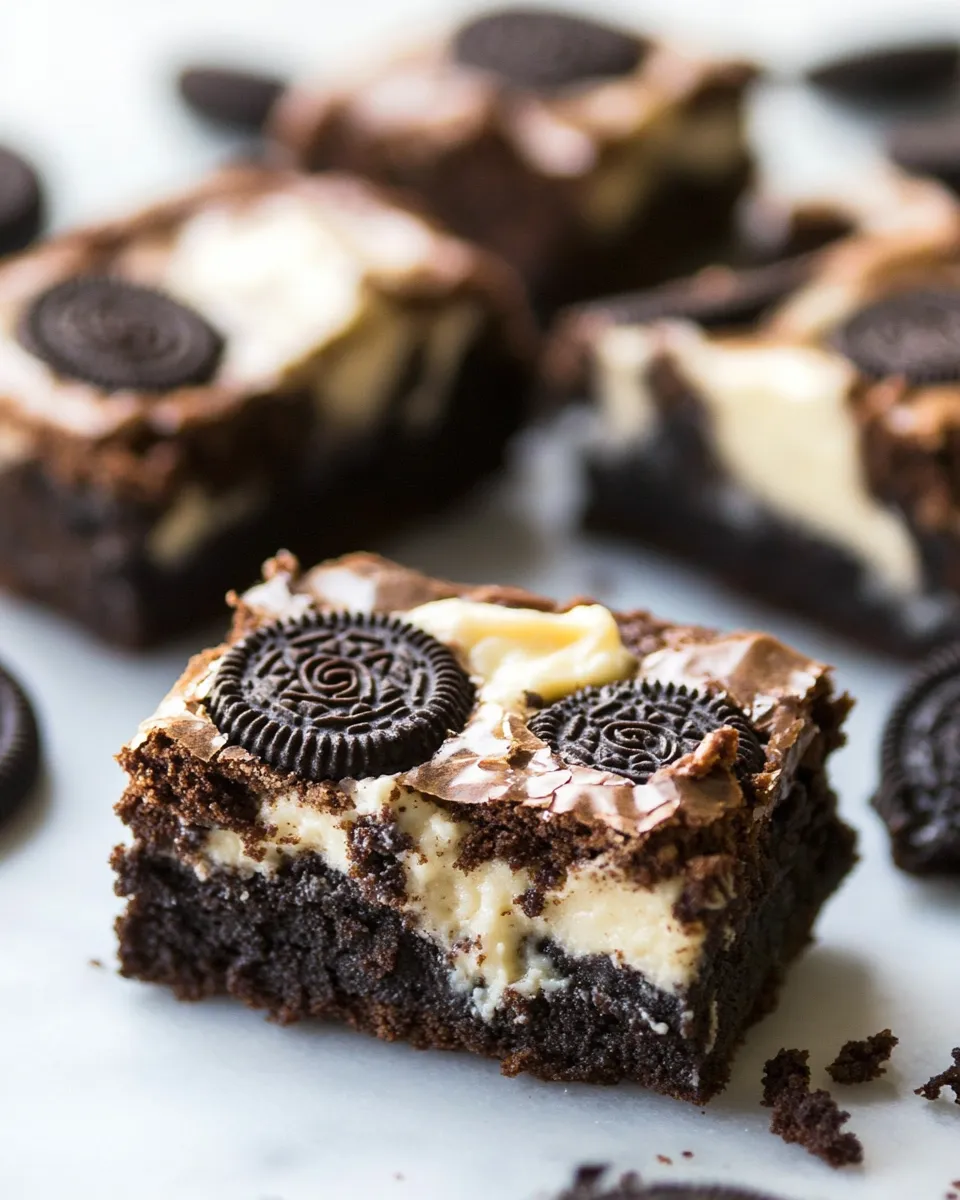
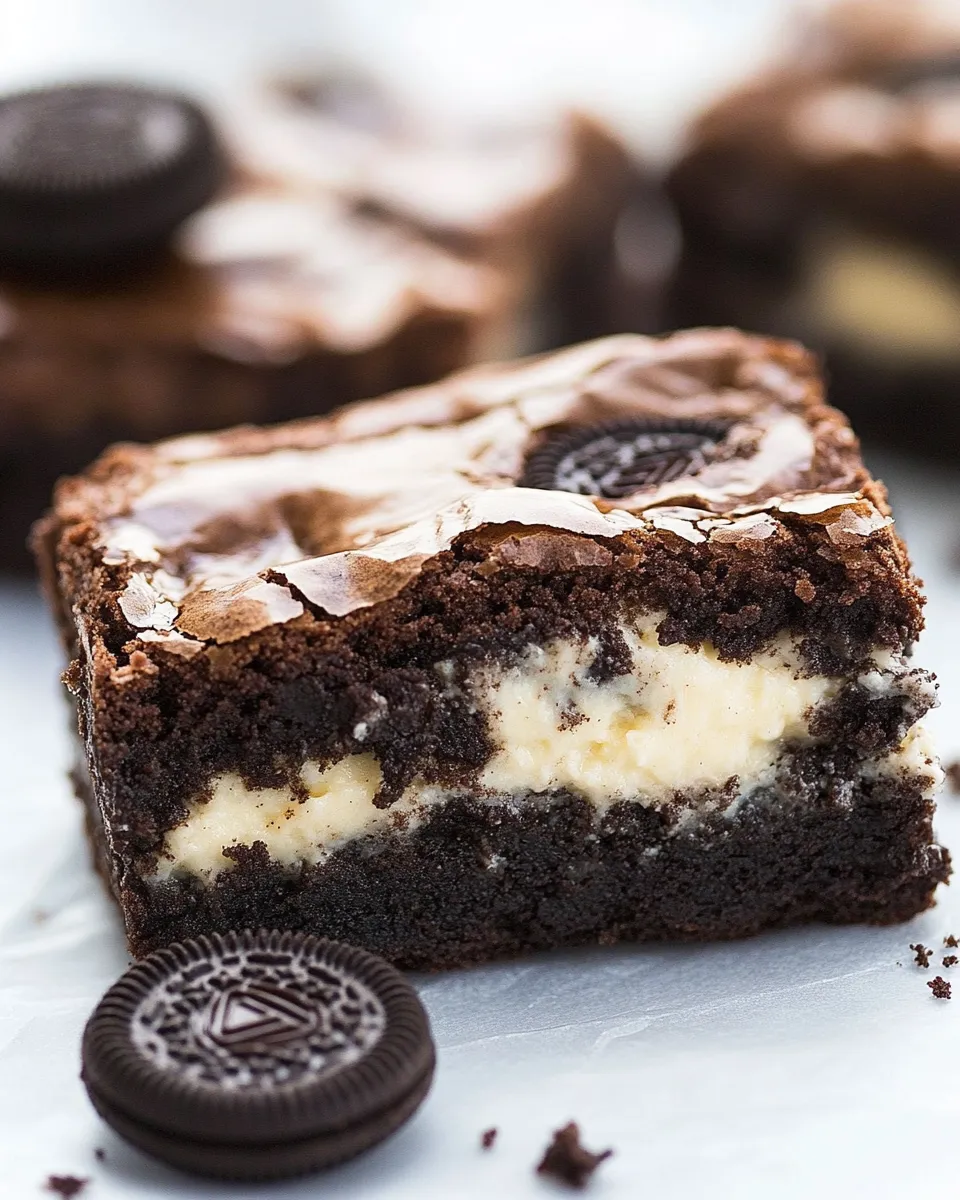
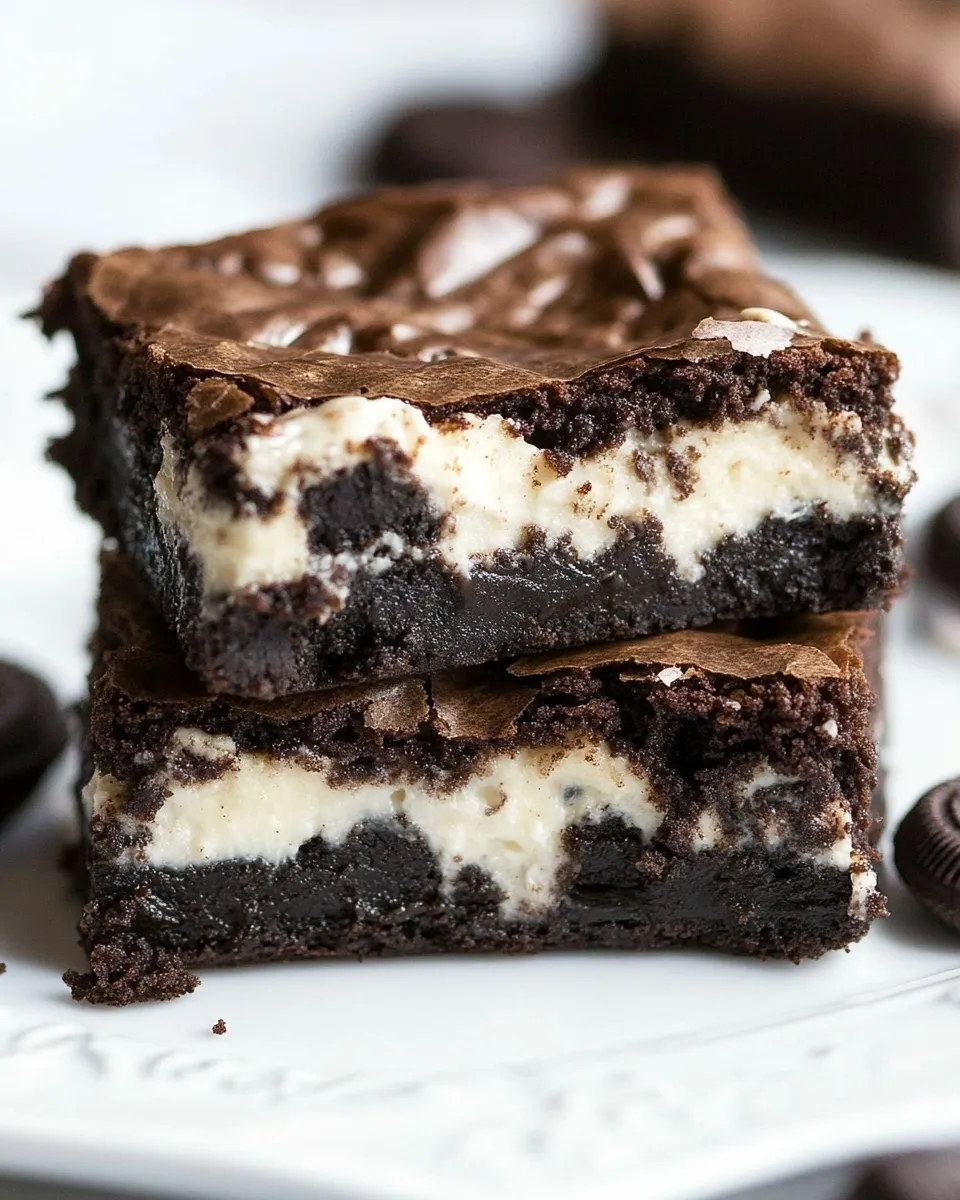
If you’ve ever craved the rich decadence of brownies combined with the luscious creaminess of cheesecake, then you are in for a delightful treat! These Oreo Cheesecake Brownies are a match made in dessert heaven. With layers of fudgy brownie topped with a creamy Oreo cheesecake swirl, each bite is a blissful combination of flavors and textures. Perfect for parties, gatherings, or just a cozy night in, these brownies will have everyone reaching for seconds.
Why This Oreo Cheesecake Brownies Stands Out
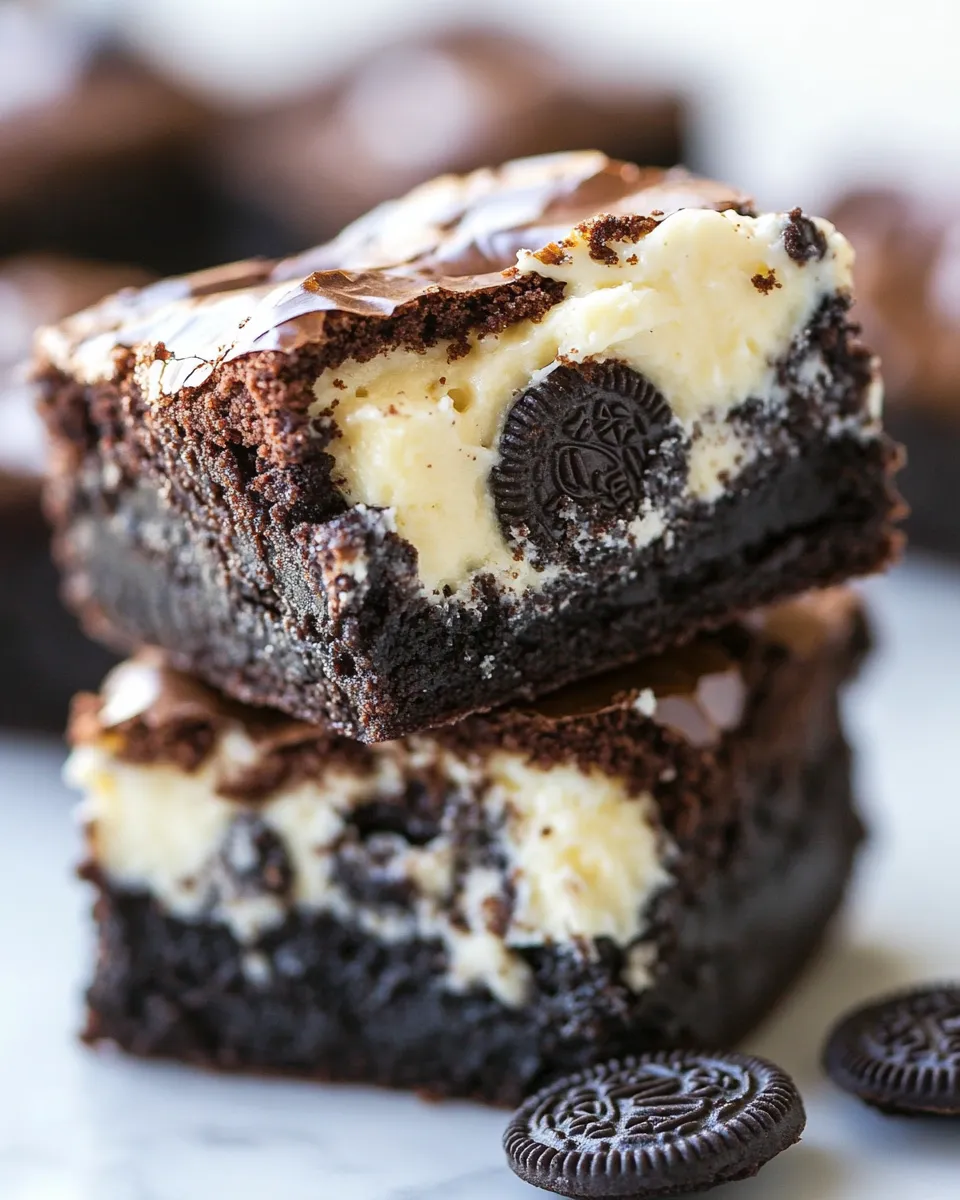
What makes our Oreo Cheesecake Brownies truly special? It’s all about the balance of flavors and textures. The rich, dark chocolate brownie base is the ideal foundation for the creamy, sweet, and slightly tangy cheesecake layer. The addition of coarsely chopped Oreo cookies not only enhances the flavor but also adds a delightful crunch that contrasts beautifully with the smoothness of the cheesecake. This recipe is not just a treat for the taste buds but also a feast for the eyes, creating an impressive dessert that’s simple enough for any home baker.
What You’ll Gather
- 1 cup unsalted butter
- 1 cup granulated sugar
- 1 (8-ounce) package cream cheese, softened
- 1 cup powdered sugar
- 2 teaspoons vanilla extract
- 1 cup all-purpose flour
- 1/2 cup unsweetened cocoa powder
- 1/2 teaspoon salt
- 2 large eggs
- 1 1/2 cups coarsely chopped Oreo cookies
Hardware & Gadgets
- Mixing Bowls: Essential for combining ingredients smoothly.
- Whisk: Perfect for mixing the brownie and cheesecake batter.
- Spatula: For folding in the Oreo pieces and spreading the batter evenly.
- Baking Pan (9×13 inches): Ideal size for baking your brownies.
- Parchment Paper: Helps with easy removal and cleanup.
Step-by-Step: Oreo Cheesecake Brownies
Step 1: Preheat Your Oven
Begin by preheating your oven to 350°F (175°C). This ensures that your brownies bake evenly and achieve that perfect fudgy texture.
Step 2: Prepare Your Baking Pan
Line a 9×13-inch baking pan with parchment paper, leaving some overhang on the sides. This will make it easier to lift the brownies out once they are chilled.
Step 3: Make the Brownie Batter
In a large mixing bowl, melt the unsalted butter. Once melted, stir in the granulated sugar until combined. Add the eggs one at a time, mixing well after each addition. Then, mix in the vanilla extract.
Step 4: Combine Dry Ingredients
In a separate bowl, whisk together the all-purpose flour, unsweetened cocoa powder, and salt. Gradually add this mixture to the wet ingredients, stirring until just combined. Be careful not to overmix; you want your brownies to stay fudgy!
Step 5: Fold in Oreo Cookies
Gently fold in the coarsely chopped Oreo cookies into the brownie batter, ensuring they are evenly distributed.
Step 6: Prepare the Cheesecake Layer
In another bowl, beat the softened cream cheese with an electric mixer until smooth. Gradually add the powdered sugar and continue to mix until combined. Stir in the vanilla extract until smooth.
Step 7: Assemble the Brownies
Pour the brownie batter into the prepared pan, spreading it evenly. Then, dollop the cheesecake mixture over the brownie layer. Use a knife or a spatula to swirl the cheesecake into the brownie batter, creating a marbled effect.
Step 8: Bake
Place the pan in the preheated oven and bake for about 30-35 minutes, or until a toothpick inserted into the center comes out with a few moist crumbs (not wet batter).
Step 9: Cool and Chill
Allow the brownies to cool in the pan for about 10 minutes, then use the parchment paper to lift them out of the pan. Let them cool completely on a wire rack before slicing. For the best texture, refrigerate the brownies for at least an hour before serving.
Texture-Safe Substitutions
- Butter: You can use coconut oil for a dairy-free option.
- Sugar: Coconut sugar can replace granulated sugar if desired.
- Oreos: Try using gluten-free cookies to make these brownies gluten-free.
- Cream Cheese: For a lighter version, use Greek yogurt instead.
Avoid These Mistakes
- Overmixing the brownie batter can lead to tough brownies.
- Not allowing the brownies to cool completely before slicing will result in messy servings.
- Using cold cream cheese will not incorporate well into the mixture, leaving lumps.
- Baking at too high a temperature can cause the brownies to dry out.
Shelf Life & Storage
These Oreo Cheesecake Brownies can be stored in an airtight container in the refrigerator for up to one week. For longer storage, you can freeze the brownies. Just wrap them tightly in plastic wrap, then foil, and they will last up to three months in the freezer. When you’re ready to indulge, simply thaw them in the refrigerator overnight.
Common Qs About Oreo Cheesecake Brownies
Can I use different cookies instead of Oreos?
Absolutely! Feel free to experiment with other sandwich cookies for a unique twist. Just keep in mind that the flavor and texture may vary.
Is it necessary to refrigerate the brownies?
While it’s not mandatory, refrigerating them enhances the flavor and texture, making them firmer and easier to cut.
Can I make these brownies gluten-free?
Yes! Simply substitute the all-purpose flour with a gluten-free flour blend, and you’ll have delicious gluten-free Oreo Cheesecake Brownies.
How do I know when the brownies are done baking?
Check for doneness by inserting a toothpick into the center. If it comes out with a few moist crumbs, they’re ready. If it comes out wet, give them a few more minutes in the oven.
Ready, Set, Cook
Now that you have all the tips and tricks to create these divine Oreo Cheesecake Brownies, it’s time to roll up your sleeves and get baking! Whether it’s for a special occasion or a simple treat for yourself, these brownies will surely impress. The combination of rich chocolate and creamy cheesecake is not just satisfying; it’s a dessert experience you won’t soon forget. Enjoy every decadent bite!
Share on Pinterest
Oreo Cheesecake Brownies
Ingredients
Equipment
Method
- Step 1: Preheat your oven to 350°F (175°C).
- Step 2: Line a 9x13-inch baking pan with parchment paper.
- Step 3: In a large mixing bowl, melt the unsalted butter. Stir in the granulated sugar. Add the eggs one at a time, mixing well. Mix in the vanilla extract.
- Step 4: In a separate bowl, whisk together the flour, cocoa powder, and salt. Gradually add to the wet ingredients, stirring until just combined.
- Step 5: Fold in the chopped Oreo cookies into the brownie batter.
- Step 6: In another bowl, beat the cream cheese until smooth. Gradually add the powdered sugar and mix until combined. Stir in the vanilla extract.
- Step 7: Pour the brownie batter into the prepared pan. Dollop the cheesecake mixture over the brownie layer and swirl with a knife.
- Step 8: Bake for 30-35 minutes or until a toothpick comes out with a few moist crumbs.
- Step 9: Allow to cool for 10 minutes, then lift out using the parchment paper. Cool completely before slicing and refrigerate for at least an hour before serving.
Notes
- Store in an airtight container in the refrigerator for up to one week.
- For longer storage, freeze tightly wrapped brownies for up to three months.
- Experiment with different sandwich cookies for a unique twist.