Quick and Easy Carmelitas
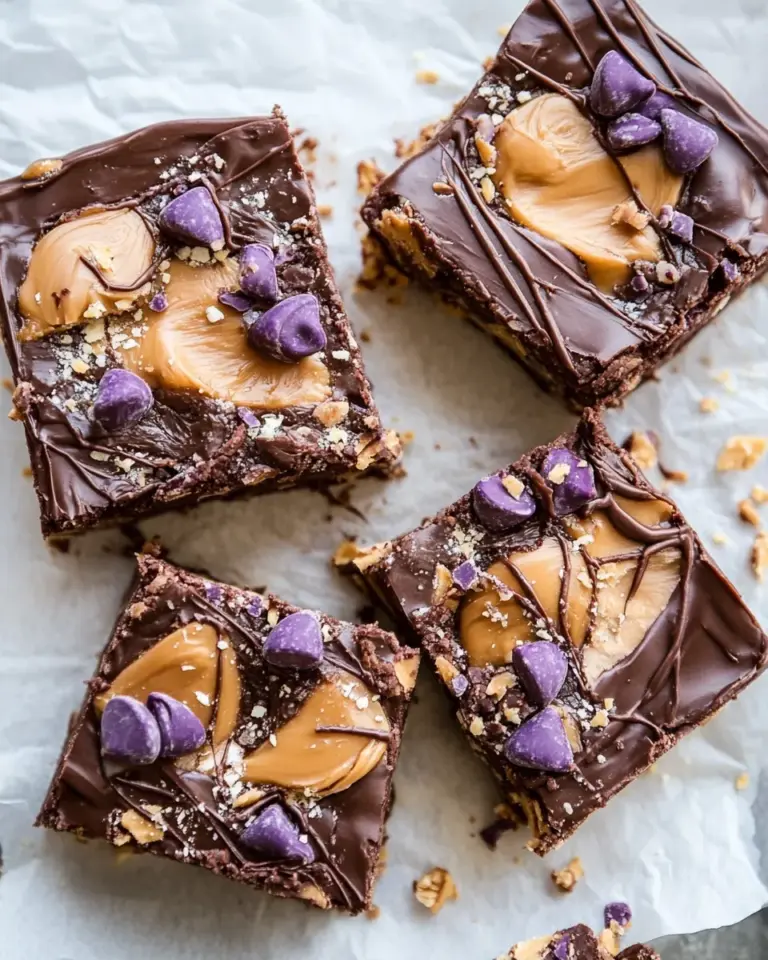
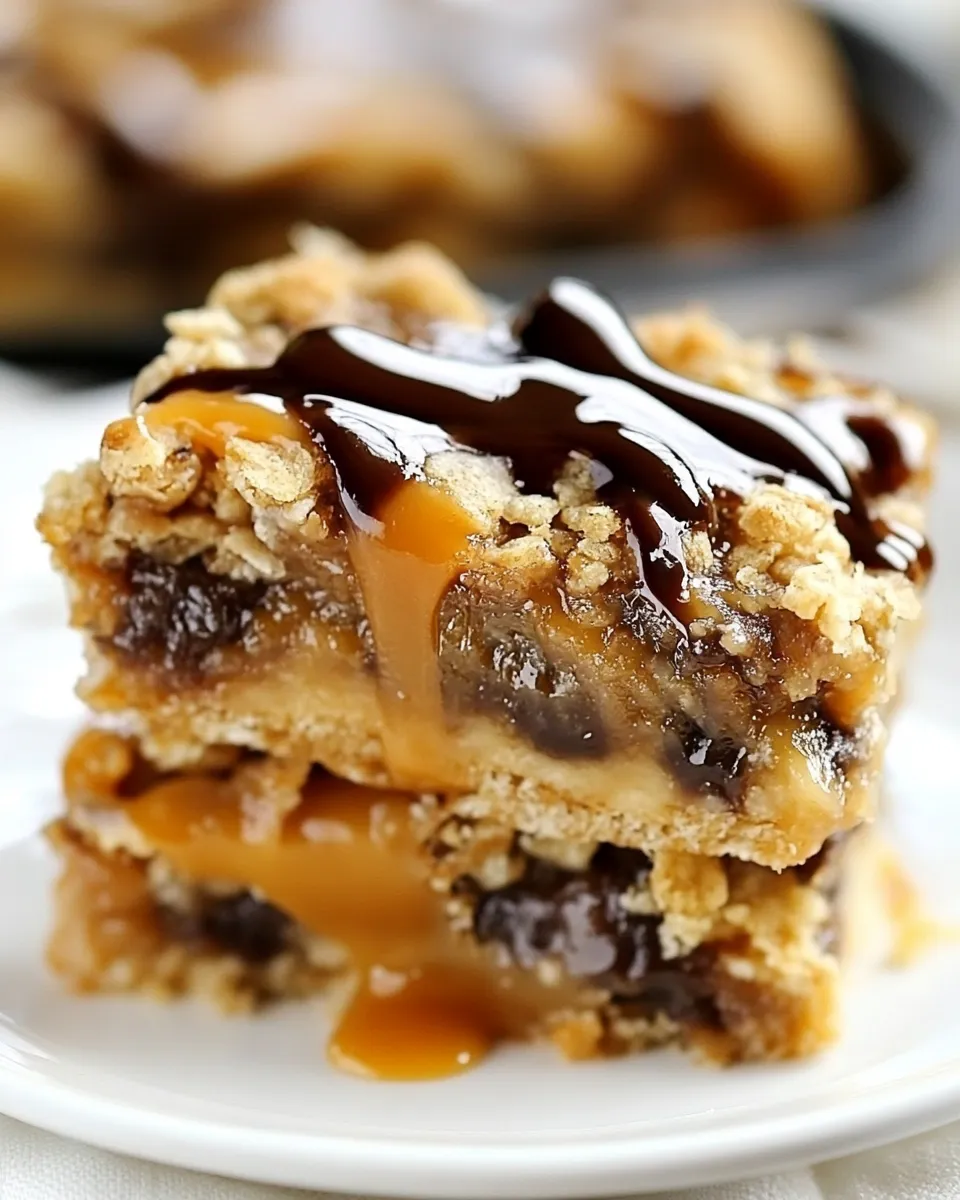
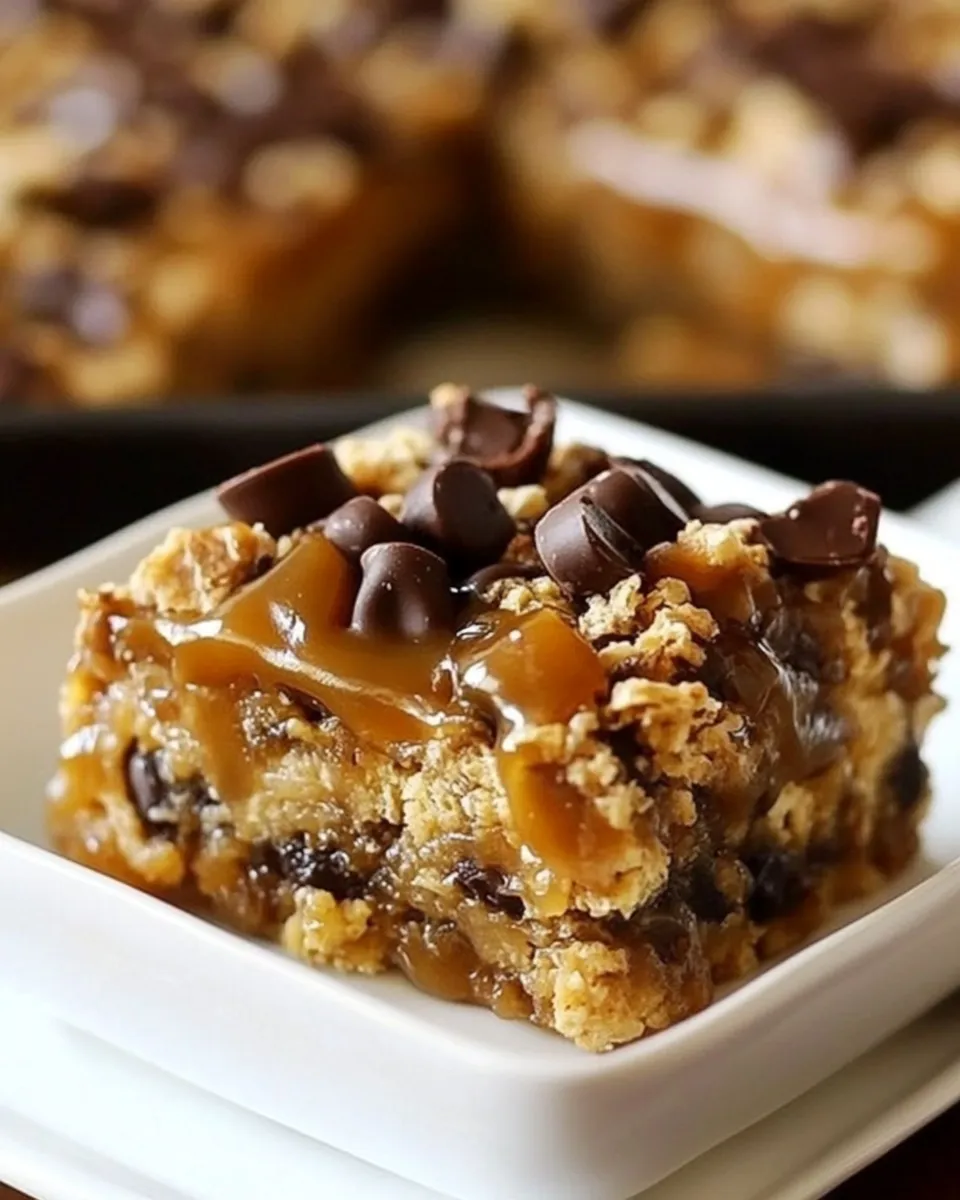
If you’re looking for a dessert that combines the gooey goodness of caramel with the comforting taste of chocolate chip cookies, then look no further! These Quick and Easy Carmelitas are the perfect treat for any occasion. With minimal effort and a handful of simple ingredients, you’ll have a sweet dessert that impresses everyone. The best part? You can whip them up in no time, making them ideal for last-minute gatherings or cozy nights in.
Why You’ll Love This Recipe
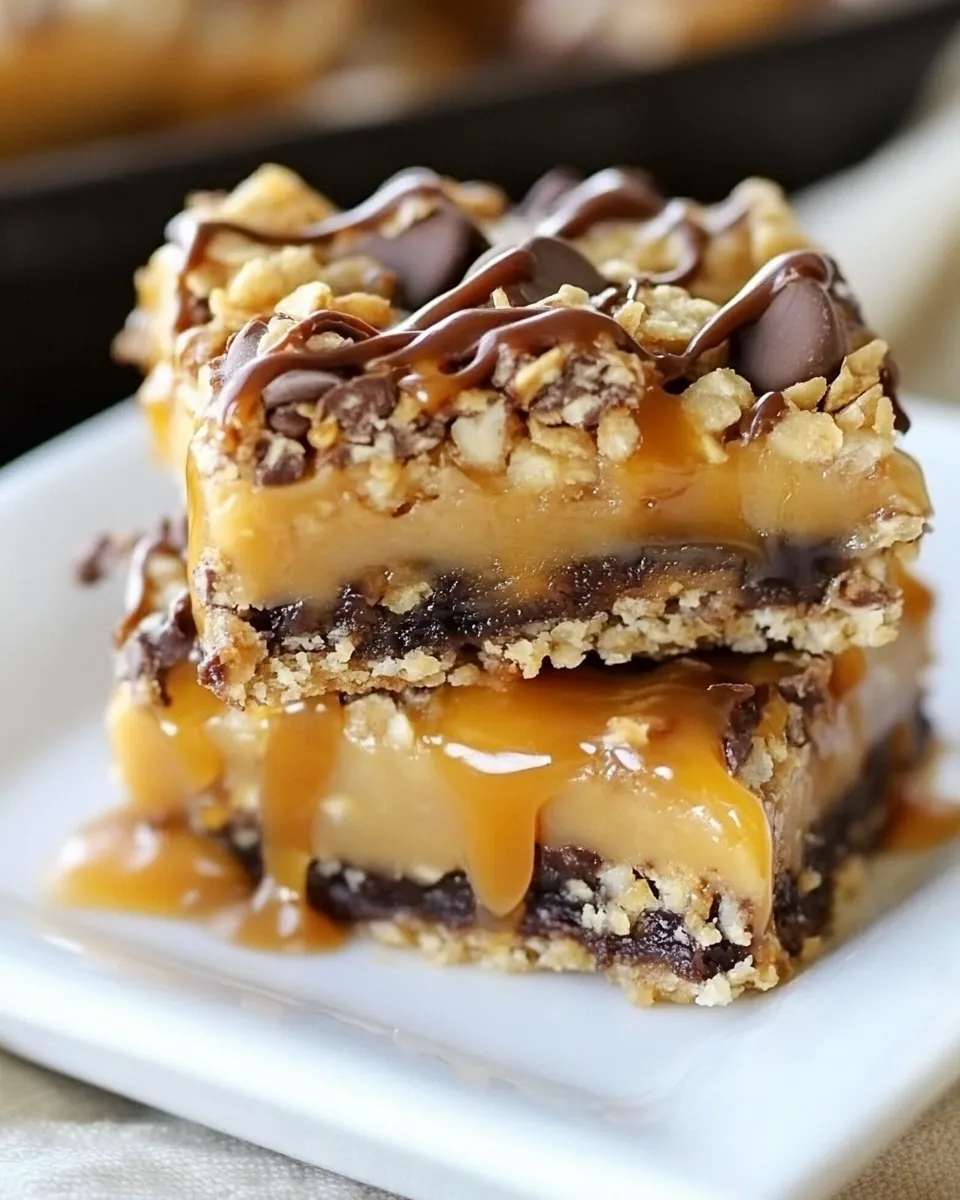
These Quick and Easy Carmelitas are not only delicious but also incredibly versatile. The decadent layers of cookie dough, rich caramel, and chocolate chips create a dessert that is both chewy and satisfying. They are perfect for a potluck, an after-school snack, or just to satisfy your sweet tooth. Plus, with the convenience of refrigerated cookie dough, you can have homemade treats without the fuss of baking from scratch. Each bite is a warm embrace of flavors that will leave you reaching for more!
Ingredient Checklist
To make these Quick and Easy Carmelitas, you’ll need the following ingredients:
- 30 oz refrigerated chocolate chip cookie dough (1 roll)
- 11 oz KRAFT caramels (1 bag)
- 1/4 cup evaporated milk
- 1 cup semi-sweet chocolate chips
Make sure to gather these ingredients before you start cooking to ensure a smooth baking experience!
Kitchen Gear Checklist
Before you dive into the recipe, here’s what you’ll need in your kitchen:
- Baking dish – A 9×13 inch pan works perfectly for this recipe.
- Parchment paper – For easy removal and clean-up.
- Microwave-safe bowl – To melt the caramels and milk together.
- Spatula – For spreading the cookie dough and mixing ingredients.
- Oven mitts – Don’t forget these for safe handling of hot dishes!
With these tools ready, you’re all set to create your Quick and Easy Carmelitas.
Directions: Quick and Easy Carmelitas

Step 1: Preheat the Oven
Start by preheating your oven to 350°F (175°C). This ensures that your Carmelitas bake evenly and come out perfectly gooey.
Step 2: Prepare Your Baking Dish
Line your 9×13 inch baking dish with parchment paper, allowing some overhang for easy removal later. This step is key to making sure your Carmelitas don’t stick!
Step 3: Press the Cookie Dough
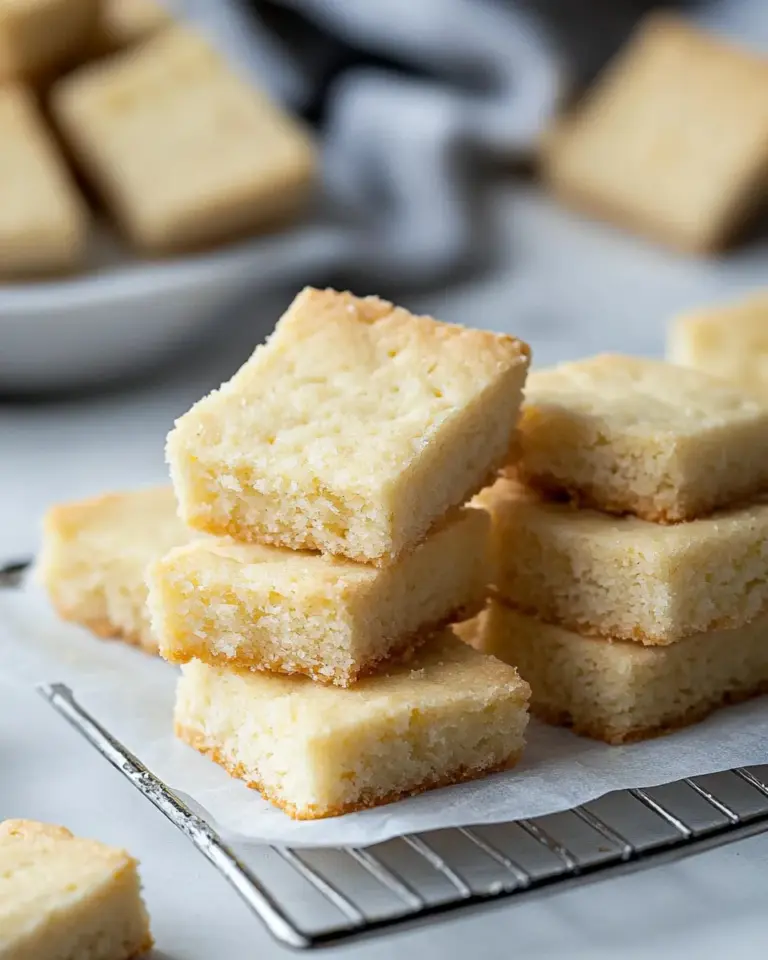
Take about half of the refrigerated chocolate chip cookie dough and press it evenly into the bottom of your prepared baking dish. This forms the base layer of your Carmelitas.
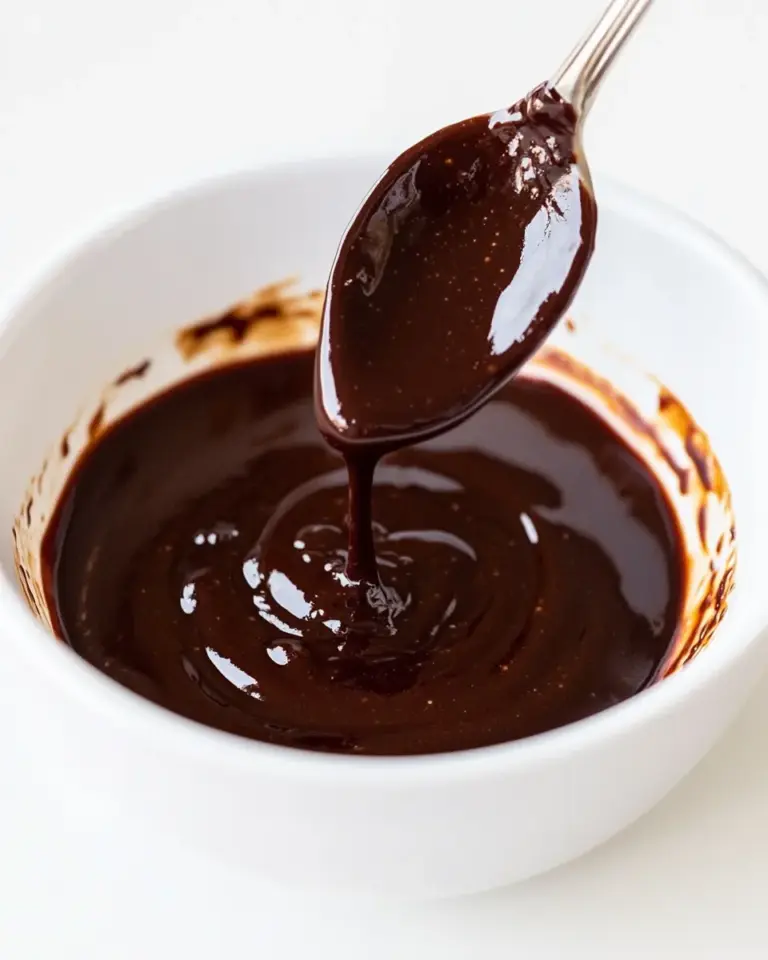
Step 4: Melt the Caramels
In a microwave-safe bowl, combine the KRAFT caramels and evaporated milk. Microwave in 30-second intervals, stirring in between, until the mixture is smooth and fully melted. This creamy caramel layer is what makes these Carmelitas so indulgent!
Step 5: Add the Caramel Layer
Pour the melted caramel mixture over the cookie dough base. Make sure to spread it evenly for consistent flavor in every bite.
Step 6: Sprinkle the Chocolate Chips
Evenly sprinkle the semi-sweet chocolate chips over the caramel layer. This will add a delightful chocolatey richness that complements the caramel perfectly.
Step 7: Add the Top Cookie Dough Layer
Take the remaining cookie dough and crumble it over the chocolate chips. It doesn’t have to cover everything perfectly; some gaps are fine! This will create a beautiful, rustic top to your Carmelitas.
Step 8: Bake
Place the baking dish in the pre
Quick and Easy Carmelitas
Ingredients
Equipment
Method
- Step 1: Preheat your oven to 350°F (175°C).
- Step 2: Line your 9x13 inch baking dish with parchment paper.
- Step 3: Press about half of the refrigerated chocolate chip cookie dough into the bottom of the baking dish.
- Step 4: In a microwave-safe bowl, combine KRAFT caramels and evaporated milk. Microwave in 30-second intervals until smooth.
- Step 5: Pour the melted caramel mixture over the cookie dough base and spread it evenly.
- Step 6: Sprinkle semi-sweet chocolate chips over the caramel layer.
- Step 7: Crumble the remaining cookie dough over the chocolate chips.
- Step 8: Place the baking dish in the preheated oven and bake.
Notes
- For a richer flavor, use dark chocolate chips instead of semi-sweet.
- These can be stored in an airtight container for up to a week.
- Try adding nuts for an extra crunch!