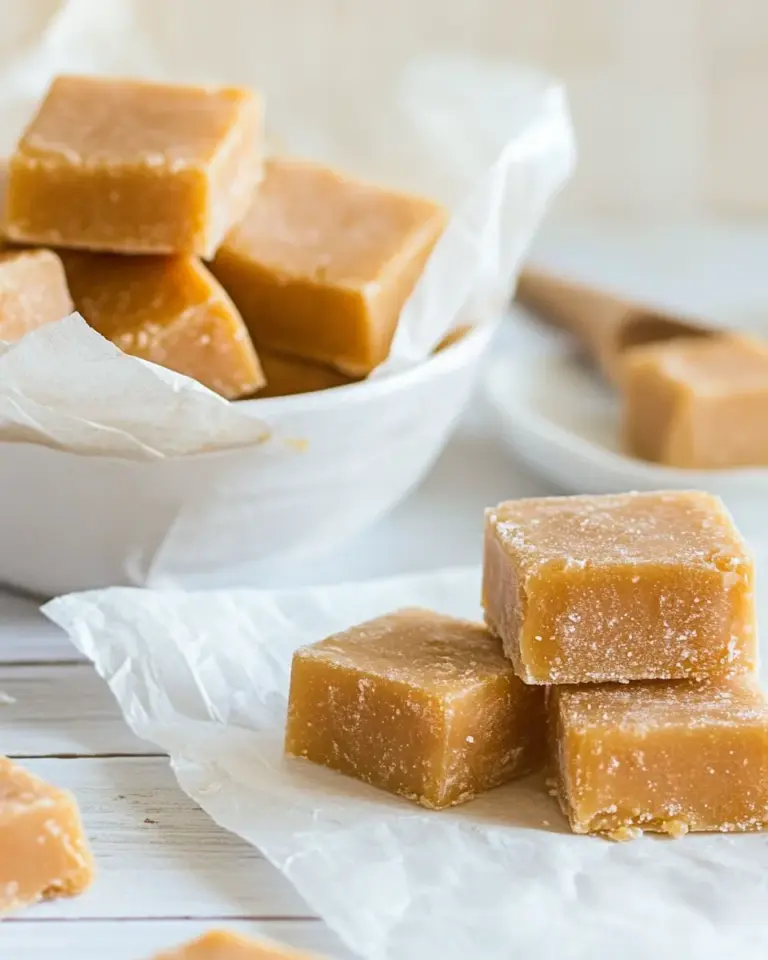
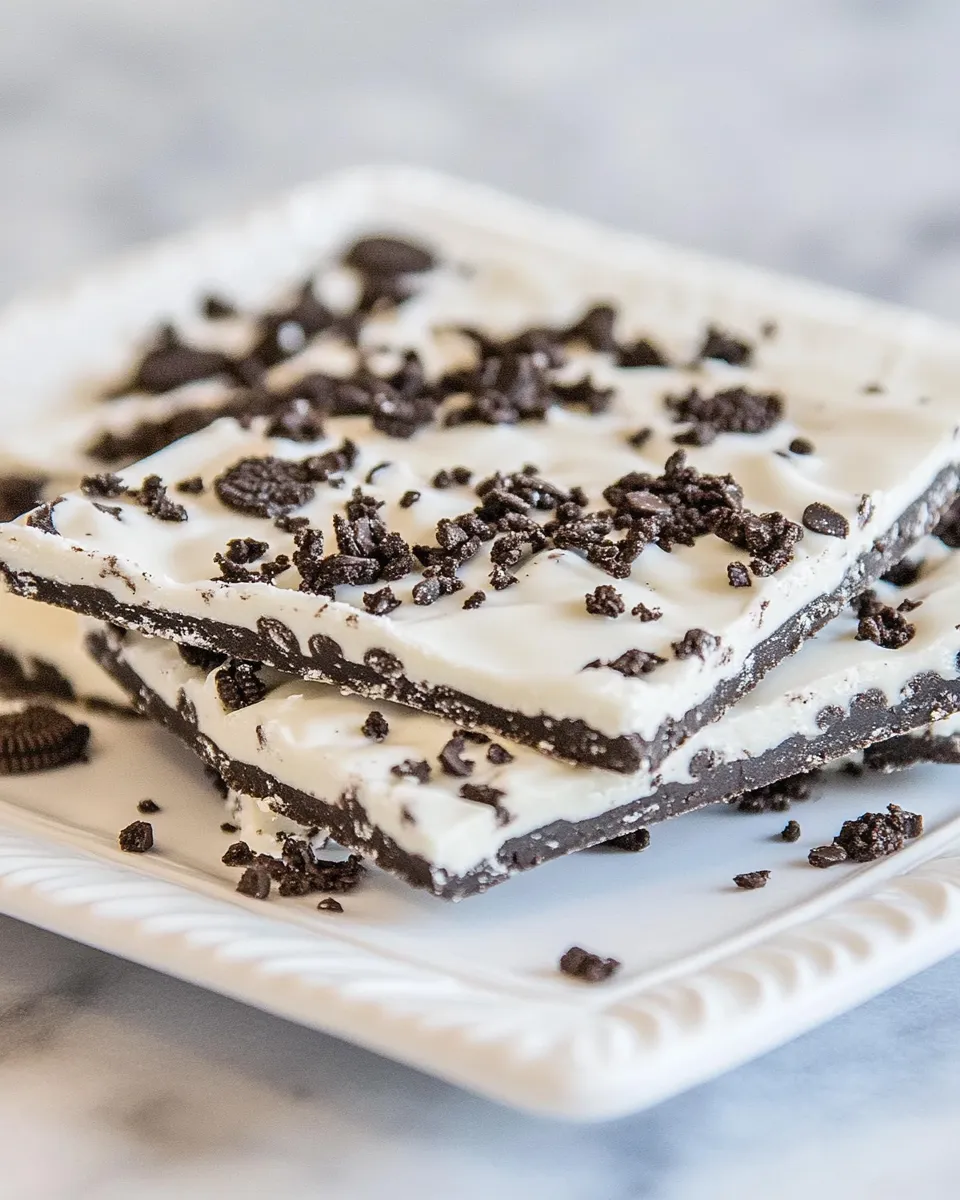
Oreo Cookie Bark
There’s something magical about combining the classic flavors of Oreo cookies with a sweet, creamy coating. This Oreo Cookie Bark is the perfect treat for any occasion, whether you’re hosting a gathering, looking for a last-minute dessert, or simply craving something sweet. With just two main ingredients, this bark is not only easy to make but also incredibly delicious. You’ll find yourself reaching for piece after piece, and it’s a fantastic way to enjoy your favorite cookies in a new form.
Top Reasons to Make Oreo Cookie Bark
Making Oreo Cookie Bark has never been more appealing! Here are a few reasons why you should whip up a batch today:
- Quick and Simple: With only two ingredients and minimal prep time, this bark comes together in no time.
- Versatile Treat: Perfect for parties, movie nights, or as a sweet gift for friends and family.
- Customizable: Add your favorite toppings or mix-ins to make it your own.
- Kid-Friendly: A fun recipe to make with kids; they’ll love crushing the cookies and drizzling the chocolate!
- Deliciously Addictive: The combination of crunchy Oreos and smooth candy coating is a match made in dessert heaven.
What We’re Using
This Oreo Cookie Bark recipe is as straightforward as it gets! Here’s what you’ll need:
- 24 Oreo cookies: Coarsely crushed to create that beloved cookie texture.
- 1 (16-ounce) package vanilla candy coating: This will serve as the sweet, creamy base that binds everything together.
Equipment Breakdown
Having the right tools is essential for making your Oreo Cookie Bark a success. Here’s what you’ll need:
- Baking sheet: A flat surface to spread the bark.
- Parchment paper: For easy cleanup and to prevent sticking.
- Microwave-safe bowl: To melt your candy coating.
- Spatula: For spreading the melted coating evenly over the cookies.
- Knife or pizza cutter: To break the bark into pieces once it’s set.
Directions: Oreo Cookie Bark
Ready to dive into making this delicious Oreo Cookie Bark? Follow these simple steps:
Step 1: Prepare Your Baking Sheet
Line a baking sheet with parchment paper. This will help prevent the bark from sticking and make it easier to lift off once it’s set.
Step 2: Crush the Oreos
In a large mixing bowl, coarsely crush the 24 Oreo cookies. You want some larger chunks for texture, so don’t crush them too finely!
Step 3: Melt the Candy Coating
In a microwave-safe bowl, heat the vanilla candy coating in 30-second intervals, stirring in between, until completely melted and smooth. Be careful not to overheat.
Step 4: Combine Cookies and Coating
Pour the melted candy coating over the crushed Oreos. Using a spatula, gently mix until all the cookie pieces are well coated.
Step 5: Spread on the Baking Sheet
Transfer the Oreo mixture to the prepared baking sheet. Spread it out evenly, making sure it’s about 1/2 inch thick.
Step 6: Chill and Set
Place the baking sheet in the refrigerator for about an hour, or until the bark is completely set.
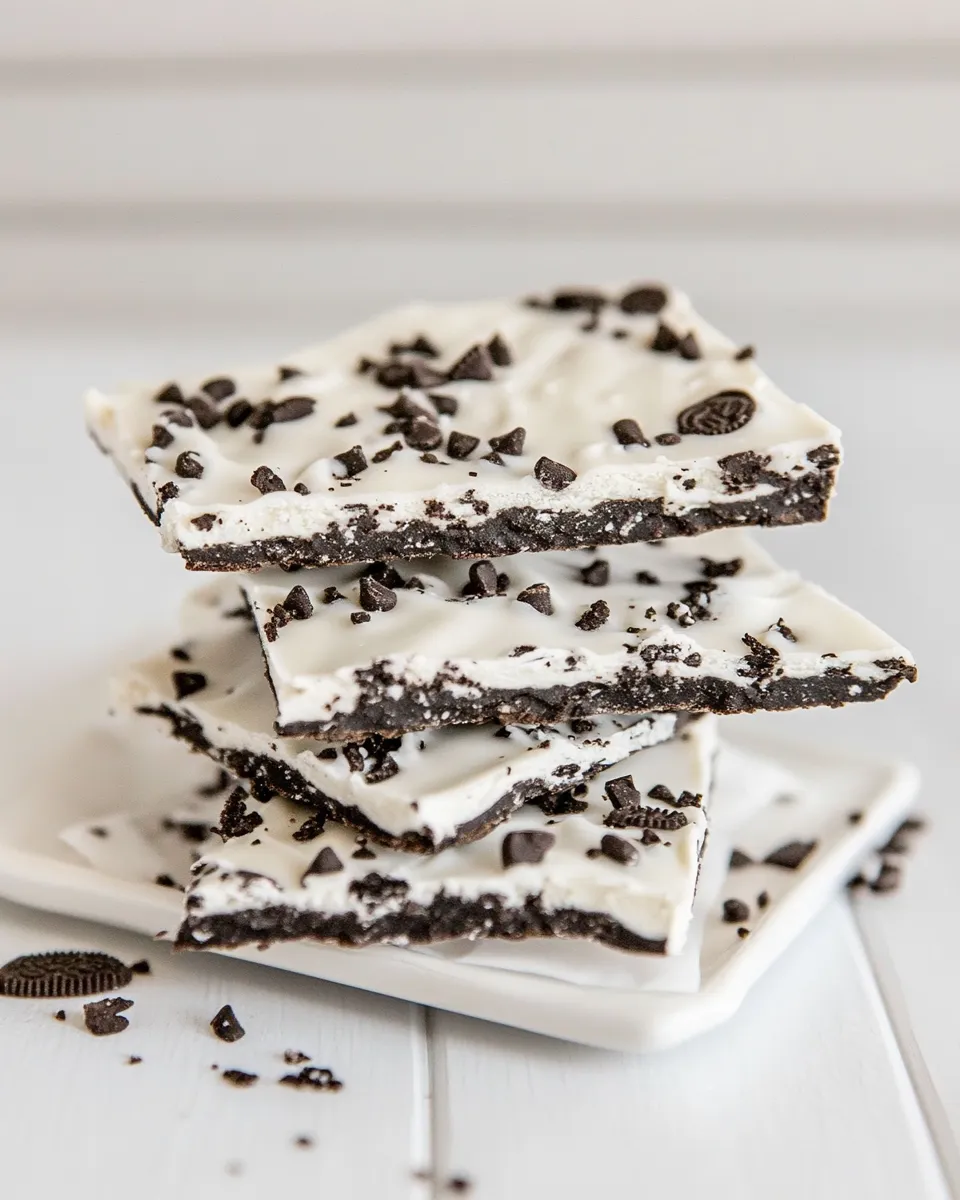
Step 7: Break into Pieces
Once set, remove the bark from the refrigerator. Use a knife or pizza cutter to break it into pieces of your desired size.
Step 8: Enjoy!
Your Oreo Cookie Bark is ready to be savored! Enjoy it right away or store it for later.
What to Use Instead

If you’re looking to switch things up or accommodate specific dietary needs, here are some alternatives:
- Dark chocolate coating: For a richer flavor, opt for dark chocolate instead of vanilla candy coating.
- Gluten-free Oreos: Use gluten-free Oreos if you need to avoid gluten.
- White chocolate: For a sweeter bark, consider using white chocolate coating instead.
- Nut butters: Swirl in some nut butter for an added layer of flavor.
If You’re Curious
Wondering about the origins of the Oreo cookie? The classic cookie was invented in 1912 by the Nabisco company and has since become one of the most popular cookies worldwide. The combination of the chocolate wafer and creamy filling has inspired countless recipes, like Oreo Cheesecake Brownies and Peppermint Oreo Magic Cookie Bars.
Best Ways to Store
To keep your Oreo Cookie Bark fresh and delicious, store it in an airtight container at room temperature. It can also be stored in the refrigerator for an extra crunch. Just be sure to separate layers with parchment paper to prevent sticking.
Top Questions & Answers
Can I make Oreo Cookie Bark in advance?
Absolutely! This bark can be made a few days in advance. Just store it in an airtight container to keep it fresh.
How long does Oreo Cookie Bark last?
If stored properly, Oreo Cookie Bark can last for up to two weeks at room temperature. If refrigerated, it may last a bit longer.
Can I add toppings to the bark?
Yes! Feel free to sprinkle additional toppings on top of the melted candy coating before it sets. Some great options include sprinkles, crushed nuts, or even more cookie pieces.
Is this recipe easily customizable?
Definitely! You can mix in different types of cookies, add in your favorite candies, or even use flavored candy coatings to create your unique twist on Oreo Cookie Bark.
Next Steps
Now that you’ve mastered the art of making Oreo Cookie Bark, it’s time to get creative! Experiment with different flavors, toppings, and even try your hand at making variations with other cookies. This recipe is just the beginning of your sweet adventures. Enjoy making delicious treats that are sure to impress your friends and family. Happy baking!

Oreo Cookie Bark
Ingredients
Equipment
Method
- Step 1: Prepare Your Baking Sheet - Line a baking sheet with parchment paper to prevent sticking.
- Step 2: Crush the Oreos - Coarsely crush the 24 Oreo cookies in a large mixing bowl, keeping some larger chunks for texture.
- Step 3: Melt the Candy Coating - Heat the vanilla candy coating in a microwave-safe bowl in 30-second intervals, stirring until melted and smooth.
- Step 4: Combine Cookies and Coating - Pour the melted candy coating over the crushed Oreos and mix gently until all pieces are coated.
- Step 5: Spread on the Baking Sheet - Transfer the mixture to the prepared baking sheet, spreading it to about 1/2 inch thick.
- Step 6: Chill and Set - Place the baking sheet in the refrigerator for about an hour or until the bark is completely set.
- Step 7: Break into Pieces - Once set, remove from the refrigerator and break the bark into pieces.
- Step 8: Enjoy! - Your Oreo Cookie Bark is ready to be savored!
Notes
- Store in an airtight container at room temperature for freshness.
- Can be refrigerated for extra crunch; separate layers with parchment paper.
- Feel free to customize with your favorite toppings.