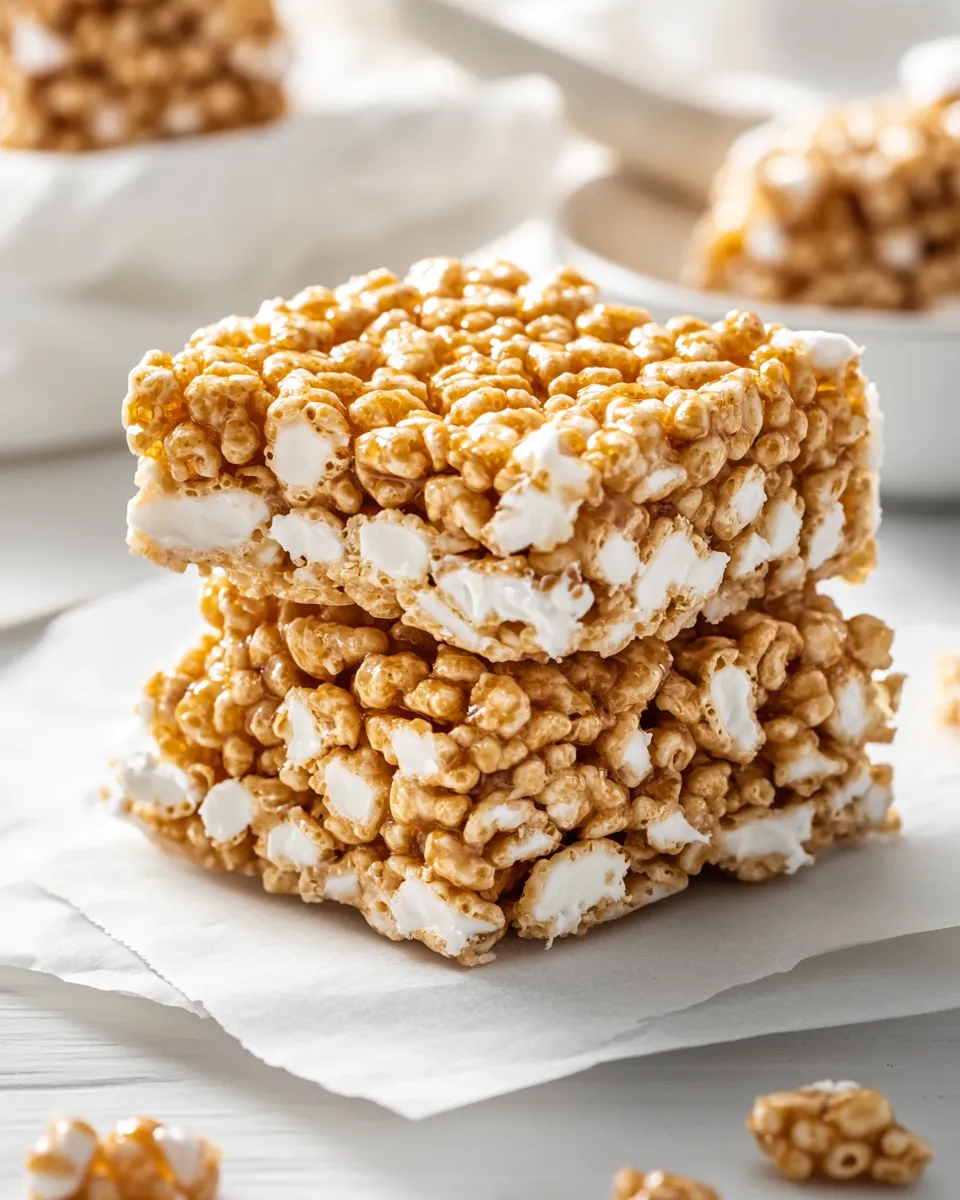
Rice Krispie Treats in the Microwave
There’s nothing quite like the sweet, gooey goodness of homemade Rice Krispie Treats. They are a nostalgic treat that brings back childhood memories, and the best part is that you can make them in minutes using just a microwave. This recipe for Rice Krispie Treats in the Microwave is perfect for those spontaneous cravings or when you’re short on time. With just three simple ingredients, you’ll have a deliciously chewy treat that satisfies your sweet tooth and is ready in no time.
Why This Recipe Works
The beauty of making Rice Krispie Treats in the microwave is the simplicity and speed it offers. By melting the butter and marshmallows together, you create a delightful sticky mixture that binds the Rice Cereal perfectly. This method eliminates the need for pots and stove tops, making it a hassle-free option for busy days or a quick dessert fix. Plus, the microwave ensures an even melt, creating a smooth and cohesive mixture that results in perfectly textured treats every time.
What Goes Into Rice Krispie Treats in the Microwave
To create these delightful treats, you’ll need just a few ingredients:
- 1/2 tbsp Unsalted Butter: This adds richness and helps the marshmallows melt smoothly.
- 1/2 cup Mini Marshmallows: The star of the show! These provide the sweetness and gooey texture.
- 1/2 cup Rice Cereal: The classic base that gives the treats their signature crunch.
These simple ingredients come together to create a treat that is both nostalgic and satisfying.
Before You Start: Equipment
Before diving into the recipe, gather these essential tools:
- Microwave-Safe Bowl: Make sure it’s large enough to hold the melted marshmallows and cereal.
- Spoon or Spatula: For mixing the ingredients together.
- 9×9-inch Baking Dish or Parchment Paper: To shape and set the treats.
- Measuring Cups: To ensure you have the right amount of each ingredient.
Having the right equipment will make the process smooth and enjoyable.
Rice Krispie Treats in the Microwave in Steps
Step 1: Melt the Butter
In your microwave-safe bowl, add the 1/2 tbsp of unsalted butter. Microwave it for about 20-30 seconds until fully melted. Keep an eye on it to avoid any splattering.
Step 2: Add the Marshmallows
Once the butter is melted, add the 1/2 cup of mini marshmallows to the bowl. Stir to coat them in the melted butter, then return the bowl to the microwave.
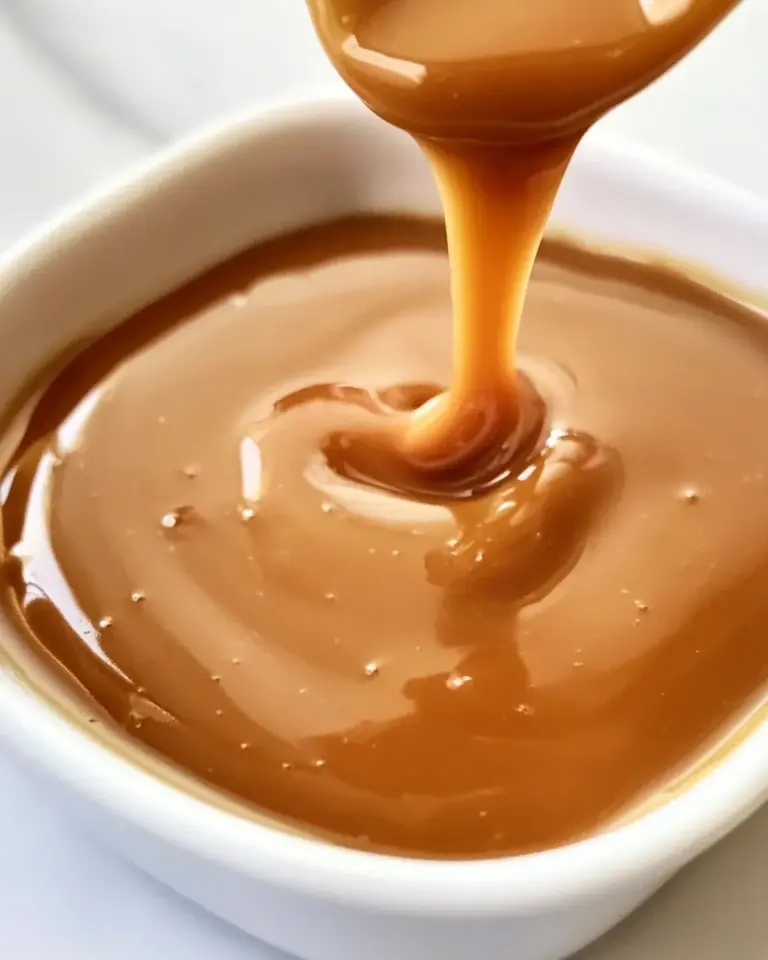
Step 3: Melt the Marshmallows
Microwave the marshmallow and butter mixture for an additional 30 seconds. After this, stir the mixture until the marshmallows are fully melted and smooth. If necessary, you can microwave for an additional 10 seconds at a time until completely melted.
Step 4: Combine with Rice Cereal
Once the marshmallows are melted, add in the 1/2 cup of Rice Cereal. Stir until all the cereal is coated with the marshmallow mixture. This step is crucial for achieving that classic Rice Krispie Treat texture.
Step 5: Press into the Dish
Transfer the mixture into your prepared 9×9-inch baking dish. Use a spatula or your hands (dampened to prevent sticking) to firmly press the mixture into an even layer.
Step 6: Let Set and Enjoy!
Allow the treats to cool for about 15-20 minutes until set. Once they’re firm, cut them into squares and enjoy your delicious Rice Krispie Treats!
Healthier Substitutions
If you’re looking to make these treats a bit healthier, consider the following substitutions:
- Use Coconut Oil: Replace unsalted butter with coconut oil for a dairy-free option.
- Brown Rice Cereal: Opt for brown rice cereal instead of regular Rice Cereal for added fiber.
- Natural Sweeteners: Experiment with natural sweeteners like honey or maple syrup in place of marshmallows (though it may change the texture).
These changes can create a different flavor profile while still keeping the essence of Rice Krispie Treats.
Problems & Prevention
Even though this recipe is straightforward, there can be a few hiccups:
- Too Hard: If you overheat the marshmallows, they can become hard. Always melt in short intervals and stir often.
- Too Sticky: If the mixture is too sticky to work with, lightly spray your hands or the spatula with cooking spray to make pressing easier.
- Uneven Texture: Ensure that the Rice Cereal is evenly coated with the marshmallow mixture to maintain texture.
Being mindful of these common issues can ensure your treats turn out perfectly every time.
Meal Prep & Storage Notes
Rice Krispie Treats are best enjoyed fresh, but they can be stored for later:
- Room Temperature: Store in an airtight container at room temperature for up to 3 days.
- Refrigeration: For longer storage, they can be kept in the refrigerator for up to a week, though they may become a bit harder.
- Freezing: You can freeze them wrapped tightly in plastic wrap and then in foil for up to 3 months. Thaw at room temperature when ready to enjoy.
Proper storage will help maintain their delicious texture and flavor.
Quick Q&A
Can I use regular marshmallows instead of mini marshmallows?
Yes, you can absolutely use regular marshmallows! Just use the same weight, and cut them into smaller pieces if necessary to help them melt evenly.
What if I want to add mix-ins like chocolate chips or sprinkles?
Feel free to fold in chocolate chips, sprinkles, or any other mix-ins after you combine the marshmallow mixture with the Rice Cereal, but do so quickly to prevent the marshmallows from cooling too much.
Can I make these treats dairy-free?
Yes, you can substitute the unsalted butter with coconut oil or a dairy-free margarine to make the treats dairy-free.
How can I make these treats more festive?
For a festive touch, you can add colored sprinkles, or use themed cookie cutters to cut them into fun shapes, perfect for parties or holidays!
If you enjoyed making Rice Krispie Treats in the Microwave, you might also love:
These recipes are equally easy and delicious, perfect for satisfying your sweet cravings.
Next Steps
Now that you know how to make Rice Krispie Treats in the Microwave, it’s time to gather your ingredients and get started! This recipe is perfect for a quick snack, a fun activity with kids, or even a last-minute dessert for gatherings. Enjoy the delightful process of making them and the even more delightful experience of eating them. Don’t forget to share your creations with friends and family – they’ll love the nostalgia and flavor of your homemade Rice Krispie Treats!
Rice Krispie Treats in the Microwave
Ingredients
Equipment
Method
- In your microwave-safe bowl, add the 1/2 tbsp of unsalted butter. Microwave it for about 20-30 seconds until fully melted. Keep an eye on it to avoid any splattering.
- Once the butter is melted, add the 1/2 cup of mini marshmallows to the bowl. Stir to coat them in the melted butter, then return the bowl to the microwave.
- Microwave the marshmallow and butter mixture for an additional 30 seconds. After this, stir the mixture until the marshmallows are fully melted and smooth. If necessary, you can microwave for an additional 10 seconds at a time until completely melted.
- Once the marshmallows are melted, add in the 1/2 cup of Rice Cereal. Stir until all the cereal is coated with the marshmallow mixture.
- Transfer the mixture into your prepared 9x9-inch baking dish. Use a spatula or your hands (dampened to prevent sticking) to firmly press the mixture into an even layer.
- Allow the treats to cool for about 15-20 minutes until set. Once they’re firm, cut them into squares and enjoy your delicious Rice Krispie Treats!
Notes
- Store in an airtight container at room temperature for up to 3 days.
- For a dairy-free option, substitute the butter with coconut oil.
- Experiment with mix-ins like chocolate chips or sprinkles for added fun!