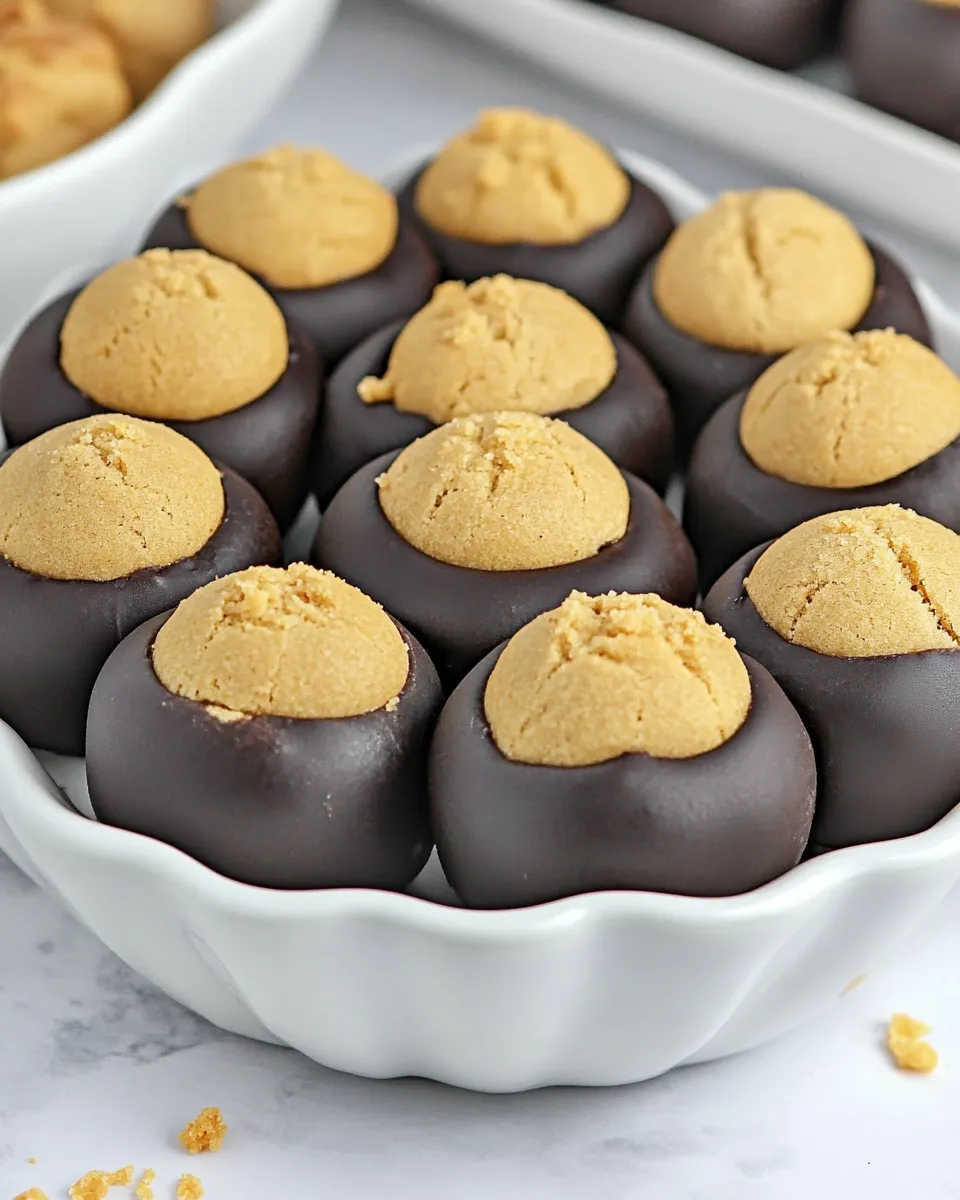
Buckeye Cookies
There’s something inherently delightful about the combination of creamy peanut butter and rich chocolate, and that’s exactly what makes Buckeye Cookies a beloved treat. These cookies capture the essence of the classic Buckeye candy, transforming it into a soft, chewy cookie form. With a few simple ingredients, you can whip up a batch that’s perfect for sharing or indulging in all by yourself. Let’s dive into this delicious recipe and explore everything you need to know to make the best Buckeye Cookies ever!
Why I Love This Recipe
Buckeye Cookies hold a special place in my heart because they bring together two of my favorite flavors: peanut butter and chocolate. The richness of the peanut butter paired with the smooth chocolate coating creates a blissful bite that is hard to resist. These cookies are not only easy to make but also incredibly satisfying, making them a perfect dessert for any occasion. Whether you’re hosting a gathering or just craving something sweet, Buckeye Cookies will surely impress everyone.
What You’ll Gather
To make these delectable Buckeye Cookies, you’ll need the following ingredients:
- 1 cup creamy peanut butter
- 1 cup unsalted butter (softened)
- 1 teaspoon vanilla extract
- 3 cups powdered sugar
- 2 cups semisweet chocolate chips
- 1 tablespoon shortening (optional, for smoother chocolate)
Make sure to gather these ingredients before you start for a seamless baking experience!
Must-Have Equipment
Having the right tools can make your baking journey much smoother. Here’s what you’ll need:
- Mixing bowl: For combining your ingredients.
- Cookie sheet: To bake your cookies evenly.
- Parchment paper: For easy cleanup and to prevent sticking.
- Microwave-safe bowl: For melting the chocolate.
- Spoon or cookie scoop: For portioning out the cookie dough.
With these essentials in hand, you’re ready to begin!
Step-by-Step: Buckeye Cookies
Making Buckeye Cookies is a straightforward process. Follow these steps to create your own batch of deliciousness!
Step 1: Prepare the Cookie Dough
In a large mixing bowl, combine the softened unsalted butter and creamy peanut butter. Use an electric mixer to blend them together until the mixture is smooth and creamy. Add the vanilla extract and mix again.
Step 2: Add the Sugar
Gradually incorporate the powdered sugar into the peanut butter mixture. Mix until fully combined and the dough is thick and slightly sticky.
Step 3: Chill the Dough
Cover the bowl with plastic wrap and refrigerate the dough for about 30 minutes. This will make it easier to handle when shaping the cookies.
Step 4: Preheat the Oven
While the dough is chilling, preheat your oven to 350°F (175°C). Line your cookie sheet with parchment paper to prepare for baking.
Step 5: Shape the Cookies
Once the dough has chilled, scoop out tablespoon-sized portions and roll them into balls. Place them on the prepared cookie sheet, leaving some space between each ball.
Step 6: Bake the Cookies
Bake the cookies in the preheated oven for about 10-12 minutes, or until the edges are lightly golden. Remove them from the oven and let them cool on the cookie sheet for a few minutes before transferring them to a wire rack to cool completely.
Step 7: Melt the Chocolate
While the cookies are cooling, melt the semisweet chocolate chips in a microwave-safe bowl. If you’re using shortening, add it to the chocolate to achieve a smoother consistency. Heat the chocolate in 30-second intervals, stirring in between until fully melted.
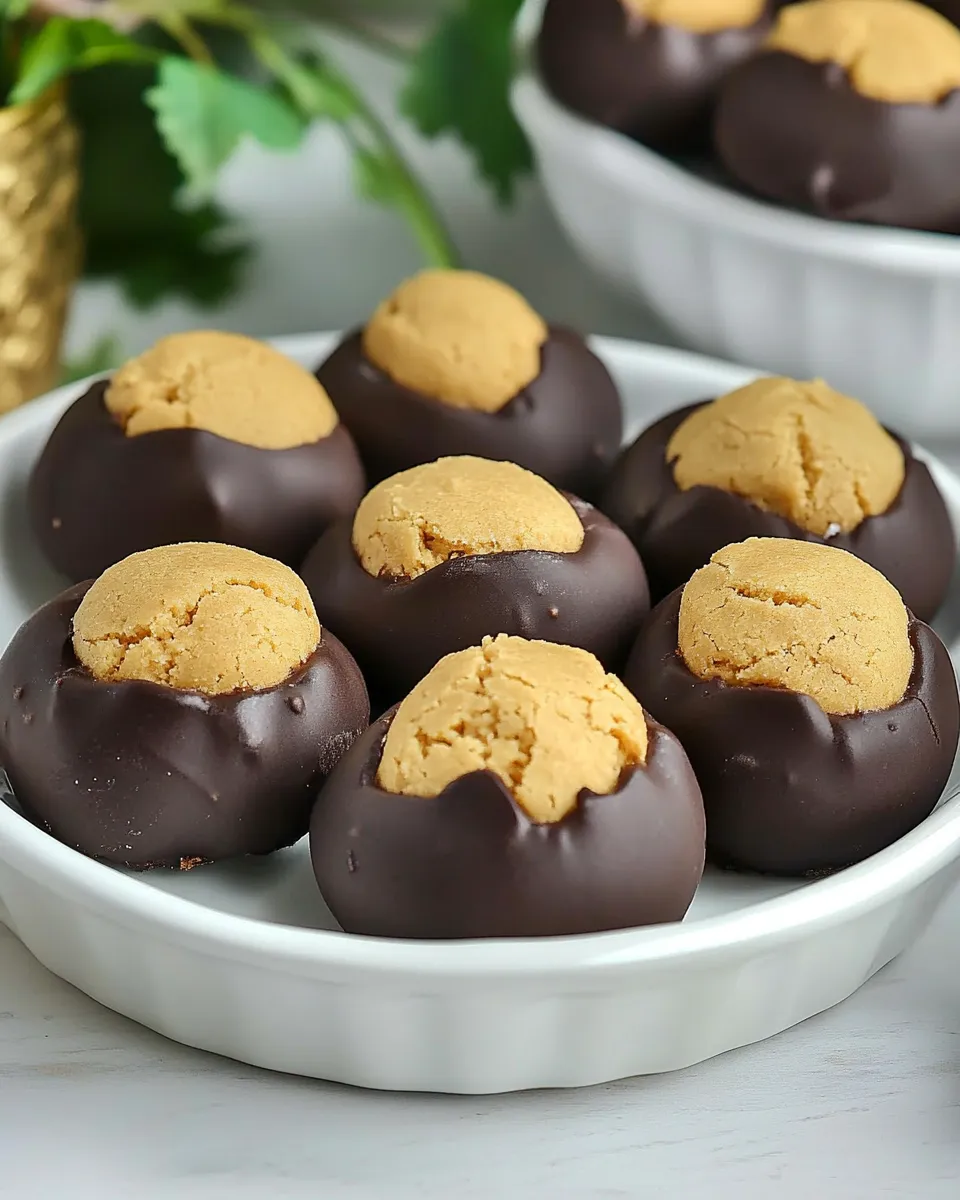
Step 8: Coat the Cookies
Once the cookies are completely cooled, dip the tops into the melted chocolate, allowing any excess to drip off. Place the coated cookies back on the parchment paper to set.
Step 9: Let Them Set
Allow the chocolate to harden completely. You can speed up this process by placing the cookies in the refrigerator for a few minutes.
Fresh Takes Through the Year
Buckeye Cookies are versatile and can be enjoyed year-round with some creative twists. Here are some ideas to refresh this classic recipe:
- Seasonal Sprinkles: Add festive sprinkles on top of the chocolate coating for special occasions.
- Drizzle of White Chocolate: For a beautiful contrast, drizzle melted white chocolate over the chocolate coating.
- Nutty Variations: Incorporate chopped nuts into the cookie dough for an added crunch.
- Flavored Extracts: Experiment with different extracts like almond or hazelnut to elevate the flavor.
Troubleshooting Tips
If you encounter any issues while making your Buckeye Cookies, here are some helpful tips:
- Dough too sticky? If the dough is too sticky to handle, chill it for a bit longer.
- Chocolate too thick? If the melted chocolate seems thick, adding a little more shortening can help thin it out.
- Cookies spreading too much? Make sure your butter is softened but not melted, as melted butter can cause excessive spreading.
- Chocolate not setting? Ensure you let the chocolate harden at room temperature or in the fridge.
Keep-It-Fresh Plan
To keep your Buckeye Cookies fresh and delicious, consider these storage tips:
- Room temperature: Store the cookies in an airtight container at room temperature for up to one week.
- Refrigeration: For longer freshness, keep the cookies in the refrigerator, where they can last for up to two weeks.
- Freezing: You can freeze uncoated cookie dough balls for up to three months. Just thaw and coat them when you’re ready to bake!
Ask the Chef
Can I use crunchy peanut butter instead of creamy?
Absolutely! Using crunchy peanut butter will add a delightful texture to your Buckeye Cookies. Just keep in mind that the cookies will have a different mouthfeel.
What can I substitute for the shortening?
If you prefer not to use shortening, you can opt for a small amount of vegetable oil or simply skip it. The chocolate may not be as smooth but will still taste delicious!
How do I know when the cookies are done baking?
The cookies are done when the edges look lightly golden, and the centers may appear slightly underbaked. They will firm up as they cool!
Can I make these cookies gluten-free?
Yes! To make gluten-free Buckeye Cookies, simply substitute the powdered sugar with a gluten-free alternative. They’ll be just as tasty!
If you enjoy Buckeye Cookies, you’ll want to check out these other delightful treats:
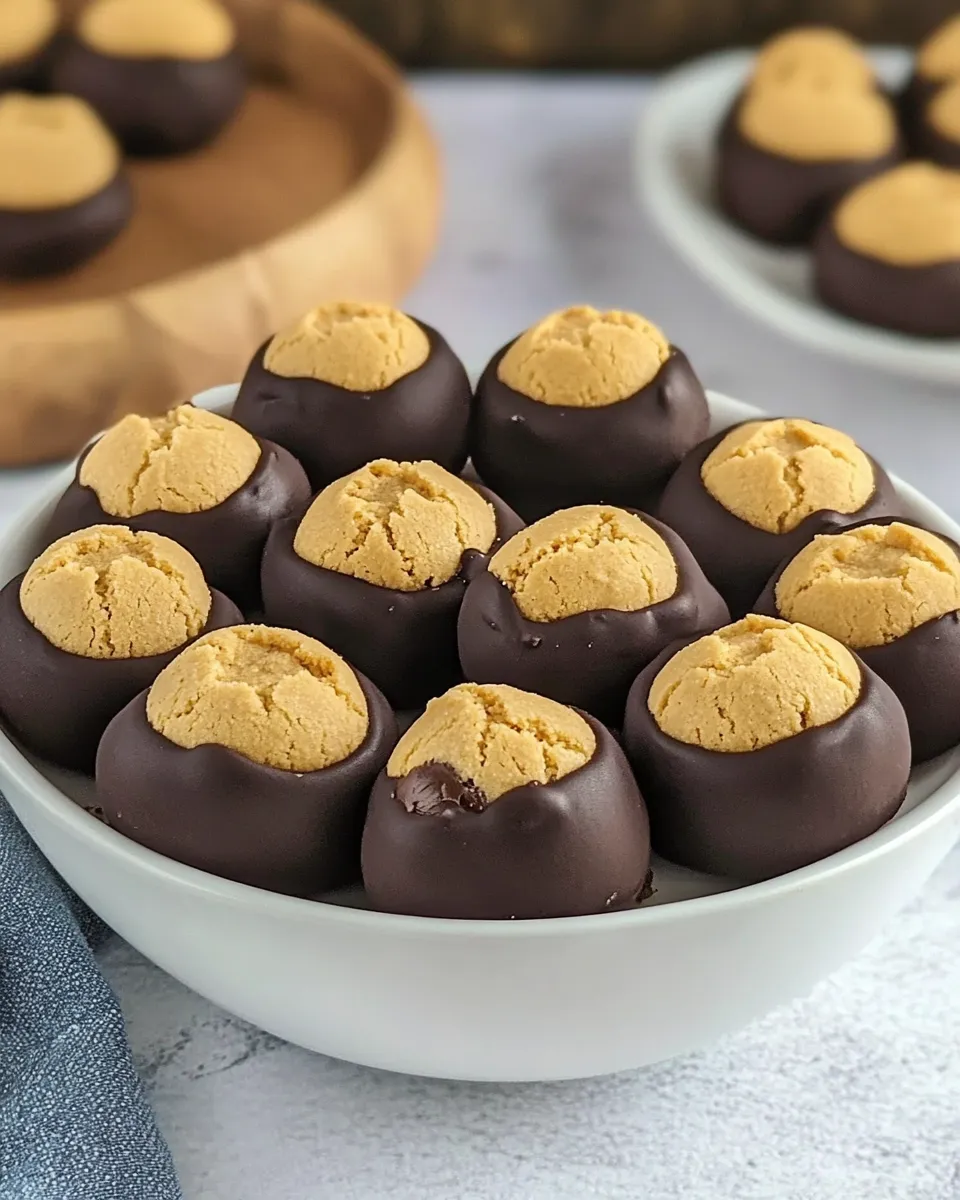
Make It Tonight
Now that you have the perfect recipe and all the essential tips, it’s time to get baking! Buckeye Cookies are not just a treat; they’re an experience filled with rich flavors and sweet memories. Whether it’s a cozy night in or a festive gathering, these cookies will surely be a hit. So gather your ingredients, follow the steps, and enjoy the delightful process of making these amazing cookies. Happy baking!
Buckeye Cookies
Ingredients
Equipment
Method
- In a large mixing bowl, combine the softened unsalted butter and creamy peanut butter. Use an electric mixer to blend them together until the mixture is smooth and creamy. Add the vanilla extract and mix again.
- Gradually incorporate the powdered sugar into the peanut butter mixture. Mix until fully combined and the dough is thick and slightly sticky.
- Cover the bowl with plastic wrap and refrigerate the dough for about 30 minutes. This will make it easier to handle when shaping the cookies.
- While the dough is chilling, preheat your oven to 350°F (175°C). Line your cookie sheet with parchment paper to prepare for baking.
- Once the dough has chilled, scoop out tablespoon-sized portions and roll them into balls. Place them on the prepared cookie sheet, leaving some space between each ball.
- Bake the cookies in the preheated oven for about 10-12 minutes, or until the edges are lightly golden. Remove them from the oven and let them cool on the cookie sheet for a few minutes before transferring them to a wire rack to cool completely.
- While the cookies are cooling, melt the semisweet chocolate chips in a microwave-safe bowl. If you’re using shortening, add it to the chocolate to achieve a smoother consistency. Heat the chocolate in 30-second intervals, stirring in between until fully melted.
- Once the cookies are completely cooled, dip the tops into the melted chocolate, allowing any excess to drip off. Place the coated cookies back on the parchment paper to set.
- Allow the chocolate to harden completely. You can speed up this process by placing the cookies in the refrigerator for a few minutes.
Notes
- Store cookies in an airtight container at room temperature for up to one week.
- For longer freshness, keep in the refrigerator for up to two weeks.
- You can freeze uncoated cookie dough balls for up to three months.